14
Quick start
Try out the padKONTROL!
■ Turn the power on
Connect the padKONTROL to your computer and turn
the power on. (p.12 “Making connections and turning on
the power”)
When the power turns on, the padKONTROL will be in
Play mode, and scene 1 will be loaded. The display will
indicate “ ”.
In Play mode, the [SETTING/ENTER] key is dark.
■ Recalling a scene
The padKONTROL lets you assign the parameters you
want to the trigger pads, the X-Y pads, and the two
assignable knobs so that you can control your external
MIDI sound module or a software synthesizer on your
computer in whatever way is most appropriate for your
needs. A set of these assignments is called a “scene.”
The padKONTROL’s internal user memory contains
sixteen scenes, and you can instantly recall any of these
scenes using the sixteen trigger pads.
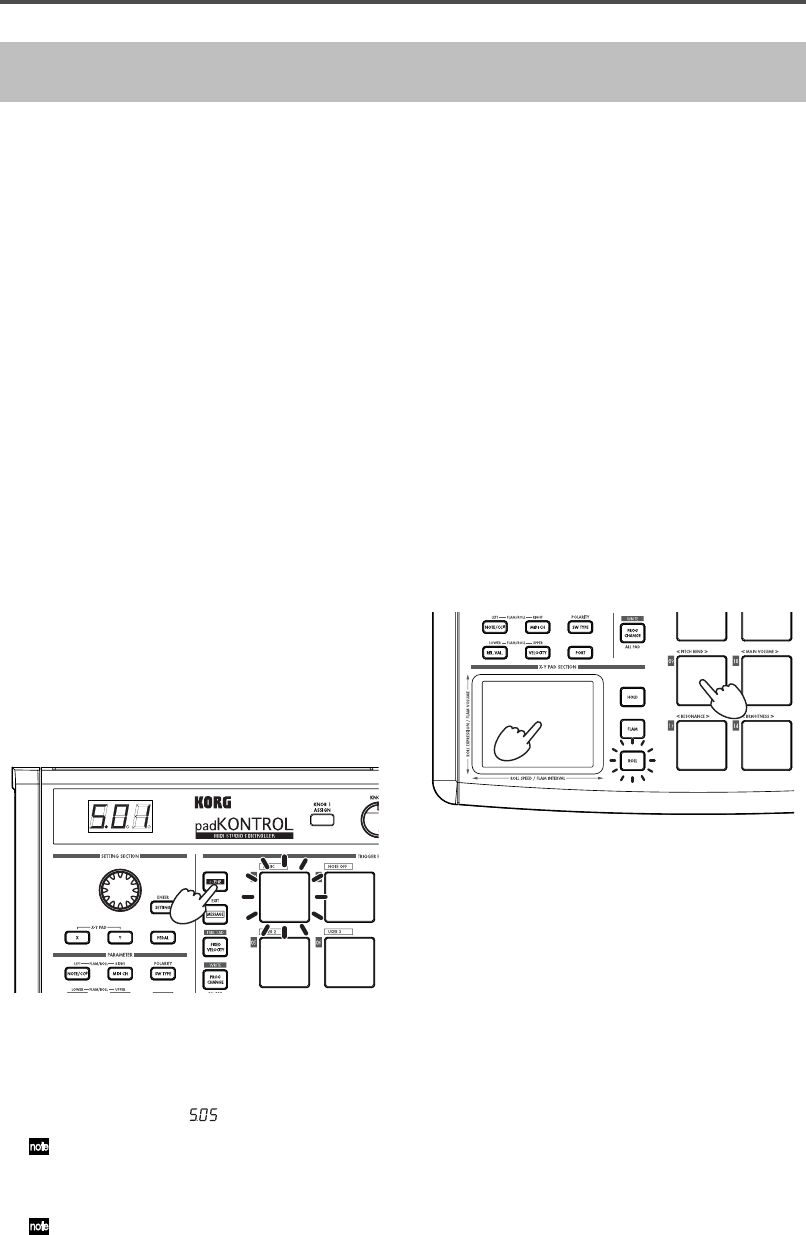
❍ As an example, here’s how to recall scene
number 5.
1 Hold down the [SCENE] key.
The [SCENE] key and the trigger pad corresponding to
the currently selected scene number will light.
2 Continuing to hold down the [SCENE] key, press trigger
pad [05], which has an indication of “05” printed at the
upper left of the trigger pad.
The scene will change, and trigger pad [05] will light.
The display will indicate “ ”.
As long as you continue holding down the [SCENE] key,
you’ll be able to use the trigger pads to switch scenes.
3 Release the [SCENE] key to return to Play mode.
Scenes can also be recalled in Setting mode.
■
Using the Roll functionand Flam
functions
The Roll function makes it easy to simulate a roll (rapidly
repeated strikes on the same drum). The Flam function
simulates a flam (double-strike on the same drum). By
moving your finger on the X-Y pad you can realistically
and dynamically control the roll or flam in realtime. The
X-axis controls the speed of the roll (or the flam interval),
and the Y-axis controls the roll expression (or the volume
of the second strike of the flam). The example below
describes using the roll function, but you can try out the
flam function in the same way.
1 Press the [ROLL] key.
The Roll function will turn on, and the [ROLL] key will
light.
2 Place your finger on the X-Y pad, and press a trigger
pad to which a snare drum or similar sound is assigned.
A roll will play as long as you continue holding down the
trigger pad. The roll will stop when you release the pad.
Making controller assignments
If you want a controller (e.g., trigger pad or pedal) to control
a different parameter, you can change the assignment and
setting for that controller.
❍ As an example, let’s assign trigger pad [3] so
that it transmits a MIDI Note-on message for
note number C5 when pressed.
1 Press the [SETTING/ENTER].
You will enter Setting mode, and the [SETTING/ENTER]
key will light.
2 Press trigger pad [3].
Tr igger pad [3] will be selected and will light.
3 Press the [NOTE/CC#/LEFT] key.
Now you can specify a note message or control change.
The [NOTE/CC#/LEFT] key will light. In the display, the
note number or control change number will blink.


