


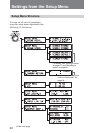
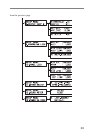

25
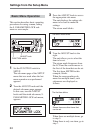
When you want to perform an
operation such as a reset (12.
HOURS METER sub-menu), or a
check of an item (3. CAMERA
RETURN sub-menu) on the
appropriate sub-menu, go to step
7.
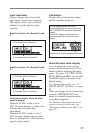
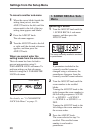
5 Turn the ADJUST knob until the
desired item blinks.
Turning it to the right results in
the cursor moving to the next
item, and turning it to the left
results in the cursor moving to the
previous item.
6 Press the ADJUST knob.
The cursor moves to the selection,
or the set value of the selected
item, and the selection or set value
blinks.
The selection or set value blinks.
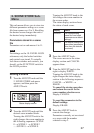
7 Turn the ADJUST knob to the
right or left until the blinking
cursor moves to the desired
selection or the desired set value
appears.
To reset on the 12. HOURS
METER sub-menu or to check
an item on the 3. CAMERA
RETURN sub-menu:
Turning the ADJUST knob to the
right results in RESET or CHECK
blinking.
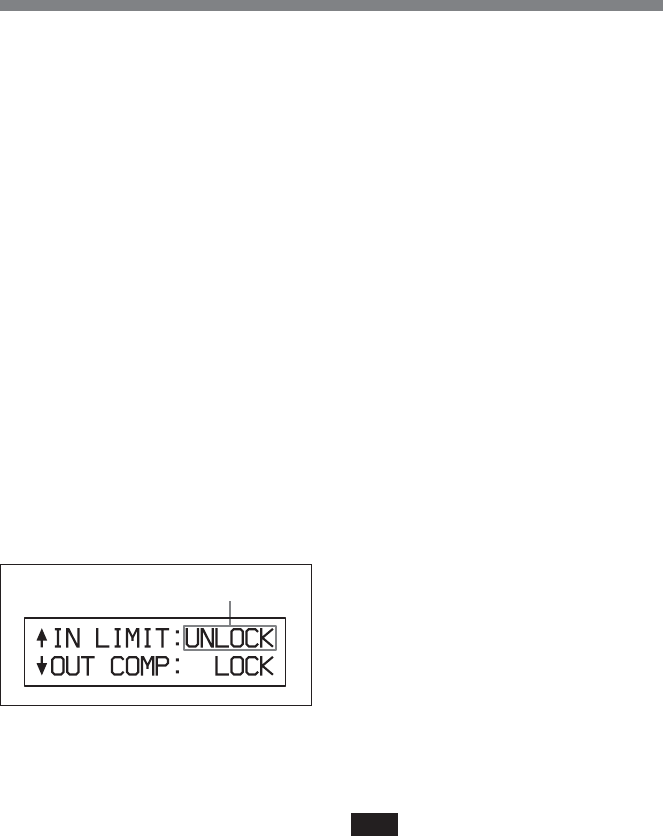
To select the setting:
Turn the ADJUST knob to the
right or left, and the subsequent
selection blinks.
To increase or decrease the set
value:
Turning the ADJUST knob to the
right or left increases or decreases
the set value step by step.
While adjusting the value:
The unit operates using the value
which is currently being adjusted.
You can select the appropriate
value while monitoring the
response of the unit to the value as
it is adjusted.
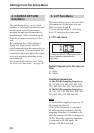
8 Press the ADJUST knob to
execute the change.
The change is carried out, and the
setting is made.
The cursor moves to the setting
item and blinks.
When there are multiple setting
items to be set, perform the
remaining settings by repeating
steps 5 to 8.
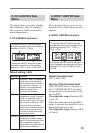
On the 12. HOURS METER sub-
menu or on the 3. CAMERA
RETURN sub-menu, resetting or
checking is started by pressing the
ADJUST knob.
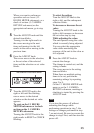
Note
If you turn the power off without
executing the change while
performing operations in step 7, the
settings or changes performed in step
7 are not stored. Be sure to execute the
change in step 8 first, and then turn the
power off.