


TASCAM DR-100
25
6–Recording
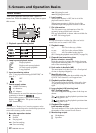
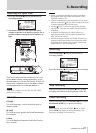
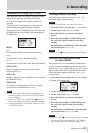
Preparing with the REC SETTING menu
Make settings suitable to the recording material
and conditions.
1 Press the MENU key to open the
MENU
screen.
2 Use the wheel to select
REC SETTING
, and press the
ENTER/MARK key.
3 Use the
FORMAT
item to set the recording mode,
choosing from the following options.
WAV 16/24 bit
MP3 32/64/96/128/192/256/320 kbps
4 Use the
SAMPLE
item to set the sampling
frequency, choosing either 44.1 or 48 kHz.
5 Use the
SIZE
item to set the maximum size,
choosing from the following options.
64M/128M/256M/512M/1G/2G
NOTE
•Highervaluesprovidebetterrecordingquality.WAV
files are higher quality than MP3 files, but they take
up more space, so MP3 formats allow for longer
recordings.
•Ifthemaximumsetlesizeisexceededduring
recording, the unit will automatically continue record-
ing in a new file.
•Dependingontheleformat,theamountofrecord-
ingtimewilldifferforthesamelesize.
•Recordingautomaticallystopsifrecordingtime
exceeds 24 hours.
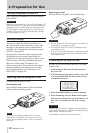
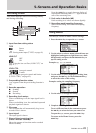
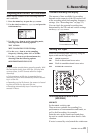
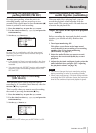
Available recording time display
The amount of time available for recording
depends on the capacity of the SD card as well
as the recording mode and sampling frequency
settings. (See “Recording time” on page 32.)
You can check the potential recording time
determined by the SD card and various settings
on the
REC SETTING
screen.
Time available for recording
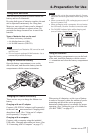
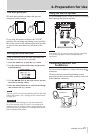
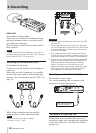
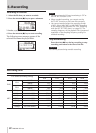
Setting the input
Select the recording input source by using the
input switch on the top panel.
LINE LINE IN connector
UNI Built-in directional stereo mics
OMNI Built-in omnidirectional stereo mics
XLR XLR MIC IN connectors
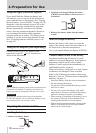
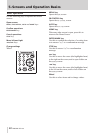
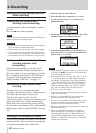
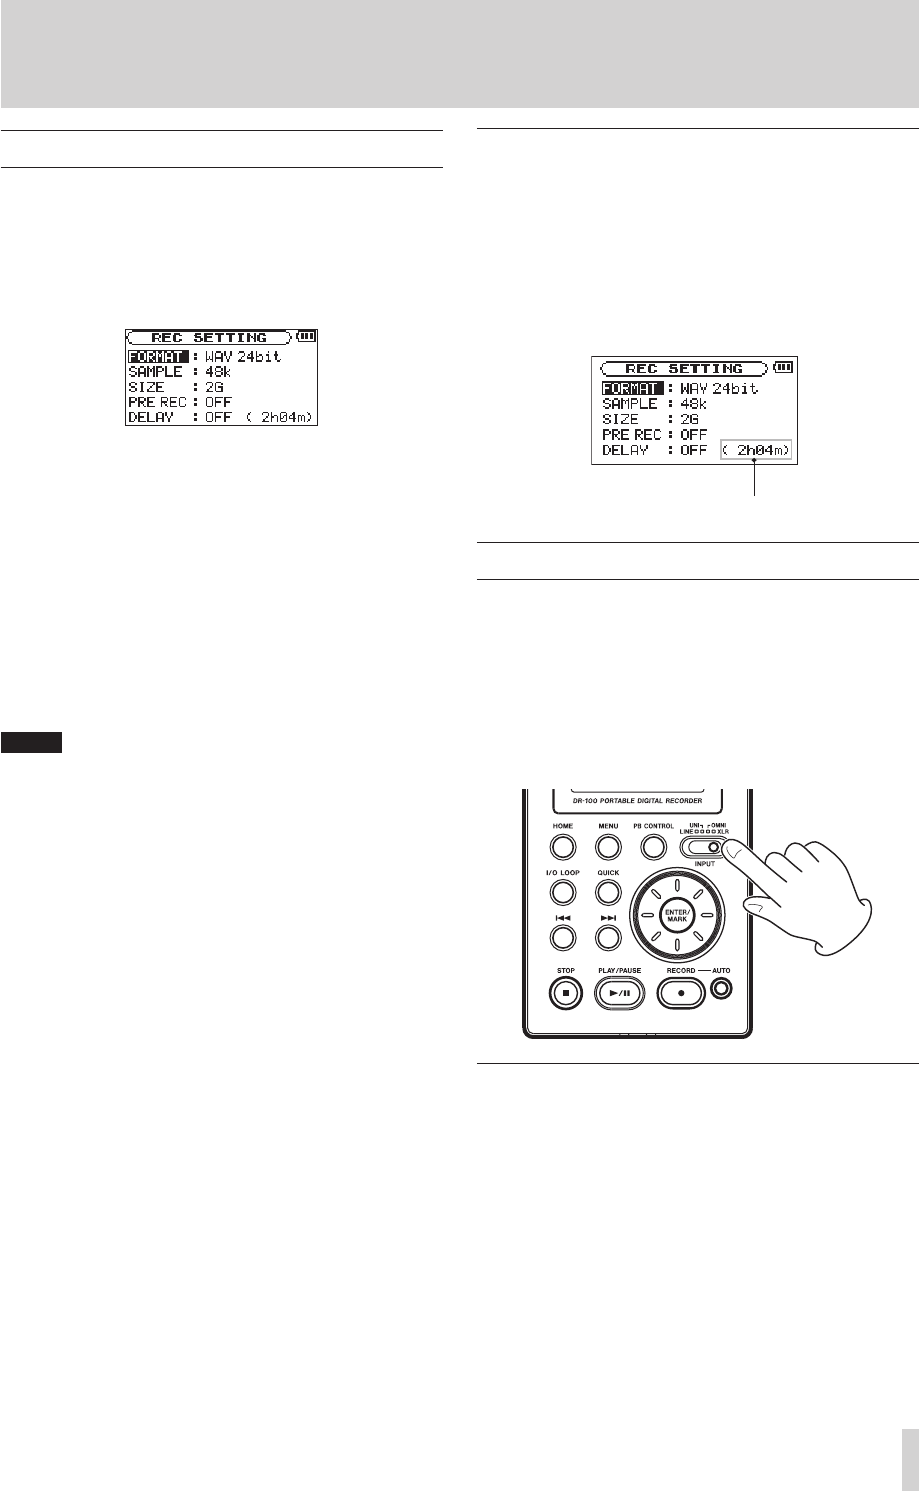
Recording with the built-in mics
(UNI/OMNI)
UNI MICS
Set the INPUT switch to UNI.
These mics are suitable for recording live
performances of instrumentalists and bands, as
well as eld recording, for example.
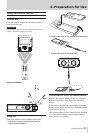
Point the mics at the sound source and place
the unit in a stable location where there is little
vibration.
If noise is caused by wind, attach the windscreen.