Fonts
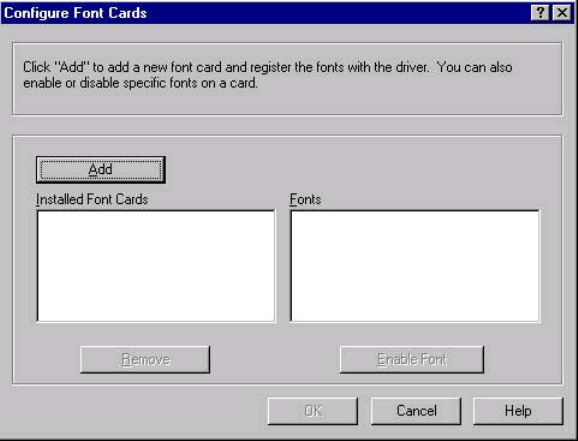
The Fonts group box contains a Font Card(s) check box and a corresponding Configure
button. Selecting the Font Card(s) check box tells the driver that a Font card is installed,
and that stored data about the fonts on the card is available. When the check box is
selected, the Configure button is enabled. Click the Configure button to open the
Configure Font Card(s) dialog box. If the Font Card(s) check box was not selected when
you opened the More Configuration Options dialog box, selecting that check box
automatically opens the Configure Font Cards dialog box.
Figure 3-26. Configure Font Cards dialog box
Use the Configure Font Cards dialog box to perform the following tasks:
● Add up to two font cards by clicking the Add button.
● Specify a unique font-card name.
● Select specific font card data files that contain lists of fonts on specified cards.
● Select one or more installed cards in the Installed Font Cards list. The list to the right
(Fonts) shows all of the fonts that are available on the selected card(s).
● Enable or disable one or more of the selected font(s).
1 Make sure that the font card is installed correctly.
2 Click Add. The Add Font Card dialog box appears.
3 Click Browse. The Font Card Files dialog box appears.
4 Find and select the appropriate Printer Cartridge Metrics (PCM) file that came with the font
card.
5 Click OK.
6 If you want, you can specify a Font Card Name in the Add Font Card dialog box.
7 Click OK. The selected .PCM file appears in the Installed Font Cards list. Select the .PCM
file to see a list of available fonts in the Fonts list.
8 Click OK to close the Add Font Card dialog box. The fonts on the card should now be
available on the system.
126 Properties tabs EN
