26
Standard programs
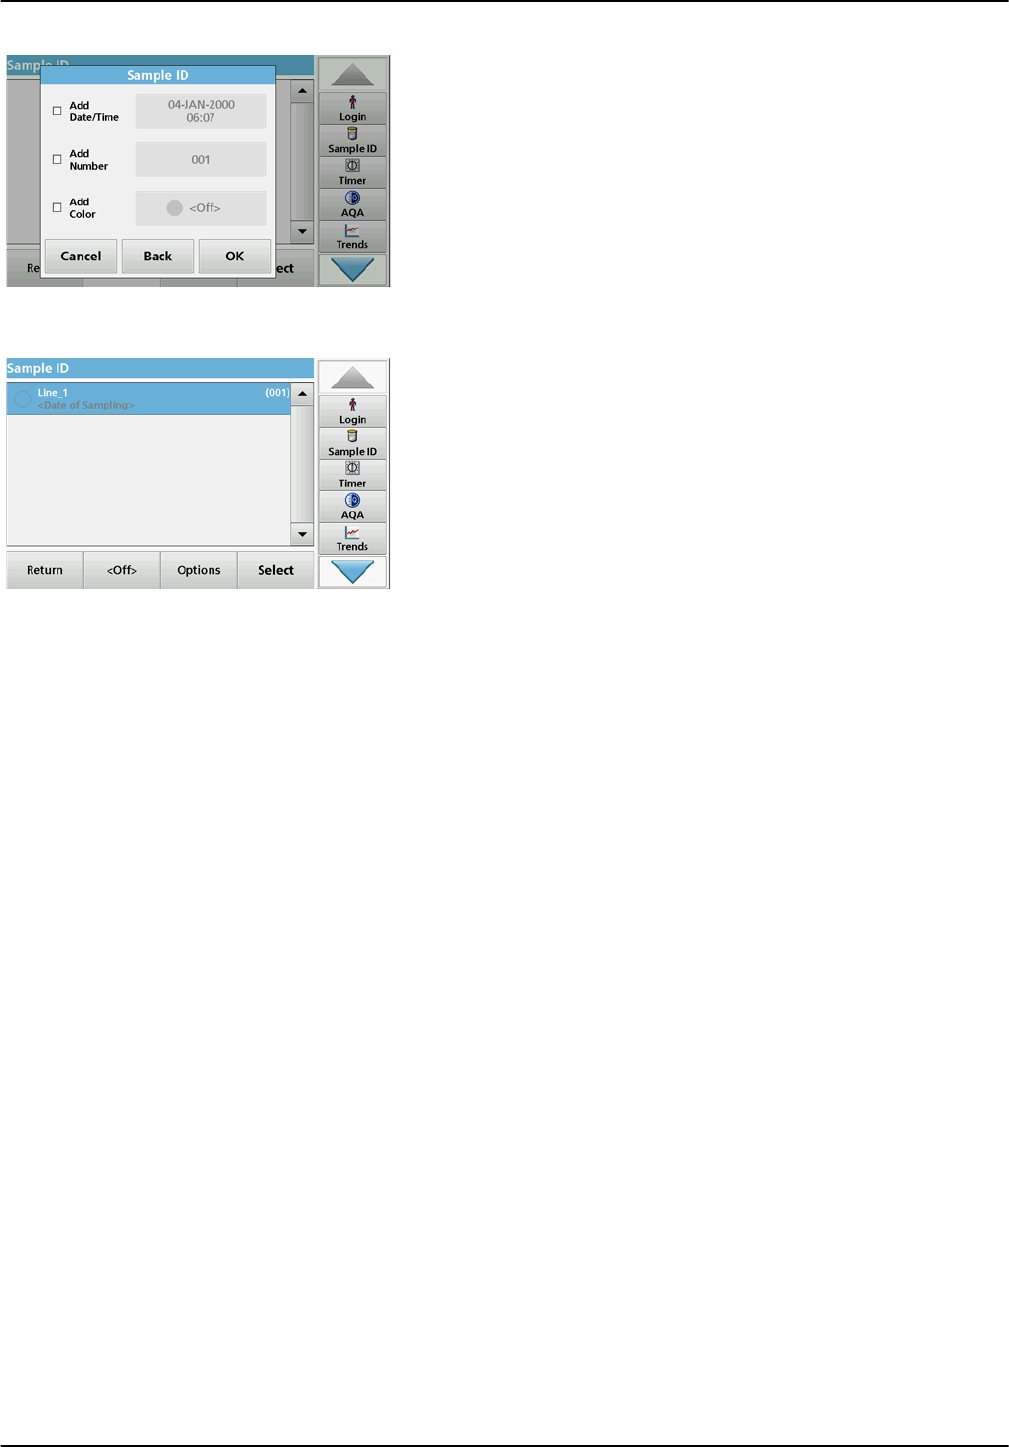
4. The sample ID can have the current date and time, a
sequential number and a colour allocated to it.
Select the required options or a colour.
5. Press OK to confirm the entry.
6. Press New again and repeat the process for each barcode.
5.2.2.2 Sample ID with hand-held scanner method 2
1. Read the sample ID in measurement mode with the
hand-held scanner and calibrate the cuvette.
The sample ID is saved togther with the measured value but
is not transferred to the list of sample IDs.
Note: To delete a sample ID, activate the ID by selecting it and pressing
Delete.
Note: A sample ID can be entered or changed in Reading Mode. To do
this, press Options > More > Instrument Setup. If a sample ID is
already assigned, select the "Sample ID" symbol.
5.2.2.3 Import sample ID list
1. Create an external sample ID list with a spreadsheet
program.
Four columns are permitted; column 1 contains the
sequential number, column 2 the sample designation,
columns 3 and 4 are optional.
Headings and comment lines must begin with #.
2. Create a folder named "Sample ID" on a USB stick or in your
established network.
3. Save the sample ID list with Save As in the format CSV or
UNICODE-TXT in the folder "Sample ID".
4. Connect the instrument to the USB stick or network.
All *.TXT and *.CSV files in the Sample ID folder will be
displayed for selection.


