24
Basic Operation
At the [VIDEO] menu, going to [TRANSITION] and setting [CH SCAN] to [ON] causes the video on channels 1 through 4 to be
switched automatically. Use [SCAN TIME] to adjust the display time for each respective channel. You can set the time at a value
from 1 to 120 seconds. Refer to “Menu Operations” (p. 44) and “VIDEO Menu” (p. 45).
* Channels that have no video input will be skipped.
* When [CH SCAN] is set to [ON], switching channels manually is not possible.
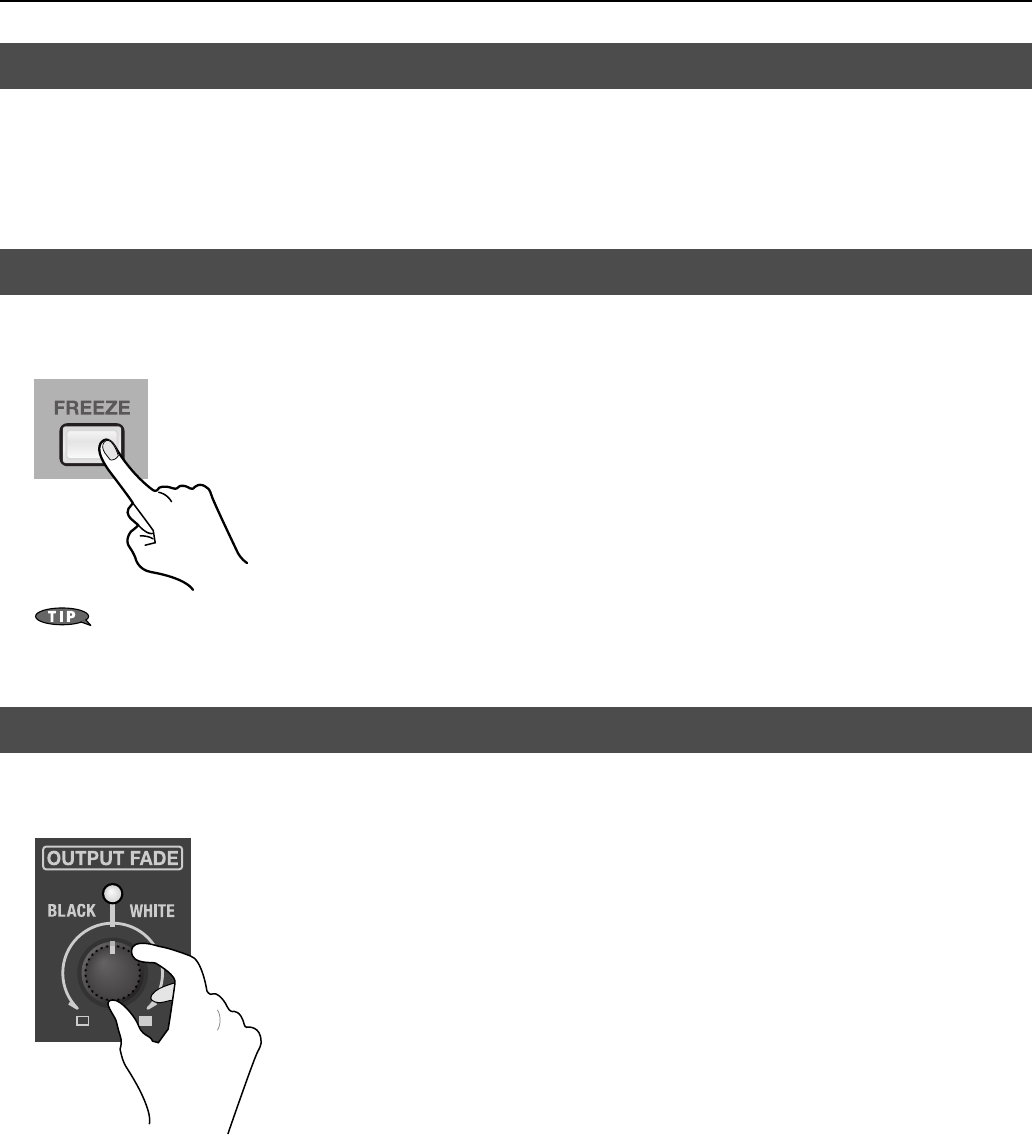
You can use the [FREEZE] button to freeze the picture in the final output. Pressing the [FREEZE] button freezes the final output.
Press the button again to return to normal output.
fig.freeze-button.eps
When you are changing the connections between two computers during output, freeze the output before disconnecting the first computer and
then end the freezing after connecting the second computer. This allows you to keep an active PC image on the screen while the VR-3 locks to the
new PC source.
You can apply a fade-in or fade-out to the final output by operating the [OUTPUT FADE] dial. This applies a white or black fade-out
at times when you want to suppress video output, such as during intervals in a band performance.
fig.fade-dial.eps
Fade Out
Turning the [OUTPUT FADE] dial clockwise applies a white fade-out, and turning the dial counterclockwise applies a black fade-
out. Applying a fade makes the indicator above the dial flash.
Fade In
Return the [OUTPUT FADE] dial to its center position. The indicator stops flashing and lights steadily and your output video
returns to normal.
Automatically Switching the Video
Freezing the Final Output
Applying a Fade to Final Video Output
