33
Compositing the Picture
1. On the monitor, display the inputs from the sources.
At [MONITOR], press the [INPUT] button.
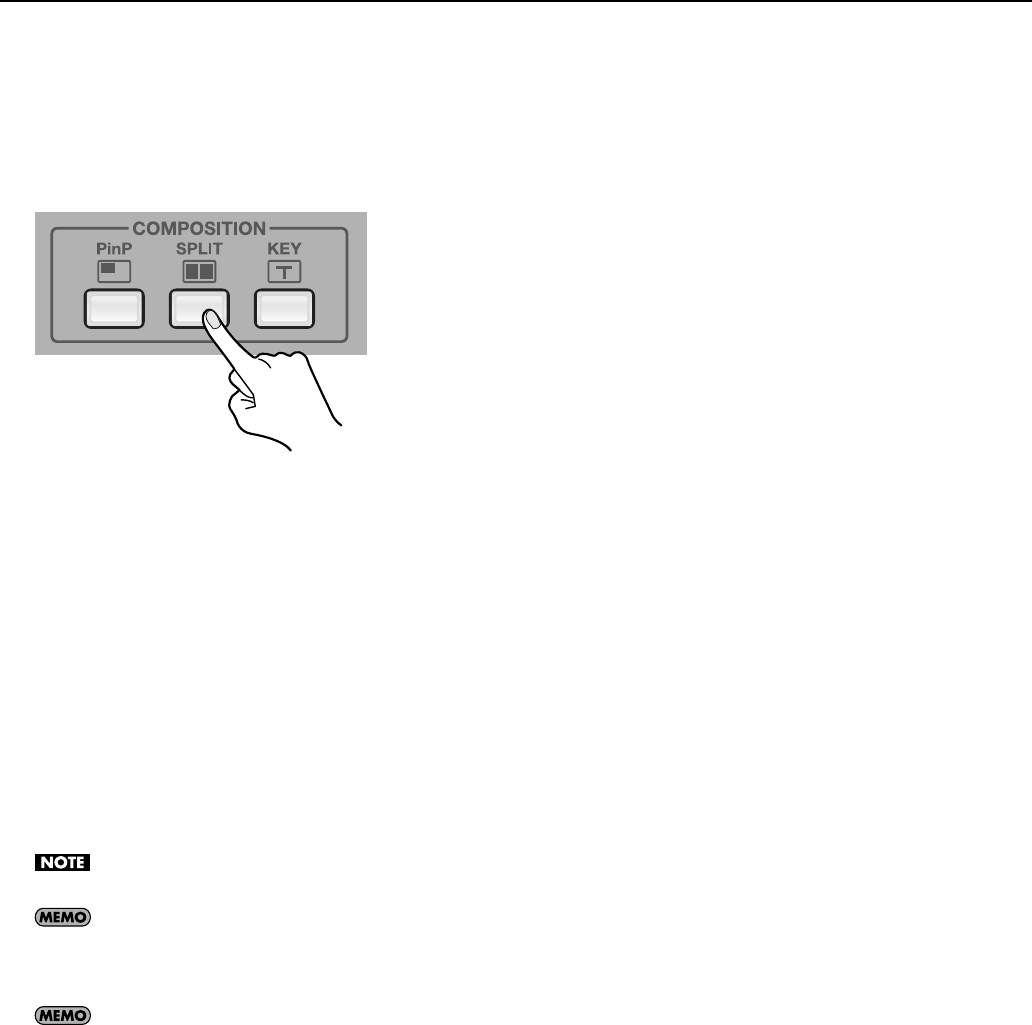
2. Select the split mode.
Go to [COMPOSITION] and press the [SPLIT] button to make it light up. [VIDEO SELECT] buttons [1] through [4] all simultaneously
flash in green.
fig.split-mode.eps
3. Select the channel to display on side A.
Use the touch panel to choose the channel to display on side A. A red border appears around the selected channel.
4. Select the channel to display on side B.
Use the [VIDEO SELECT] buttons to choose the channel to display on side B. A green border appears around the selected channel.
The indicator of the button also lights up in green.
* When the same channel is selected for side A and side B, only the red border is displayed.
5. Check the compositing results on the monitor.
At [MONITOR], press the [OUTPUT] button. You can use the built-in monitor to check the results of compositing.
6. Quit the split view.
Go to [COMPOSITION] and press the [SPLIT] button again to make it go dark. When it goes dark, the screen on side B disappears.
While compositing, no transition effect (MIX or WIPE) can be applied.
The duration of the fade during which the side-B picture appears or disappears is set by the time for transition effects. By default, this is set at 0.5
seconds. You can use the menus to change the time. Go to the [VIDEO] menu, and at [TRANSITION], adjust the setting value for [TRANSITION
TIME]. Refer to “Menu Operations” (p. 44) and “VIDEO Menu” (p. 45).
If [PREVIOUS SELECT] is turn on, the unit automatically selects the channels previously assigned for side A and side B when the [SPLIT] button is
pressed again. Go to the [VIDEO] menu, and at [SPLIT], set [PREVIOUS SELECT] to [ON]. Refer to “VIDEO Menu” (p. 45).


