


28
Basic Operation
You can use the [MASTER] fader to adjust the volume level of the final output. Operate the fader while watching the [MASTER]
indicator.
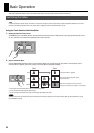
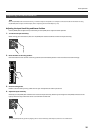
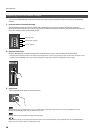
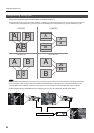
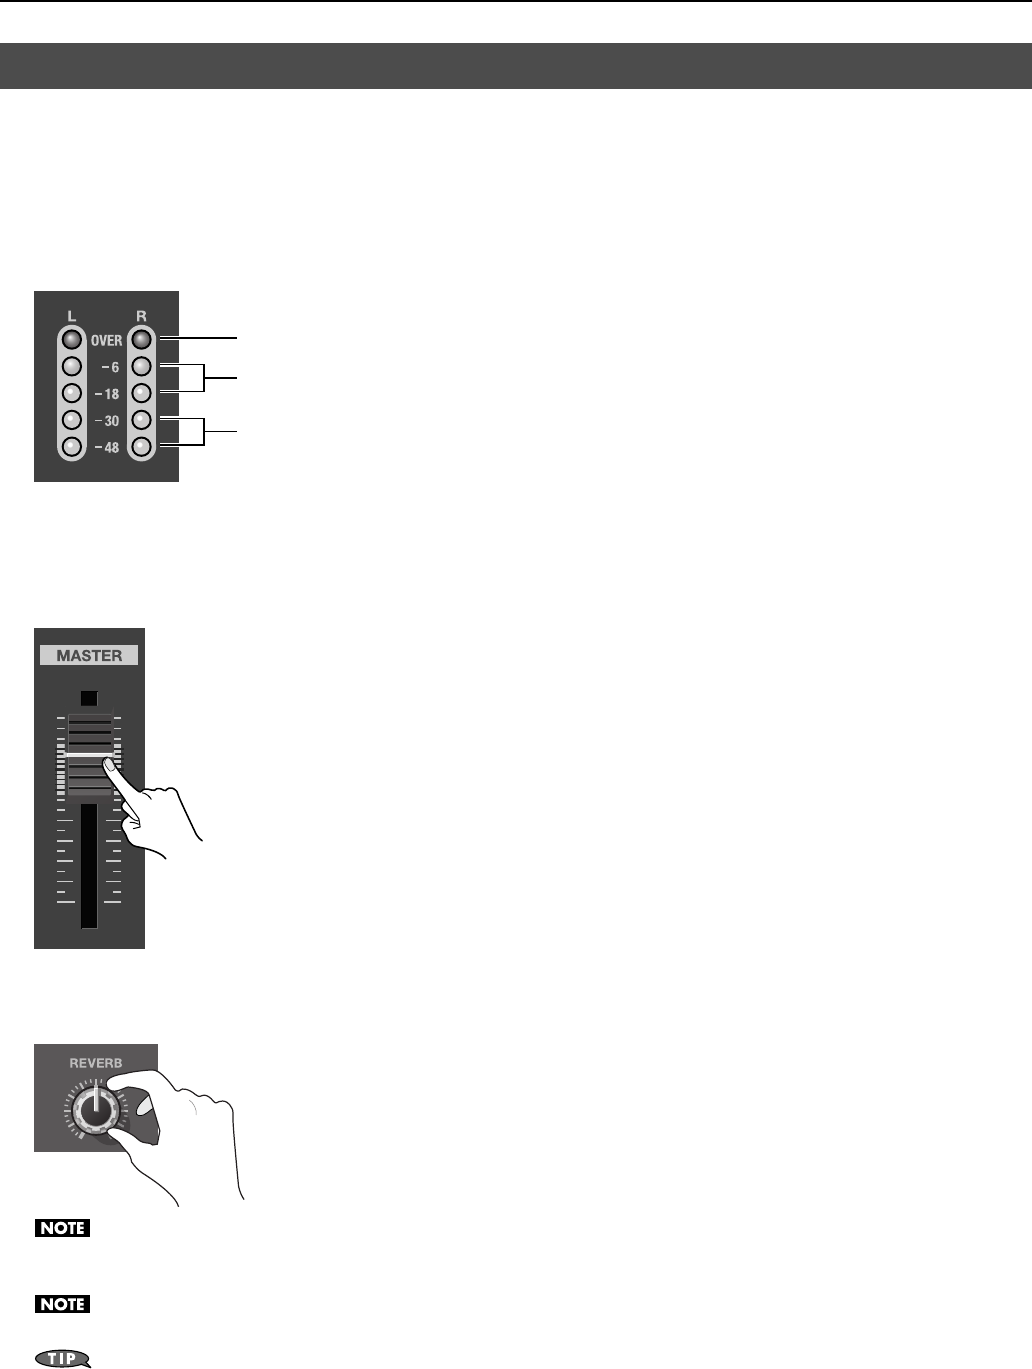
1. Check the volume level of the final output.
See the [MASTER] indicator to check the volume level. If [OVER] lights up, the volume level may be excessive, resulting in
distortion. If only the indicators up to [-48] or [-30] light up, the volume level may be insufficient. This might worsen the signal-to-
noise ratio, resulting in poor-quality speaker output.
fig.master-meter.eps
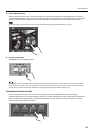
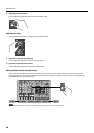
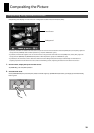
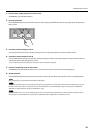
2. Adjust the volume level.
Move the [MASTER] fader to adjust the volume level. A suitable level is where [-18] to [-6] light up at maximum input.
* If the volume level of speaker output is not suitable even after adjustment so that [-18] to [-6] light up, adjust the volume for the speakers or the
amplifier. Using the [MASTER] fader to carry out further adjustment might result in distortion or degradation of sound quality.
fig.master-fader.eps
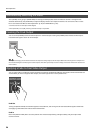
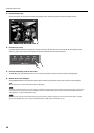
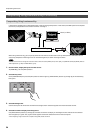
3. Apply reverb.
Turn the [REVERB] dial to adjust the amount of reverb.
fig.adjust-reverb.eps
When reverb has been switched off via the menu, no reverb is applied regardless of where the dial is set. Go to the [AUDIO] menu, and at
[REVERB], set [REVERB SW] to [ON]. Refer to “AUDIO Menu” (p. 46).
Excessive reverb may cause feedback/howling to the final output.
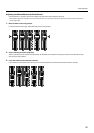
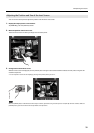
Using the menus (p. 44), you can adjust the amount of reverb on each channel individually. Go to the [AUDIO] menu and use [REVERB SEND] to
adjust the amount of reverb. Refer to “AUDIO Menu” (p. 46).
Adjusting the Final Audio Output
Too high (red)
Appropriate (orange)
Too low (green)