


40
Performing Output from the USB Port
For the video and audio signals from the VR-3 to be viewed and heard correctly on the computer, software that supports USB
video class and USB audio class must be installed and set up on the computer.
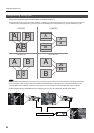
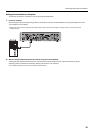
1. Prepare output of video or audio.
Operate the VR-3 to prepare the video and audio output for the computer.
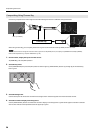
2. On the computer, check the input from the VR-3.
Start the program that supports USB video class/audio class, and check the video or audio input from the VR-3.
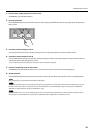
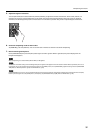
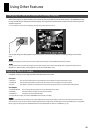
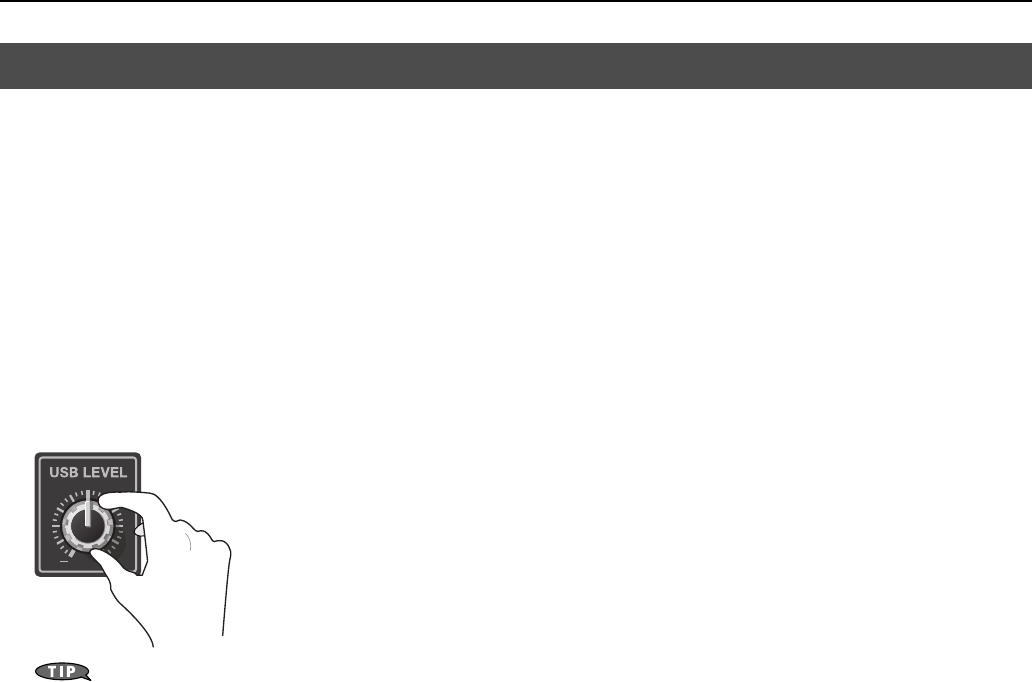
3. Adjust the output level of the audio.
You can adjust the level of the audio output to the computer by turning the [USB LEVEL] dial.
* When the dial is at the center position, the USB output level is same as analog output.
fig.USB-level.eps
You can use the menus to apply delay to the audio output from the USB connector and align the timing of the video and the audio. On the VR-3,
you can set the amounts of delay separately for the USB output and the analog output. Go to the [SYSTEM] menu, and at [AUDIO DELAY], adjust
the values for [ANALOG OUT DELAY] and [USB OUT DELAY]. Refer to “Menu Operations” (p. 44) and “SYSTEM Menu” (p. 47).
Output Signals
The following signals are output from the USB port on the VR-3.
• Video 720 x 480 pixels (when set to NTSC) or 720 x 576 pixels (when set to PAL)/Motion JPEG
• Audio 16 bits/48 kHz/linear PCM
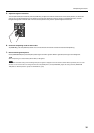
USB Video Filter
Using the menus to switch on the USB video filter lets you perform interpolation on the USB video output. At “SYSTEM Menu” (p.
47), set [USB VIDEO FILTER] to [ON].
* The analog output from is not affected.
* Applying the filter to video that has rapid motion can produce horizontal stripes in the picture. If this is a concern, set [USB VIDEO FILTER] to [OFF].
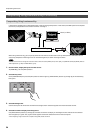
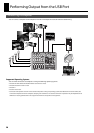
Performing Output to a Computer