


48
6. Use the step keys as a keyboard to record the phrase, pressing the
appropriate key to enter the desired pitch at the desired time.
7. The pattern will play back repeatedly. You can continue recording
while the REC key is lit.
Recording will stop when you press the STOP/CANCEL key, and
the REC key and PLAY/PAUSE key will go dark. Alternatively, you
can press the REC key instead of pressing the STOP/CANCEL key
to stop recording but continue playback. The REC key will go dark,
and the PLAY/PAUSE key will remain lit.
8. If you want to name and save the completed pattern, hold down the
SHIFT key and press the Write key (☞p.64 “Saving a pattern”).
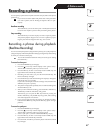
To record during playback
If a musical idea strikes you while a pattern is playing, you can start
recording immediately, without having to stop playback.
1. Start the pattern playing.
2. Press the REC key (it will light).
3. If you want to record a drum part, press the drum part key for that
part at the desired timing.
If you want to record a synth part, press the synth part key for the
part you want to record, and with the KEYBOARD key turned on,
play the step keys as a keyboard to enter the desired pitch at the
desired time.
4. When you have finished recording, press the REC key (the key will
go dark).
5. If you want to save the pattern, press the Write key (☞p.64 “Saving
a pattern”).
To erase unwanted triggers during playback (Erase)
While playing back, you can hold down the SHIFT key, and press
and hold the RESET/ERASE key to erase triggers that occur during
that time for the selected part (whose key is lit).
Step recording
The step recording procedure will differ depending on whether you are creating
a synth part phrase or a drum part rhythm.
When you press a drum part key, the Keyboard function of the step
keys will be defeated, but the Keyboard function will return to its
previous setting when you select a synth part once again.
To record a rhythm for a drum part
1. Press the PATTERN key (it will light).
Press the [ ] cursor key several times until the display reads “(pat-
tern name).” Turn the dial to select the pattern you want to record.
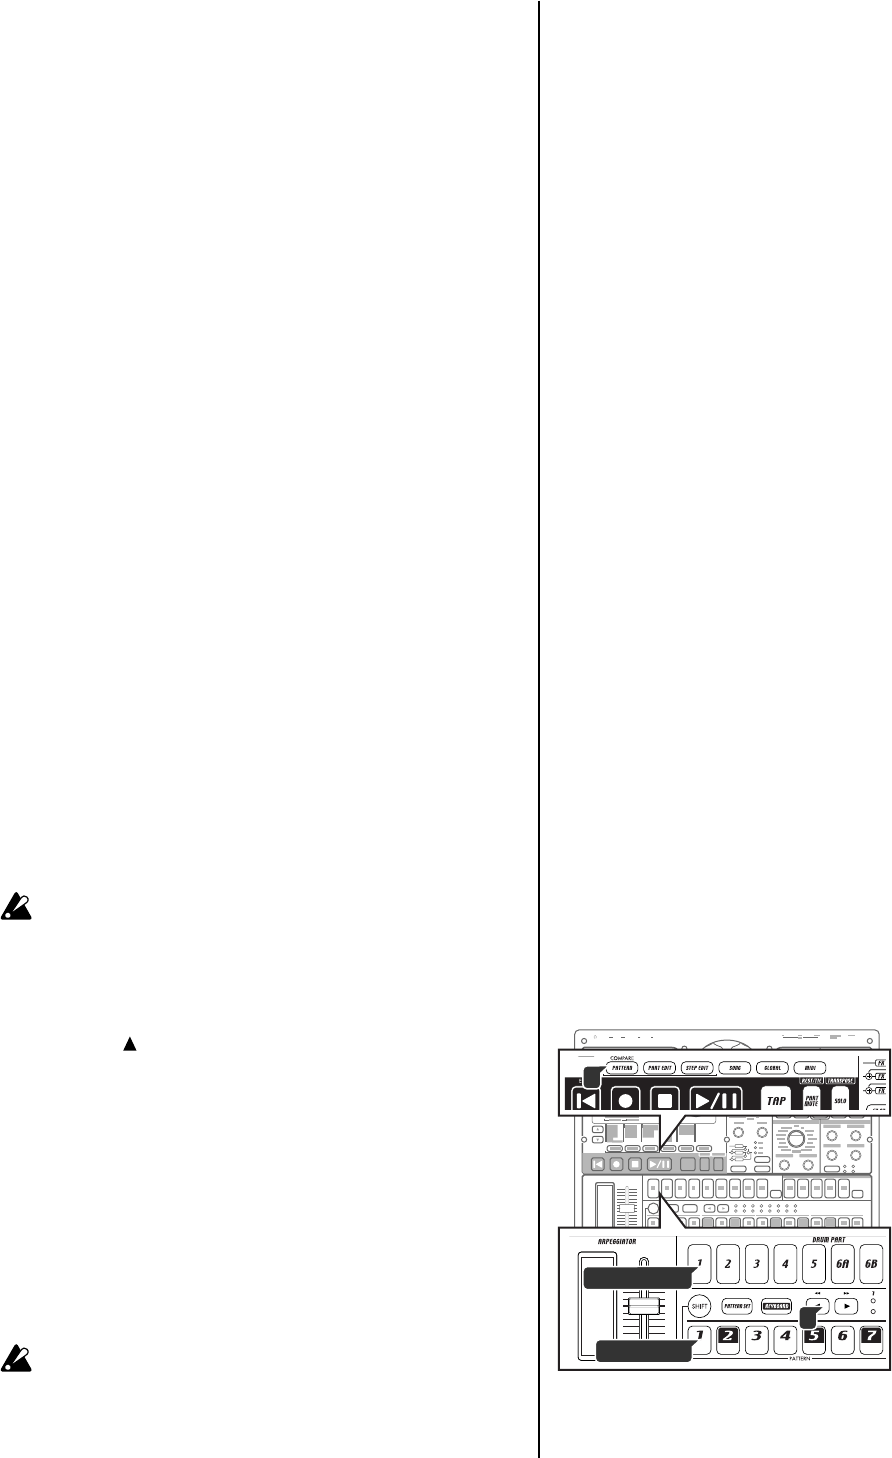
2. Press the drum part key of the part you want to record. (The key
will light.)
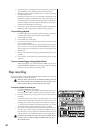
3. Use the select keys to select which area of the pattern you want to
edit. The lower line of LEDs will indicate the area in which you will
be editing. For example, if the pattern to be edited has a length of
“2” and you wish to edit the second half of the pattern, you would
use the select keys to advance the red led to the “2” position.
4. The step keys will light to indicate the rhythm of the selected pat-
tern. You can press the step keys to change the rhythm of the pat-
tern. Each time you press a step key, it will alternate between on (lit)
and off (dark). You can make these changes even during playback.
Drum parts 6A and 6B, and 7A and 7B, cannot be played simulta-
neously. If both ‘A’ and ‘B’ are triggered simultaneously, only ‘B’ (i.e.,
6B or 7B) will sound.
1
3
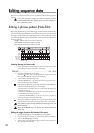
Step keys
Drum part key