


83
7. MIDI mode
Setting the pitch bend range
When the EMX-1 receives a pitch bend message [En, vv, vv]
(vv, vv: lower and upper bytes of the value, together express-
ing a range of 16384 steps with 8192 [vv,vv=00H, 40H]), pitch
bend will be applied to the synth part receiving on that chan-
nel. The bend range setting described below specifies the
amount of pitch change that will actually occur in response
to MIDI pitch bend messages.
Setting the pitch bend range
BEND RANGE .................................. -12...12
Here’s how to specify the maximum amount of
pitch change that can occur when a MIDI pitch bend
message is received.
1. Press the MIDI key (the key will light).
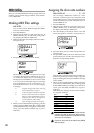
2. Press the [ ] key to change the display to read
“BendRnge.”
3. Turn the dial to select the range of pitch change. A
setting of ±1 allows a semitone of change, ±2 a
whole step, ±7 a fifth, and ±12 one octave.
For some sounds, it may not be possible to raise
the pitch all the way in the specified range.
Synchronizing playback with
an external MIDI device
You can synchronize the tempo of the EMX-1 to the tempo
of an external MIDI device that is able to send or receive
MIDI clock data.
For details on synchronization settings on your external MIDI
device, refer to the manual for that device.
We recommend that you use the EMX-1 as the
master.
CLOCK ......................................Int, Ext, Auto
Int: The EMX-1 will be the master; the exter-
nal MIDI device will synchronize to it.
Ext: The external MIDI device will be the
master; the EMX-1 will synchronize to it.
Auto: If MIDI clock messages are being received
from a connected external MIDI device,
the EMX-1 will automatically operate
with the “Ext” setting. Otherwise it will
operate with the “Int” setting.
To use the EMX-1 as the master, and synchronize an
external MIDI device to it
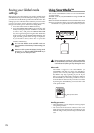
1. Use a MIDI cable to connect the EMX-1’s MIDI OUT
connector to the MIDI IN connector of your exter-
nal MIDI device (e.g., sequencer or sound module).
2. Press the MIDI key (it will light).
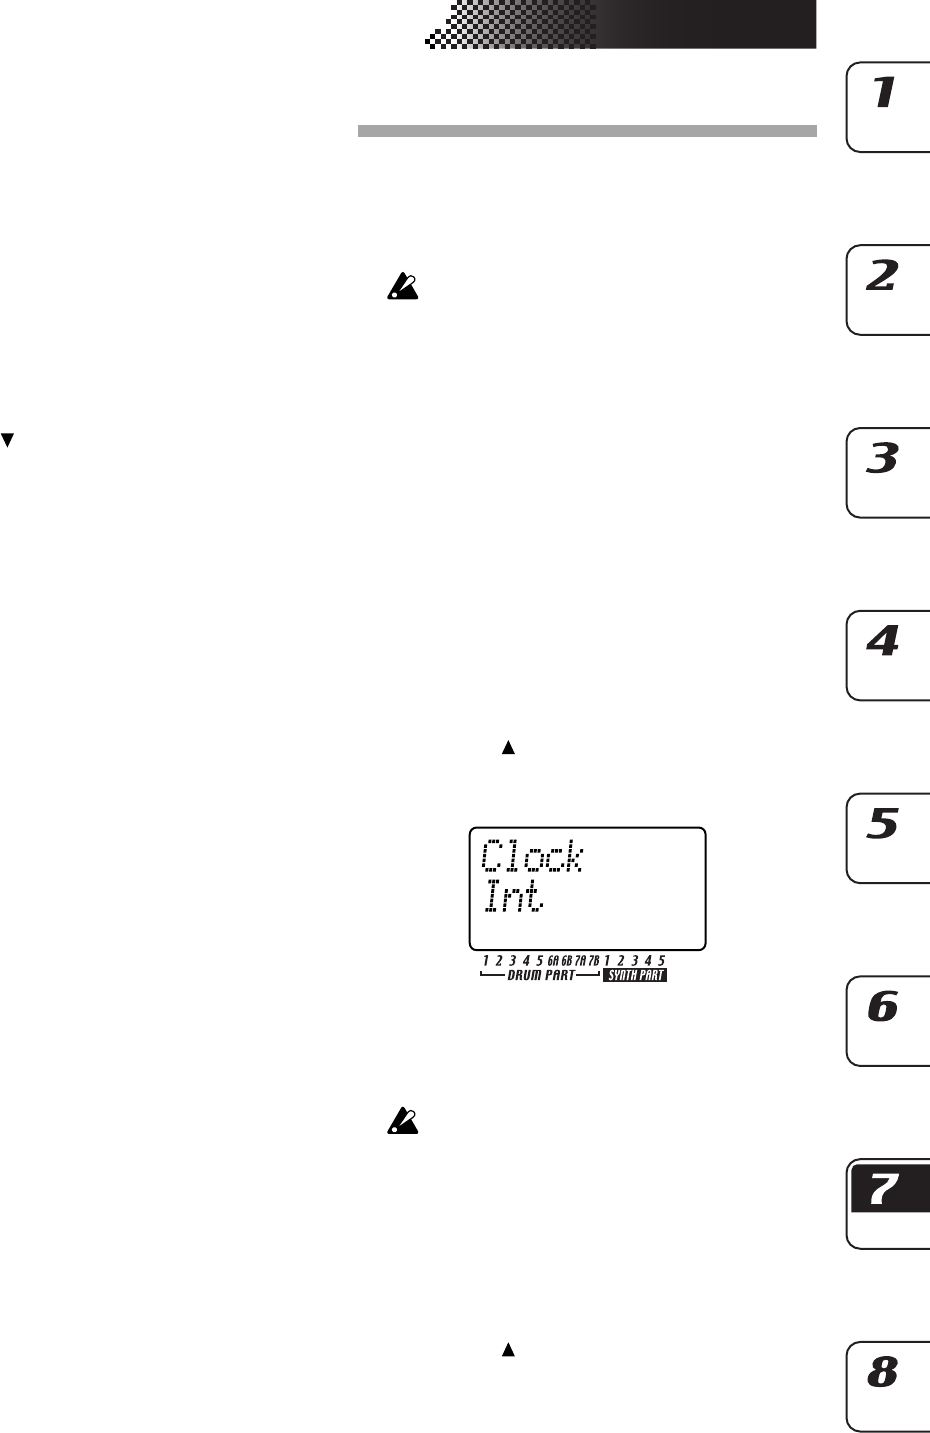
3. Press the [
] cursor key to change the display to
read “Clock.”
4. Turn the dial to select “Int” (internal clock).
5. Make settings on your external MIDI device (slave)
so that it will receive MIDI clock messages.
6. When you start playback on the EMX-1, the exter-
nal MIDI device will operate in synchronization
with it.
When you use RESET/PLAY to play back from the
beginning of the pattern, only the MIDI Start mes-
sage will be transmitted.
To use the external MIDI device as the master, and syn-
chronize the EMX-1 to it
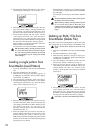
1. Use a MIDI cable to connect the EMX-1’s MIDI IN
connector to the MIDI OUT connector of your ex-
ternal MIDI device (e.g., sequencer or synthesizer).
2. Press the MIDI key (it will light).
3. Press the [
] cursor key to change the display to
read “Clock.”
4. Turn the dial to select “Ext” (external clock).