


80
MIDI Utility
Here you can make MIDI filter settings, assign drum note
numbers, assign control change numbers, and transmit/
receive MIDI data.
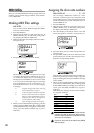
Making MIDI filter settings
MIDI FILTER ...................................................
You can select which MIDI messages the EMX-1
will receive and transmit.
1. Press the MIDI key.
2. Hold down the shift key and press step key 12
(MIDI UTILITY) (key 12 will blink). The param-
eter display will indicate “MIDI Util.”
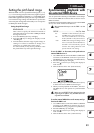
3. Make sure that the value display indicates “Filter,”
and press key 12.
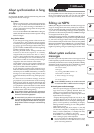
4. The parameter display will read “PCEN.”
The characters “PCEN” correspond to four types
of message whose status is indicated by an “O” or
“X” in the value display. If you want a category of
message to be transmitted/received, set its status
to “O.” If you don't want that category of message
to be transmitted/received, set its status to “X.”
Turn the dial to select “O” or “X” for each category
of message.
P: Program change, bank select, and song
select transmission/reception.
C: Control change transmission/reception.
E: Exclusive data transmission/reception.
However while the MIDI Dump page is
displayed, this data can always be re-
ceived regardless of this setting.
N: Note message transmission/reception.
5. When you have finished making settings, press the
12 key to return to MIDI mode. (Key 12 will go dark
and the MIDI mode key will light.) If you decide to
cancel, press the STOP/CANCEL key or press a
mode key.
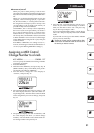
Assigning the drum note numbers
DRUM NOTE NO. ........................... C-1...G9
You can assign a MIDI note number (as a note
name) for each drum part. If you assign the same
note number for two or more parts, those parts will
sound simultaneously when controlled from an
external MIDI device.
1. Press the MIDI key.
2. Hold down the shift key and press step key 12
(MIDI UTILITY) (key 12 will blink). The param-
eter display will indicate “MIDI Util.”
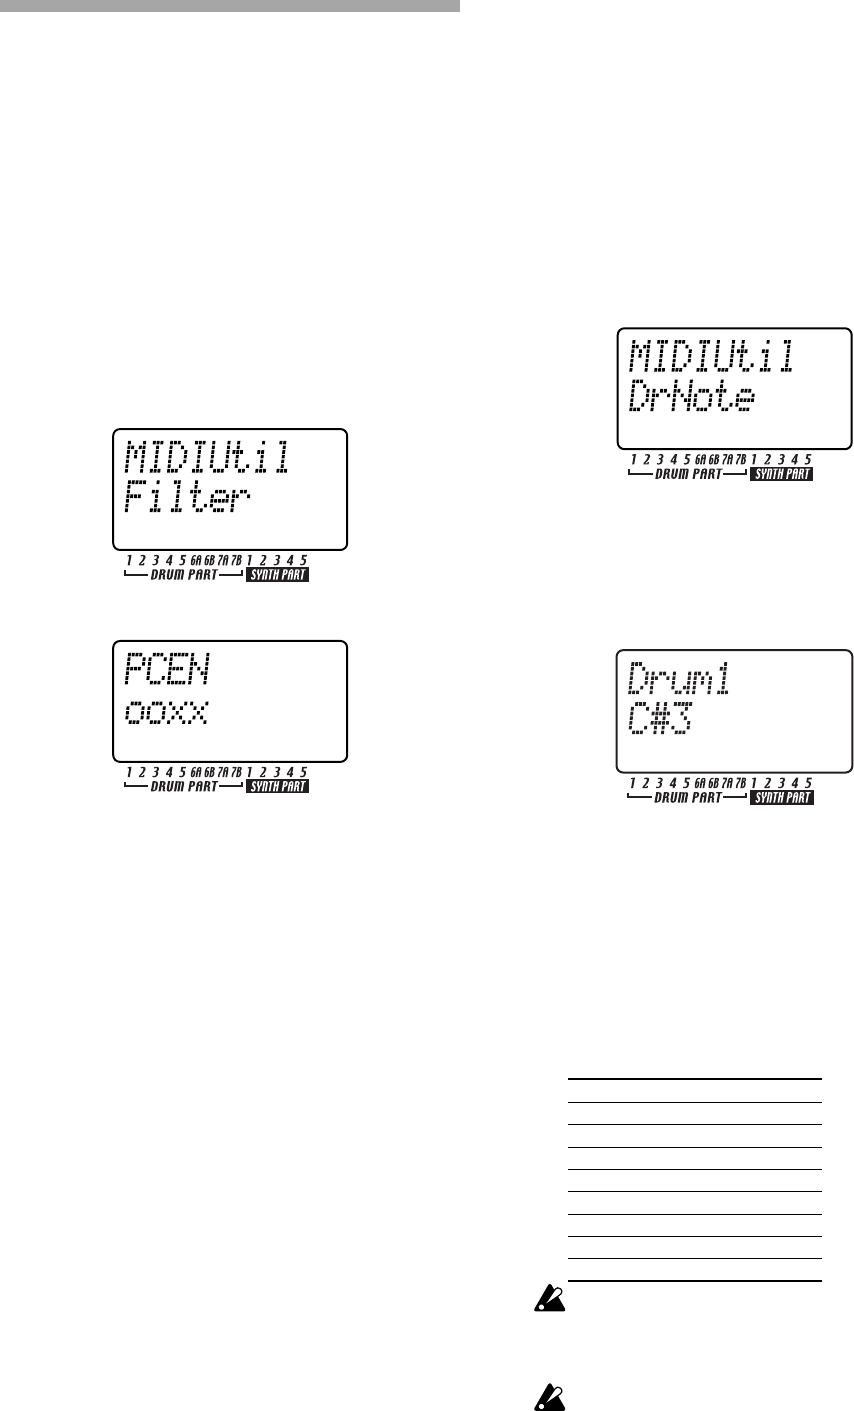
3. The value display will indicate “Filter.” Turn the
dial to change this to “DrNote,” and press key 12.
4. Press the drum part key whose note number you
want to assign.
5. The parameter display will show the name of the
selected drum part, and the value display will in-
dicate the corresponding number.
Turn the dial to select the desired note number. For
each drum part that you want to assign, repeat the
steps of selecting the drum part and then selecting
a note number.
6. When you have finished making settings, press key
12 to return to MIDI mode. (Key 12 will go dark
and the MIDI mode key will light.) If you decide to
cancel, press the STOP/CANCEL key or press a
mode key.
With the factory settings, the drum note numbers
are assigned as follows.
Part Note
Drum1 C2
Drum2 D2
Drum3 E2
Drum4 F2
Drum5 G2
Drum6A F
2
Drum6B A
2
Drum7A C
3
Drum7B D
3
The correspondence between note names and note
numbers may differ for devices of different manu-
facturers. Please check this correspondence for the
device you are connecting.
Each drum part knob can be edited using NRPN
MIDI messages.