


81
7. MIDI mode
About note-on/note-off
When you press a drum part key, a note-on mes-
sage of the note number assigned to each drum part
key will be transmitted on the specified MIDI chan-
nel.
When you use the Keyboard function to play the
step keys, a note-on message [9n, kk, vv] (n: chan-
nel, kk: note number, vv: velocity) of the note num-
ber assigned to each step key and a velocity value
corresponding to the strength with which you
pressed the key will be transmitted.
On the EMX-1, the vv:velocity value is adjusted by
the level of each accent part. When you release a
key, a note-off message [8n, kk, vv] will be trans-
mitted. However, very few devices receive note-
off velocity data, and the EMX-1 does not transmit
it. When the EMX-1 receives note-on/off messages
on the MIDI channel assigned for a part, that part
will be sounded.
If the EMX-1’s MIDI filter “N” setting is set to “x,”
note-on/off messages will not be transmitted or re-
ceived. (☞p.80 “Making MIDI filter settings”)
Assigning a MIDI Control
Change Number to a knob
#CC ASSIGN .......................... CC#000...127
You can specify the MIDI control change number
assigned to each knob.
1. Press the MIDI key.
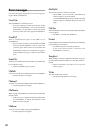
2. Hold down the SHIFT key and press step key 12
(MIDI UTILITY). (Key 12 will blink.) The param-
eter display will indicate “MIDIUtil.”
3. Turn the dial to change the value display to
“CCAsin,” and press key 12.
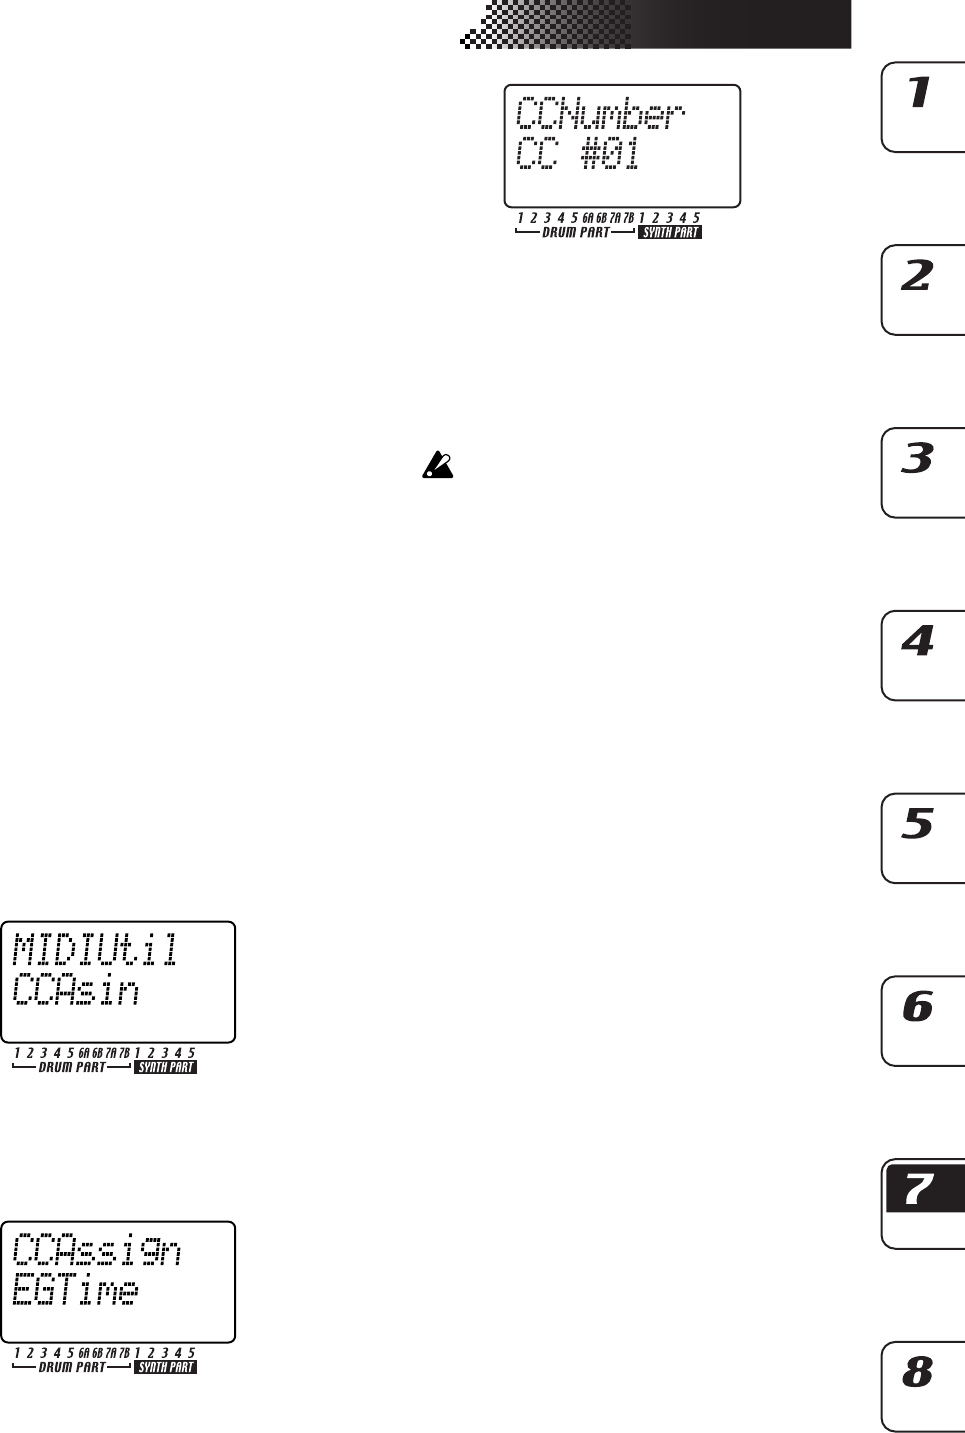
4. The parameter display will read “CCAssign,” and
the value display will show “(the name of the cor-
responding knob).” Turn the dial to select the knob
whose assignment you want to change, and press
key 12.
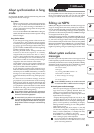
5. The parameter display will read “CCNumber,” and
the value display will show “(a control change
number).” Turn the knob to select the desired con-
trol change number and press key 12.
6. Press step key 12 and the display will ask “Con-
tinue?” If you want to make settings for another
knob, use the dial to select “Yes” and press step
key 12. Then repeat steps 4 and 5.
If you are finished making settings, use the dial to
select “No” and press step key 12 to return to MIDI
mode.
If you decide to cancel, press the STOP/CANCEL
key or press any mode key.
Support for control change numbers will be differ-
ent for each manufacturer. Refer to the manual of
the device you want to connect.