66
Erasing the sequence data of a part
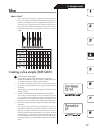
To erase sequence data from the selected part, you can use the sixteen step keys
to turn each trigger on/off independently, or use one of the following two operations.
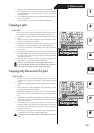
To erase all of a part’s performance data
CLEAR PART ............................................................................
This operation erases the rhythm or phrase pattern (trigger, note
number, gate time) and motion sequence data at once.
1. If the ESX-1 is playing, press the STOP/CANCEL key to stop play-
back.
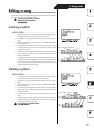
2. Hold down the SHIFT key and press step key 6 (CLEAR PART).
(Key 6 will blink.)
3. Press the part key whose data you want to erase. You may select
more than one part at this time. The selected part keys will blink.
You can press a part key to hear its sound. (Keyboard parts will sound
at C4.)
4. Press step key 6 once again to execute the Clear operation. If you
decide to cancel, press the STOP/CANCEL key.
When you execute this Clear Part operation on a keyboard part, all
steps of the phrase pattern will be set to a pitch of C4 and a gate
time of “0.75”.
Executing the Clear Part operation will not clear the sound settings.
To erase trigger data while recording or playing back
ERASE ....................................................................................
1. Press the part key to select the part where you will be erasing data.
2. During playback or recording, hold down the SHIFT key, and press
and hold the RESET/ERASE key to erase the data that plays back
during that time.
For a keyboard part, this erases only the trigger data; the note num-
ber and gate time for each step will remain.
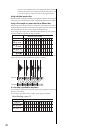
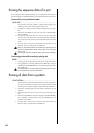
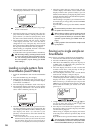
Erasing all data from a pattern
CLEAR PATTERN ......................................................................
This operation erases all of the data from the currently selected pat-
tern. The sound settings of each part, the sequence data (including
motion sequences), tempo, length, and beat will all be initialized.
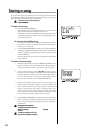
1. If the ESX-1 is playing back, press the STOP/CANCEL key to stop
playback.
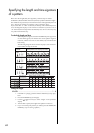
2. Select the pattern that you want to erase (☞p.36: Selecting a pat-
tern).
3. Hold down the SHIFT key and press step key 7 (CLEAR PATTERN).
(Key 7 will blink.) At this time, you can press the SHIFT key to see
the name of the pattern.
4. Press step key 7 once again to execute the Clear operation. If you
decide to cancel, press the STOP/CANCEL key.