


78
Chapter 6. Using Arpeggiator (ARPEGGIATOR)
Creating Styles by Playing Sounds
One At a Time (STEP)
This creates styles in a similar manner to using a sequencer’s Step
Recording function. Notes and rests are input and recorded one by
one.
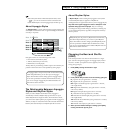
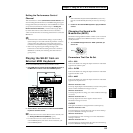
1. Hold down ARPEGGIATOR [ON] and press [VALUE ▲
(STEP)].
[ON] lights up while [VALUE ▲] blinks. “toP” appears in the
display, indicating that the SH-32 is in Step Input standby.
Additionally, the Preview (note-entry) function is turned on
automatically.
fig.06-08
2. Press the SH-32’s note-entry buttons or play an external
MIDI keyboard to input the first note.
“G.02” appears in the display. The first note is input to the
beginning grid, and input to the next grid is enabled.
•A maximum of sixteen notes (specifying the sound pitch) can be
used within one Style. The pitches are no longer recorded once
you input the seventeenth and any other further notes that have
new pitches. Although in this case, the grid continues, but note
that the data is blank.
• Be aware that if you input a new note before releasing the note-
entry button or key on the keyboard for the note currently being
input, both notes will be input together as a chord at the same
grid.
When inputting with an external MIDI keyboard, the force with
which the keys are pressed (velocity) is also recorded, and this is
reflected in arpeggios in the level and relative strength of the
notes expressed.
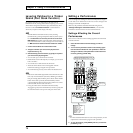
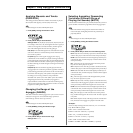
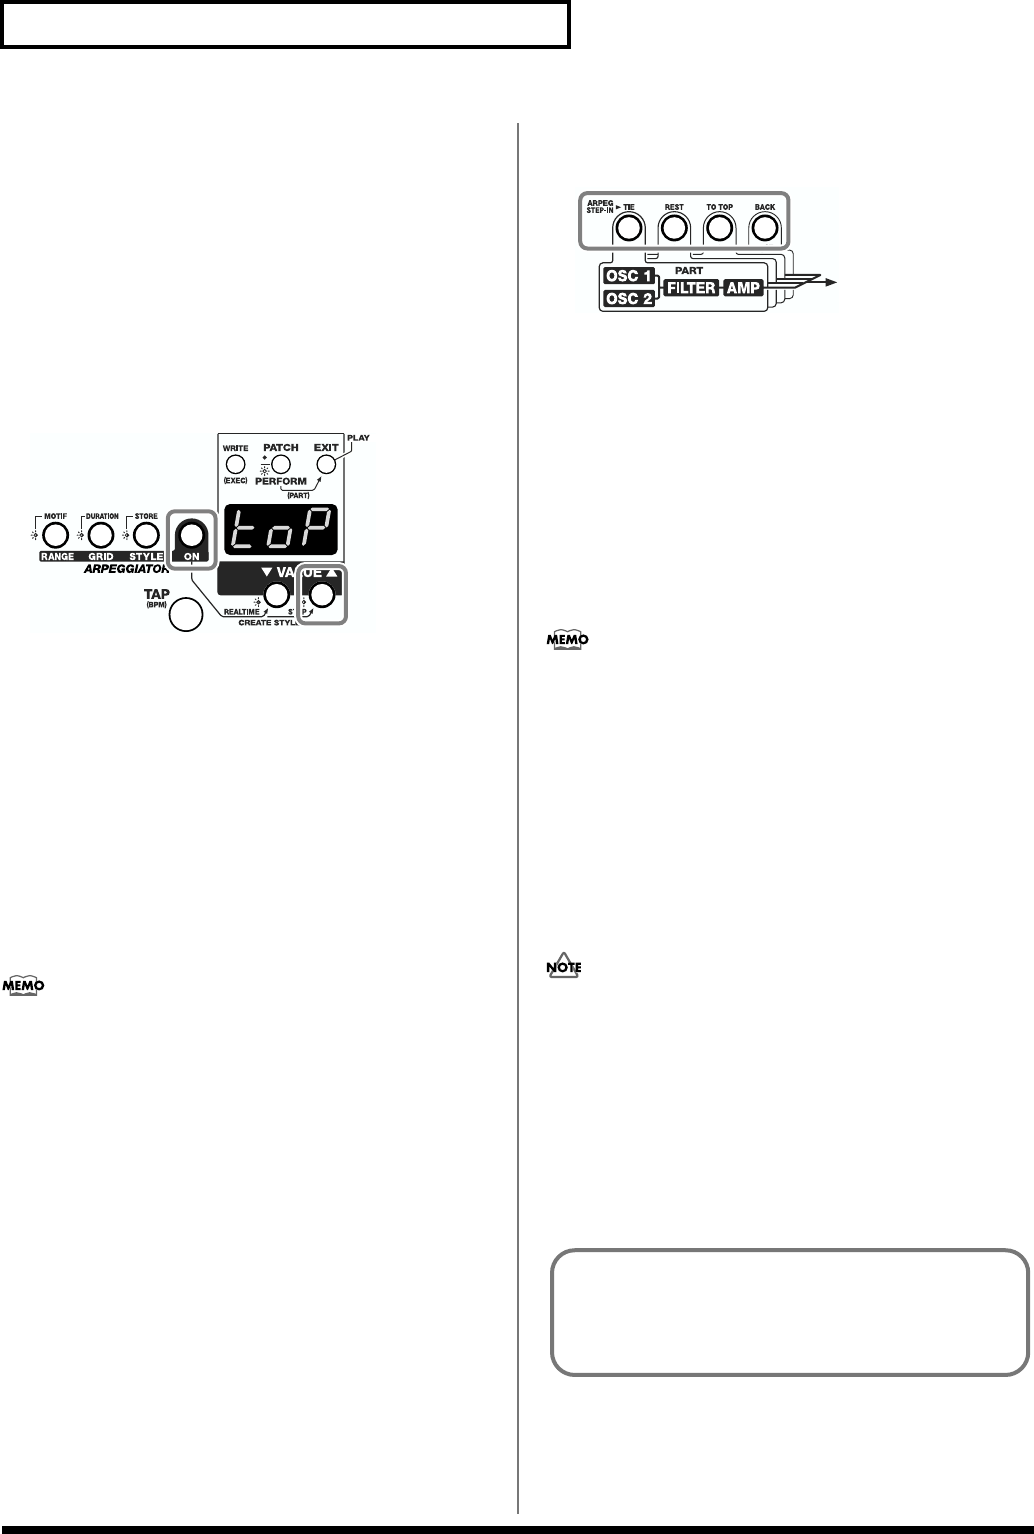
3. In Step Input, you can use the following buttons to input ties
and rests, and erase the immediately preceding input.
fig.06-09
[TIE] (Part button 1): A tie is input to the grid, and the note
input just before is connected with the tie.
[REST] (Part button 2): A rest is input to the grid.
[TO TOP] (Part button 3): This determines the Style’s length
when repeatedly layering input. When you press [TO TOP], the
last grid to have data input to it is made the final step of the
Style, and the Style returns to the beginning grid as the next grid
to which data is input. After this, while inputting on the second
and later cycles, when you reach the end of the Style as
determined in the first cycle, the Style automatically returns to
the beginning grid; you can continue with repeating input until
you press [EXIT].
If you continue to input data without pressing [TO TOP], the
Style returns to the beginning grid once the limit (32nd grid) is
reached.
[BACK] (Part button 4): Deletes the last note input and returns
you to the grid immediately preceding the current input grid.
You cannot go back more than one note.
4. When you have finished recording with Step Input, press
[EXIT].
5. Confirm that Arpeggiator is on ([ON] is lit), and press the SH-
32’s note-entry buttons or play the external MIDI keyboard to
check the results of the Step Input.
You cannot do partial edits of Styles. If a mistake is made, re-
input the Style.
6. Remake the setting for the grid type (GRID: p. 75), duration
(DURATION: p. 76), octave range (RANGE: p. 76), motif
(MOTIF: p. 76), and tempo (BPM: p. 74) as needed.
7. If satisfied with the results of Step Input, save the created
Style (p. 79). Additionally, if you also want to save the
parameter settings changed in a previous step, carry out the
write procedure for the Patch or Performance.
You can create Rhythm Styles using the same procedure
described above when selecting a Rhythm Set in Patch
mode, or when selecting a Part (4/R) to which a Rhythm Set
is assigned while in Performance mode.