TASCAM DP-008EX
31
3 – Names and functions of parts
Screen operations
After using the MENU button or a dedicated button
to open a screen, use the screen in the following
manner.
This section describes the basic operation procedures.
Depending on the screen that is open the assign-
ments of the function buttons might differ.
NOTE
During playback or recording, you cannot open
screens that might access the SD card. If you try
to open one of these screens, a
Not Stopped
(the recorder is not stopped) pop-up message will
appear.
Function buttons
The currently assigned function of each button is
shown above it at the bottom of the screen. In this
manual, for convenience, we refer to the function
buttons as F1, F2, F3 and F4 in order from the left.
BACK
appears above the F1 button, showing that this
is the function assigned to this button on the screen.
In this manual, we write this as “F1 [BACK] button”.
In a similar manner the assignments for the F2, F3
and F4 buttons are
EXEC
,
INS
and
DEL
in that order.
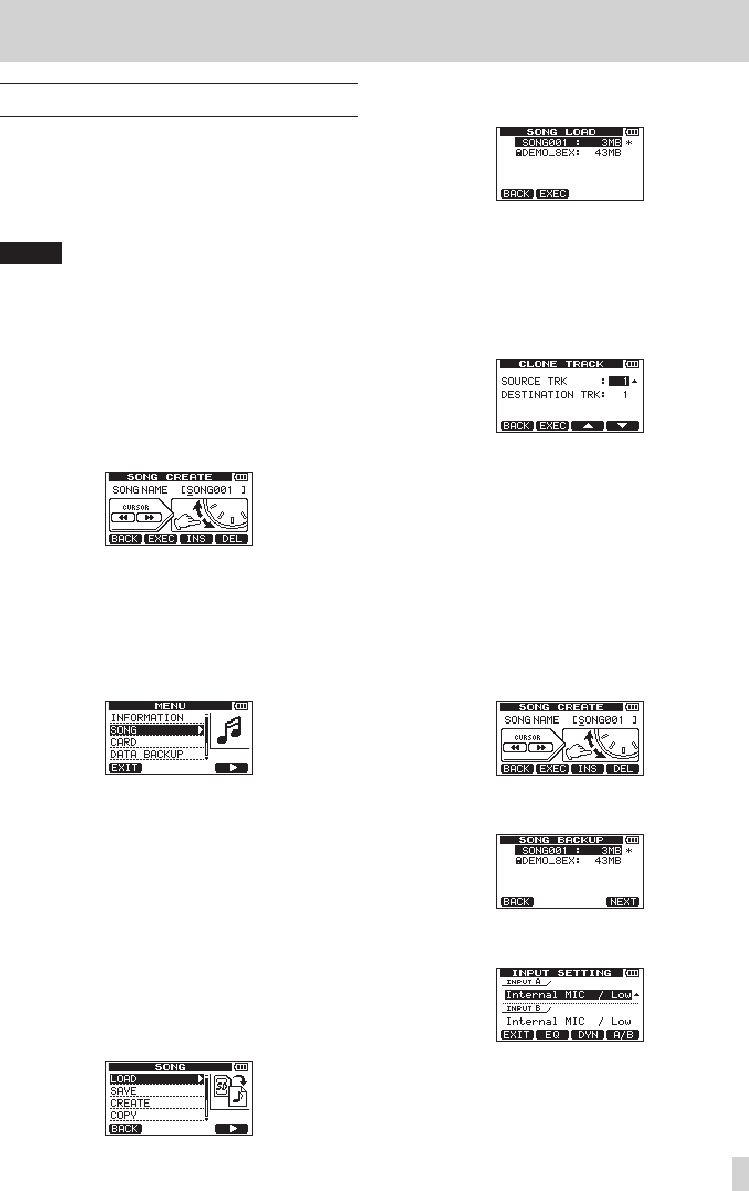
0 Use the DATA wheel to select (highlight) items
you want to access.
This example shows the
MENU
screen.
On the screen, the
SONG
item is selected
(highlighted).
0 When there are more items in the menu list above
(below) those currently shown, a 5 and b icon
appears at the top (bottom) of the scrollbar in
the right half of the screen. (In the
MENU
screen
shown above, the b shows that there is at least
one more item below
DATA BUCKUP
.)
0 If an item has a submenu (as on the
MENU
screen,
for example), an t appears to its right, and
pressing the F4 [t] button will open it.
0 In a submenu, you can press the F1 [BACK]
button to return to the previous screen.
0 To execute an operation, press the function
button that has
EXEC
assigned to it.
This example shows the
SONG LOAD
screen.
Press the F2 [EXEC] button to load the selected
(highlighted) song.
0 When a setting value is selected (highlighted),
use the DATA wheel to change the value.
To select (highlight) different item press the
function button that has 5 or b assigned to it.
This example shows the
CLONE TRACK
screen.
Use the DATA wheel to change the
SOURCE TRK
(the track that is being copied) value.
Use the F3 [5] and F4 [b] buttons to move up
and down to change the selected (highlighted)
item.
Press the F2 [EXEC] button to clone the track
using the settings that you made.
0 When moving left or right is possible, use the
m [RTZ] and , [LRP] buttons. When this
operation is possible, an illustration on the screen
shows the assignment of the m and ,
buttons to cursor movement.
0 To continue to the next operation, press the F4
[NEXT] button.
0 To leave a screen that was accessed using a
dedicated button, press the F1 [EXIT] button.
0 To return to the Home Screen, press the HOME
button.


