


TASCAM DP-008EX
55
7 – Recorder Functions
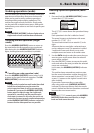
Setting the foot switch polarity
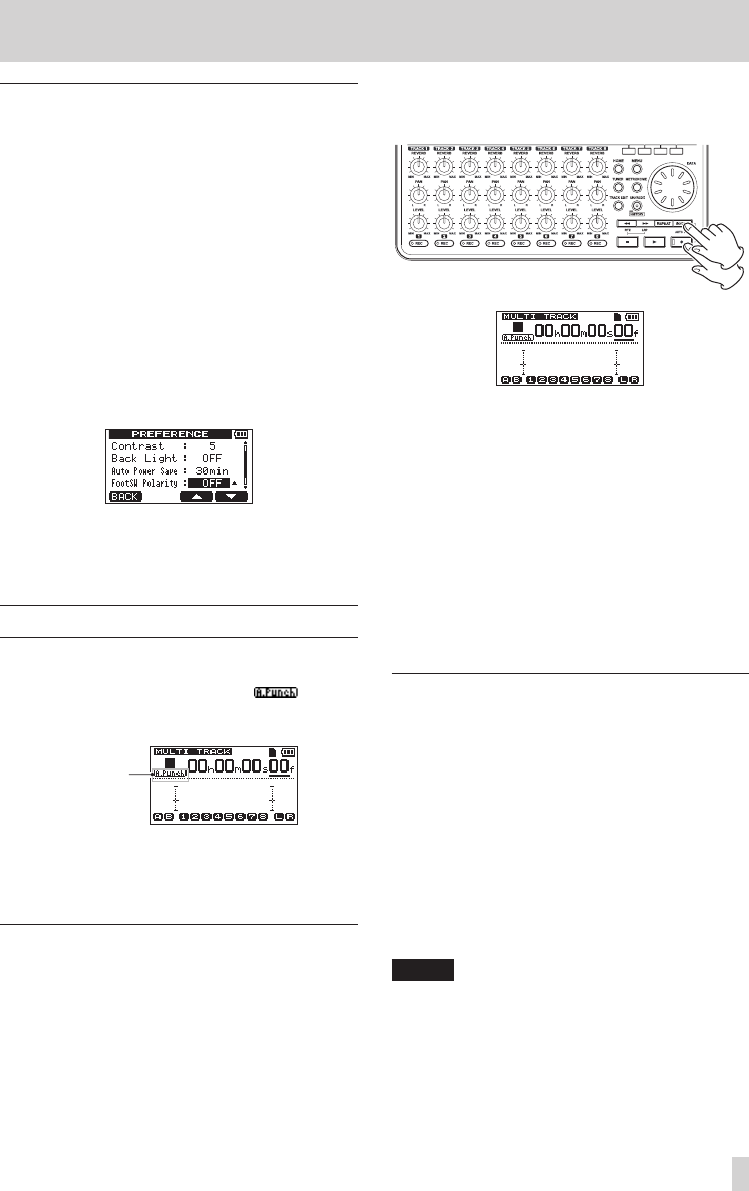
Set the foot switch polarity on the
PREFERENCE
screen.
Connect the foot switch, and, without pressing it, set
FootSW Polarity
to
OFF
. This will set the unit to
operate properly for the polarity of the connected
foot switch.
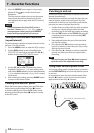
1. Connect a foot switch to the FOOT SWITCH jack
on the rear panel.
2. When the recorder is stopped and the Home
Screen is open, press the MENU button to open
the
MENU
screen.
3. Use the data wheel to select (highlight)
PREFERENCE
, and press the F4 [t] button to
open the
PREFERENCE
screen.
4. Use the F3 [5] and F4 [b] buttons to select
(highlight)
FootSW Polarity
.
5. While not pressing the foot switch, use the data
wheel to select
OFF
.
6. After making the setting, press the HOME button
to return to the Home Screen.
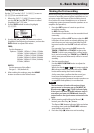
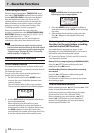
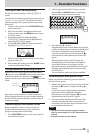
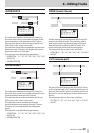
Using automatic punching in/out
When IN and OUT points are set, press the Record
(0) button and the IN/ OUT button at the same time
to enter auto punch in/out mode. The icon
appears near the top of the Home Screen when in this
mode.
auto punch
in/out mode
Auto punch in/out mode has a rehearsal function.
When using this function, you can monitor between
the IN and OUT points as though recording without
actually recording.
Rehearsing with auto punch in/out
Before punching in and out to record, you can
rehearse. When rehearsing, you can monitor as
though recording without recording.
1. Press TRACK REC buttons to use auto punch in/
out with those tracks.
2. After setting the IN and OUT points, press the
Record (0) and IN/OUT buttons at the same
time to enter auto punch in/out mode.
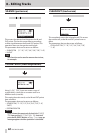
3. Press the Play (7) button.
Playback begins two seconds before the IN point,
and the monitored sound switches at the IN point
from the track playback sound and the input
sound to just the input sound. The Record (0)
indicator blinks when between the IN and OUT
points.
When playback reaches the OUT point, the
monitored sound includes the track playback
sound with the input sound again, and the
Record (0) indicator stops blinking and turns off.
Playback automatically stops one second after
the OUT point.
You can rehearse again until you are satisfied.
Recording with auto punch in/out
When you are done rehearsing, you can use auto
punch in/out to record.
1. While in auto punch in/out mode, press and hold
the Record (0) button, and press the Play (7)
button.
In the same way as during rehearsal, playback
begins two seconds before the IN point.
Recording occurs and the Record (0) indicator
lights between the IN and OUT points.
2. One second after reaching the OUT point, the
recorder automatically stops, auto punch in/
out mode ends and the transport locates to two
seconds before the IN point.
NOTE
•
Auto punch in/out mode cannot be activated
when in repeat mode or if no REC button has been
pressed.
•
Auto punch in/out can be undone.