5 Press the F2 (
EXEC
) button to save the currently
loaded song and create the new song.
6 Press the HOME button to return to the Home
Screen.
Saving a song
This unit automatically saves the current song during
shutdown and when loading another song. You can also
save a song at any time using the following procedures.
1 When the recorder is stopped, press the MENU
button to open the
MENU
screen.
2 Use the DATA wheel to select
SONG
, and press the
F4 (¥) button to open the
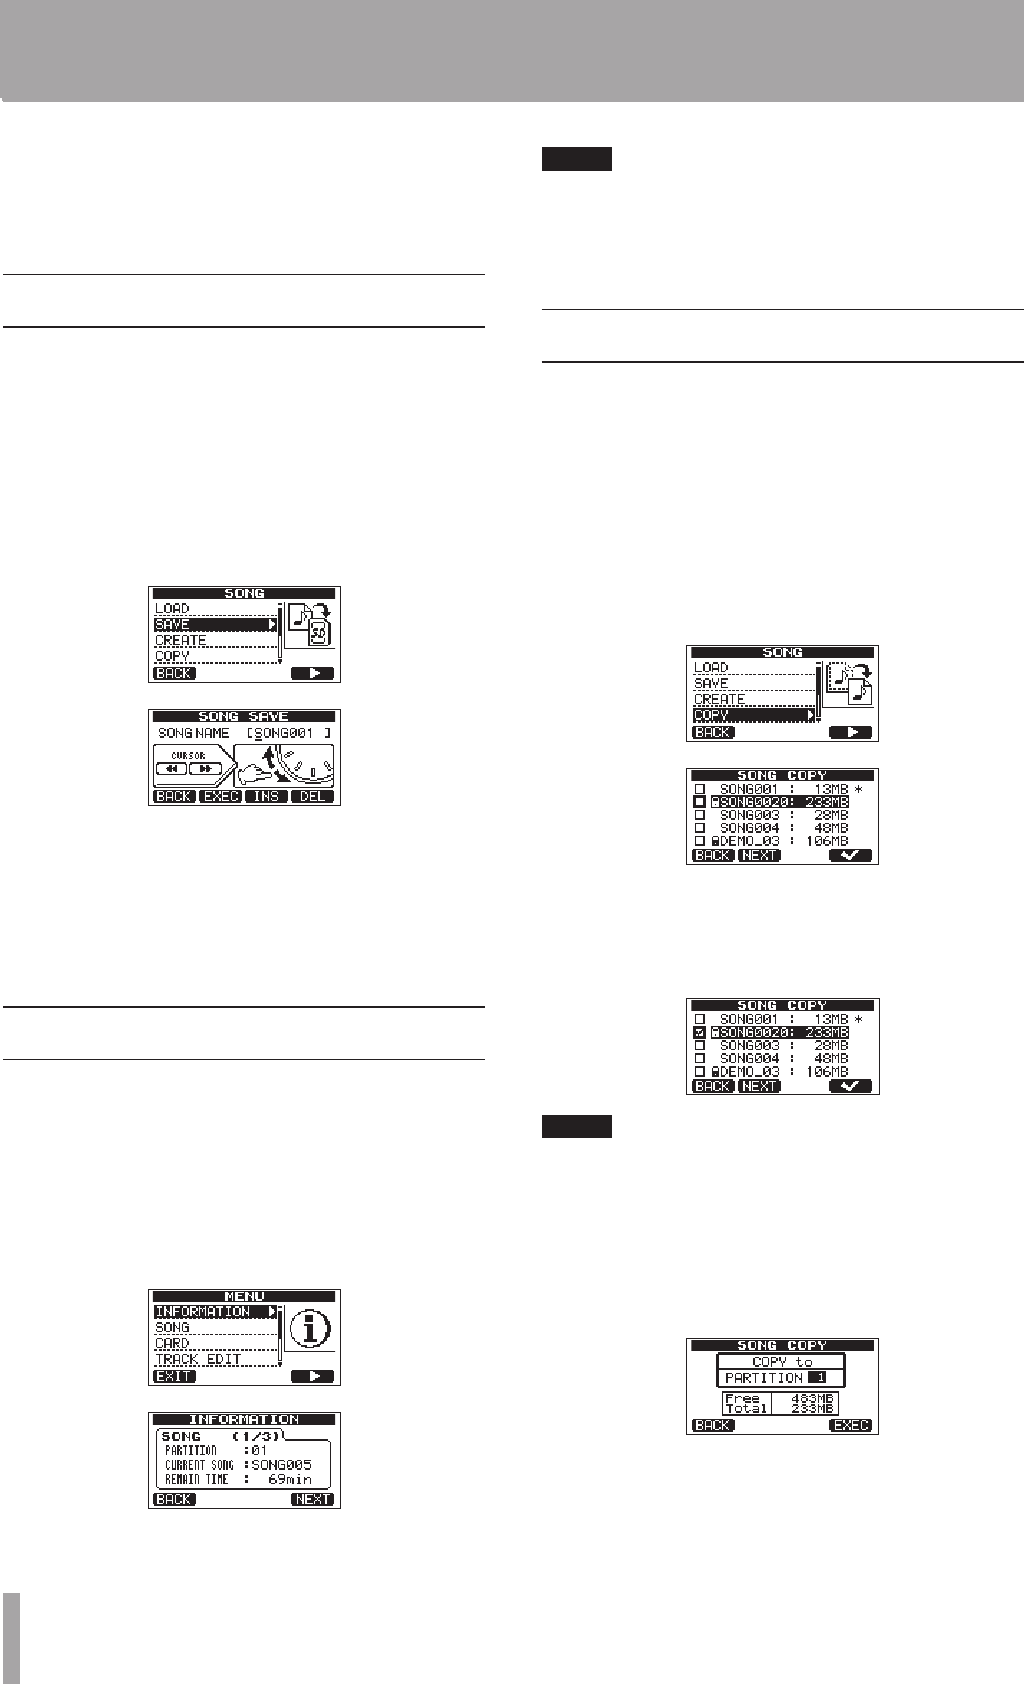
SONG
screen.
3 Use the DATA wheel to select
SAVE
, and press the
F4 (¥) button to open the
SONG SAVE
screen.
4 Change the song name (title) if you want, and then
press the F2 (
EXEC
) button (see “Editing names” on
page 35). To save without changing the name, just
press the F2 (
EXEC
) button.
5 Press the HOME button to return to the Home
Screen.
Viewing song information
You can check the name, partition and remaining
recording time of the currently loaded song.
1 Press the MENU button to open the
MENU
screen.
2 Use the DATA wheel to select
INFORMATION
, and
press the F4 (¥) button to open the
SONG (1/3)
page of the
INFORMATION
screen, which shows
the name and remaining recording time of the
current song.
NOTE
The
INFORMATION
screen has three pages, including
SONG (1/3)
,
CARD (2/3)
and
F/W (3/3)
. Use
the F3 (
PREV
) and F4 (
NEXT
) buttons to change the
page (see “Viewing information” on page 61).
Copying songs
You can copy a single song or multiple songs at once. You
can make a copy of a song in the same partition if you
want to save a certain mix, for example.
1 When the recorder is stopped, press the MENU
button to open the
MENU
screen.
2 Use the DATA wheel to select
SONG
, and press the
F4 (¥) button to open the
SONG
screen.
3 Use the DATA wheel to select
COPY
, and press the
F4 (¥) button to open the
SONG COPY
screen,
which shows a list of songs.
4 Use the DATA wheel to select a song that you want
to copy, and press the F4 (✔) button.
The song is selected as a copy source and a check
appears in the checkbox.
NOTE
To remove a check from the checkbox, press the F4 (✔)
button while the song is selected.
5 To copy multiple songs, repeat step 4.
6 After selecting all the songs that you want to copy,
press the F2 (
NEXT
) button to open a screen where
you can select the MTR partition that you want to
be the copy destination.
This screen also shows the amount of open space on the
partition selected (
Free
) and the size of the data of the
song being copied (
Total
). If the open space is smaller
than the size of the song, copying is not possible and a
No Disk Space
warning appears.
5 – Song Management


