


TASCAM DP-03 73
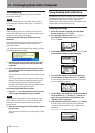
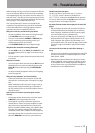
3 Use the DATA wheel to select
MASTER WRITE
,
and press the F4 (¥) button.
A list of all the songs that have a recorded stereo
master track is shown.
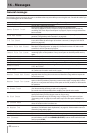
4 Use the DATA wheel to select a song that you want
to write to the CD, and press the F4 (✔) button to
check the box for that song. Press the F4 (✔) button
again to remove the check for a song.
5 Repeat step 4 above as many times as necessary.
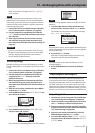
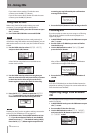
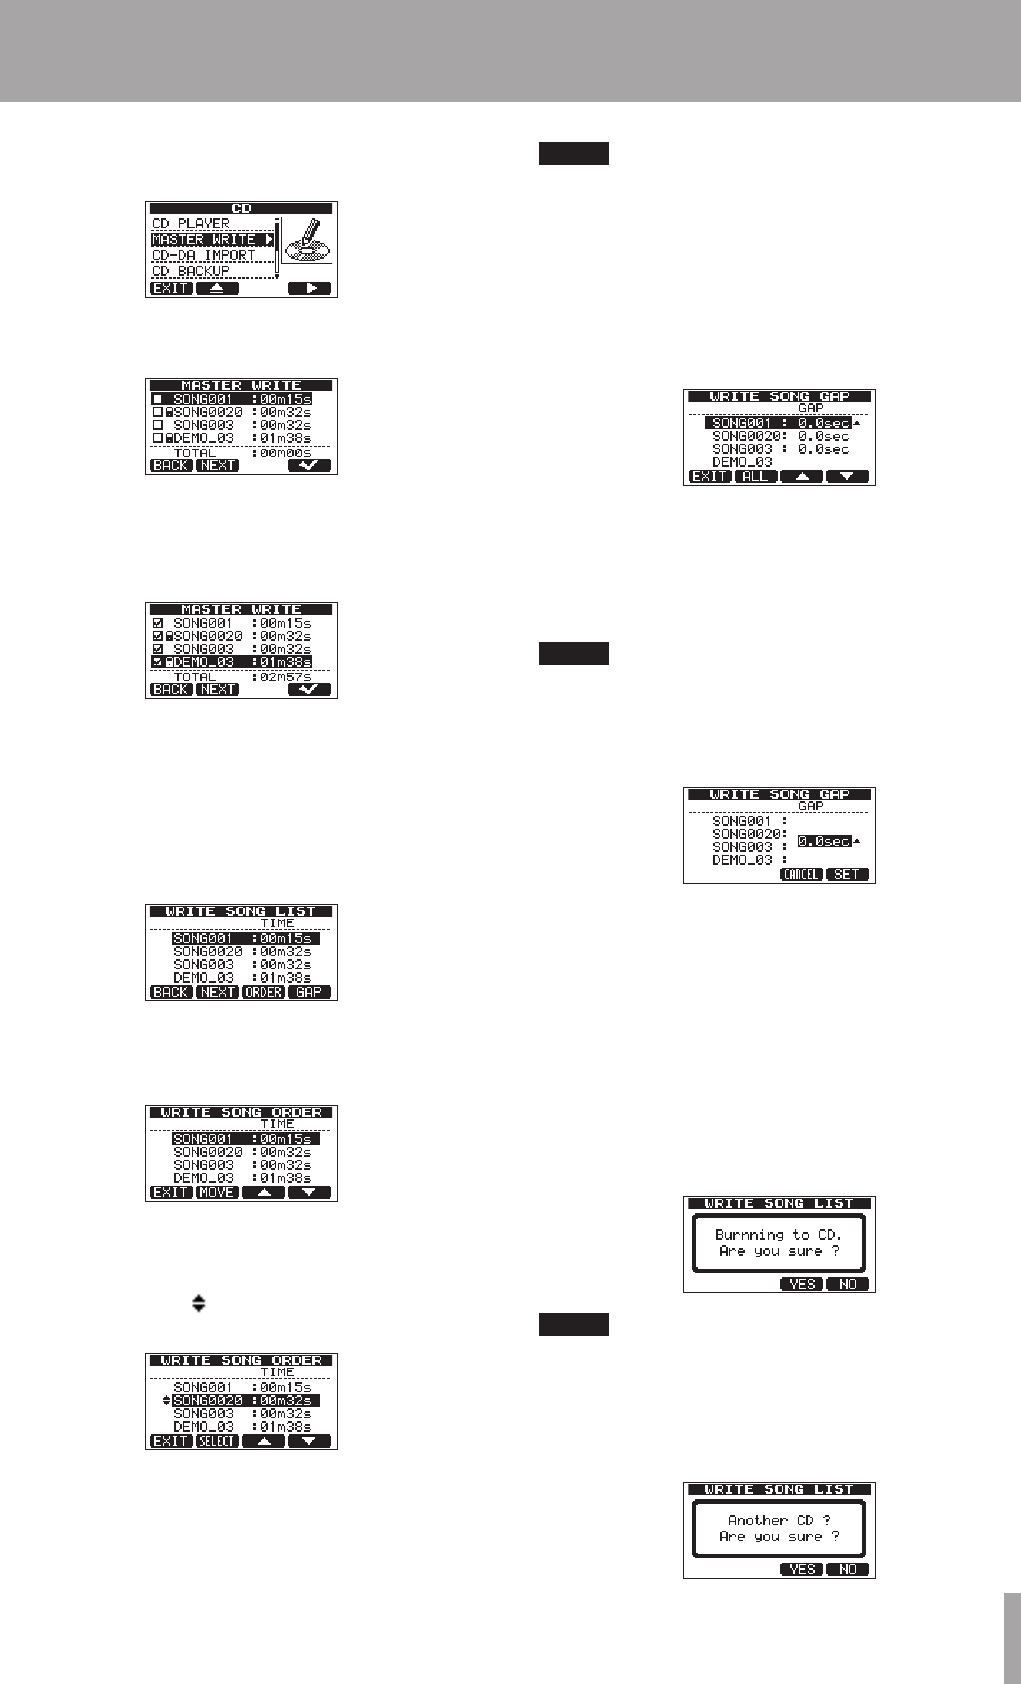
6 When you have completed selecting songs to write
to the disc, press the F2 (
NEXT
) button to open the
WRITE SONG LIST
screen. Use this screen to set
the order that the stereo master tracks are written
to the CD and set the length of the gaps between
tracks.
7 Press the F3 (
ORDER
) button to open the
WRITE
SONG ORDER
screen where you can change the
order of the songs.
8 Use the DATA wheel or the F3 (§) and F4 (¶)
buttons to select the song that you want to change
the order of, and press the F2 (
MOVE
) button. Up
and down arrows ( ) appear to the left of the song
name.
9 Use the DATA wheel to change the song position,
and press the F2 (
SELECT
) button to confirm the
change.
NOTE
If you want to change the order of multiple songs, repeat
steps 8 and 9.
10 After changing the song order, press the F1 (
EXIT
)
button to return to the
WRITE SONG LIST
screen.
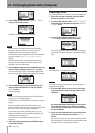
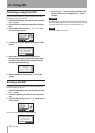
11 If you want to change the length of the gaps
between songs, press the F4 (
GAP
) button to open
the
WRITE SONG GAP
screen.
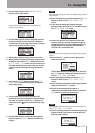
12 Use the F3 (§) and F4 (¶) buttons to select the
song for which you want to change the length of
the gap that follows it. Use the DATA wheel to set
the gap length in a range between 0.0 and 9.9
seconds in 0.1-second intervals.
NOTE
If you want to change the gap for multiple songs, repeat
step 12.
13 Press the F2 (
ALL
) button to set all gaps to the
same value at once.
Use the DATA wheel to set the gap value. Press the
F4 (
SET
) button to confirm the setting and return
to the
WRITE SONG GAP
screen.
14 After changing the setting, press the F1 (
EXIT
)
button to return to the
WRITE SONG LIST
screen.
15 After setting the song order and the gaps between
songs, press the F2 (
NEXT
) button.
16 After a CD mounting pop-up appears, a
confirmation message will be shown. Press the F3
(
YES
) button to start writing to the CD.
NOTE
Press the F4 (
NO
) button instead to cancel and return to
the
WRITE SONG LIST
screen.
17 After the writing completes, the following message
appears asking if you want to create another CD
with the same contents.
13 – Using CDs