


44 TASCAM DP-03
(stereo bounce), or bounce tracks 1–8 as a mono mix to
track 1 (mono bounce).
NOTE
Inside this unit, a mixdown is made to create a mix master
that is recorded to the designated tracks.
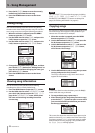
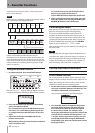
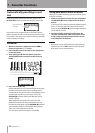
TRACK 1
Drum L
TRACK 2
Drum R
TRACK 3
Perc. L
TRACK 4
Perc. R
TRACK 5
Bass
TRACK 6
Piano L
TRACK 7
Piano R
TRACK 8
SE
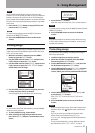
TRACK 3
Perc. L
(Over-
writing
possible)
TRACK 4
Perc. R
(Over-
writing
possible)
TRACK 8
SE
(Over-
writing
possible)
TRACK 7
Piano R
(Over-
writing
possible)
TRACK 5
Bass
(Over-
writing
possible)
TRACK 6
Piano L
(Over-
writing
possible)
TRACK 1 & 2
Rhythm, Bass,
Piano, SE
TRACK 1 & 2
Rhythm, Bass,
Piano, SE
TRACK 3
Guitar L
TRACK 4
Guitar R
TRACK 5
Lead
Guitar
TRACK 6
Lead
Vocal
TRACK 7
Chorus L
TRACK 8
Chorus R
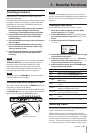
New recording possible on tracks 3-8
Bounce tracks 1-8 to mix down to tracks 1-2
Source tracks are erased when they are bounce
destinations. (In the illustration above the drum parts are
overwritten by the stereo mix). However, you can use the
unit’s (undo) function to return to the previous state if you
make a mistake (see “Undoing the last operation (single
undo)” on page 41).
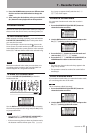
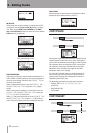
Using the bounce function
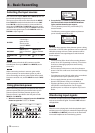
1 In multitrack mode, press the BOUNCE button.
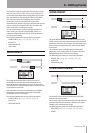
After the
Bounce !
pop-up message appears, the unit
switches to BOUNCE mode and the Home Screen reopens.
2 Press the REC buttons for the bounce destination
tracks (the indicators blink).
For a stereo bounce, press the REC buttons for any
two tracks. For a mono bounce (bouncing the mix
to a single track) press the REC button for any one
track.
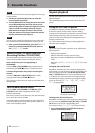
3 Adjust the track faders and PAN knobs for the
bounce source tracks.
When making a stereo bounce, the lower numbered
track is the left (L) side.
For a mono bounce, turn the PAN knobs of the
bounce source tracks all the way to L.
Use the MASTER fader to adjust the overall level.
4 After returning to the start of the song, press the
PLAY (Á) button while pressing and holding the
RECORD (–) button to start the bounce.
Confirming the result
Mute the bounce source tracks (see “Muting tracks” on
page 54), and play the song from the beginning.
If you are not satisfied with the result because, for
example, the balance between instruments is poor, or
the pan settings are wrong, use the undo function (see
“Undoing the last operation (single undo)” on page 41).
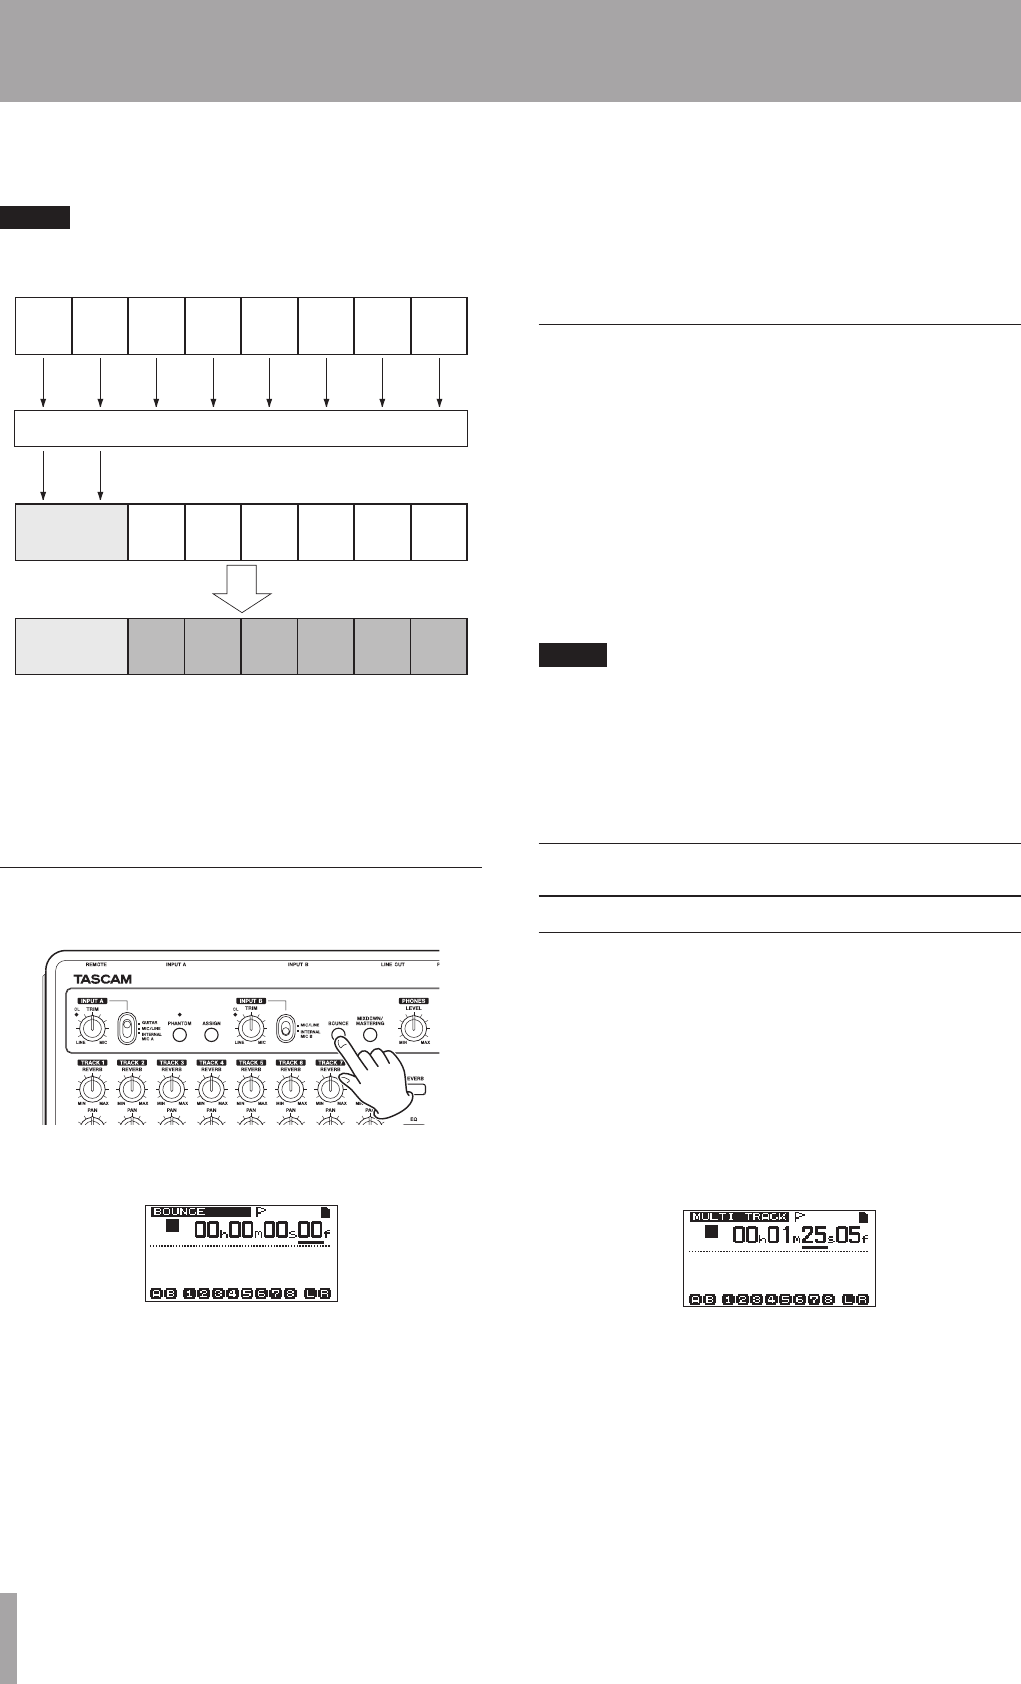
If you are satisfied with the result, press the BOUNCE
button to return to the
MULTI TRACK
mode.
After bouncing tracks, you can make new recordings over
the other tracks.
TIP
If it is possible that you might need the original tracks at
some later time, back-up the track data to a computer or
copy the song before bouncing (see “Backing-up songs”
on page 66, “Backing up song data to CDs” on page 75
and “Connecting with a computer” on page 65).
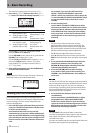
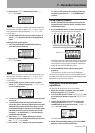
Locate and search functions
Direct locate function
The current recorder position is shown at the top of the
display as “hours: minutes: seconds: frames” (there are 30
frames per second). You can move the current recorder
position to a specific time by inputting it here.
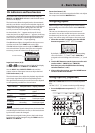
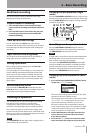
1 On the Home Screen, use the HOME button to move
the cursor (underline) between time divisions. You
can edit the value at the cursor positions.
The seconds are selected in the following figure.
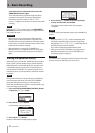
2 Turn the DATA wheel to change the value above
the cursor. When adjusting, the value will carry
over automatically when it reaches the highest
or lowest value in a field. For example, when
turning the DATA wheel to increase the value in the
seconds field, the number will change from
59
to
0
and the minutes value will increase by one. The
time display blinks when using the DATA wheel.
The blinking stops when the recorder moves to the
displayed position.
7 – Recorder Functions