


TASCAM DP-03 39
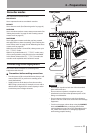
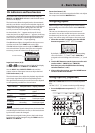
OL indicators and level meters
The audio levels of this unit can be checked using the
INPUT A and INPUT B OL indicators and the level meters
shown on the display.
The level meters allow the signal levels to be monitored,
and they can also be used to confirm whether signals are
being input into the unit. For example, if the A and B level
meters are moving a signal is being input into the unit
even if you cannot hear anything when monitoring.
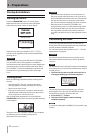
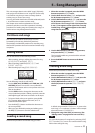
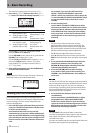
As shown below, if a “
–
” appears at the top of a level
meter, the level is too high (when a “
–
” appears, it will stay
on screen for a while before automatically disappearing).
If the level is too loud, the sound might be distorted, so
lower the level until the “
–
” stops appearing.
If an OL indicator lights, the signal from the input source
could be too loud or the TRIM knob set too high.
If the OL indicator lights even though the TRIM knob is
set to the minimum position, the input source signal is
too strong. Lower the volume on the input source.
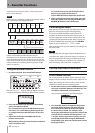
Overload indication
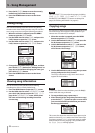
Input level meters (A, B)
The and level meters on the left side of the display
show the input levels of INPUT A and INPUT B.
Use the INPUT A and INPUT B TRIM knobs and the
output volumes of the input sources to adjust the level.
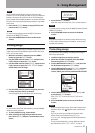
Track level meters (1–8)
These level meters show either the playback signal levels
or the input signal levels of the corresponding tracks.
The signal levels shown by the track level meters depend
on the operating conditions as shown below.
REC indicator Transport status
Level meter
display contents
Unlit Playback
Track playback
signal
Blinks (record
standby)
Playback
Track playback
signal
Blinks (record
standby)
Stopped Track input signal
Lit (during
recording)
Recording Track input signal
NOTE
When the playback signal is being shown, the level of the
recorded signal of the track is shown, so the levels shown
by the meters cannot be changed.
When the input signal is being shown, the levels shown
by the meters can be changed using the TRIM knobs for
INPUT A and INPUT B.
Stereo level meter (L, R)
These show the stereo bus output level of this unit. Adjust
the output level with the MASTER fader.
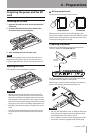
Assigning inputs
When using this unit, “assigning inputs” means setting
the recording source for each track to either INPUT A or
INPUT B.
This unit can simultaneously record a maximum of
two tracks. You can also record one input to two tracks
simultaneously (in this case, you cannot use the other
input). You cannot assign two inputs to the same track.
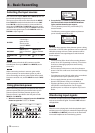
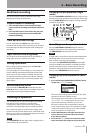
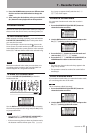
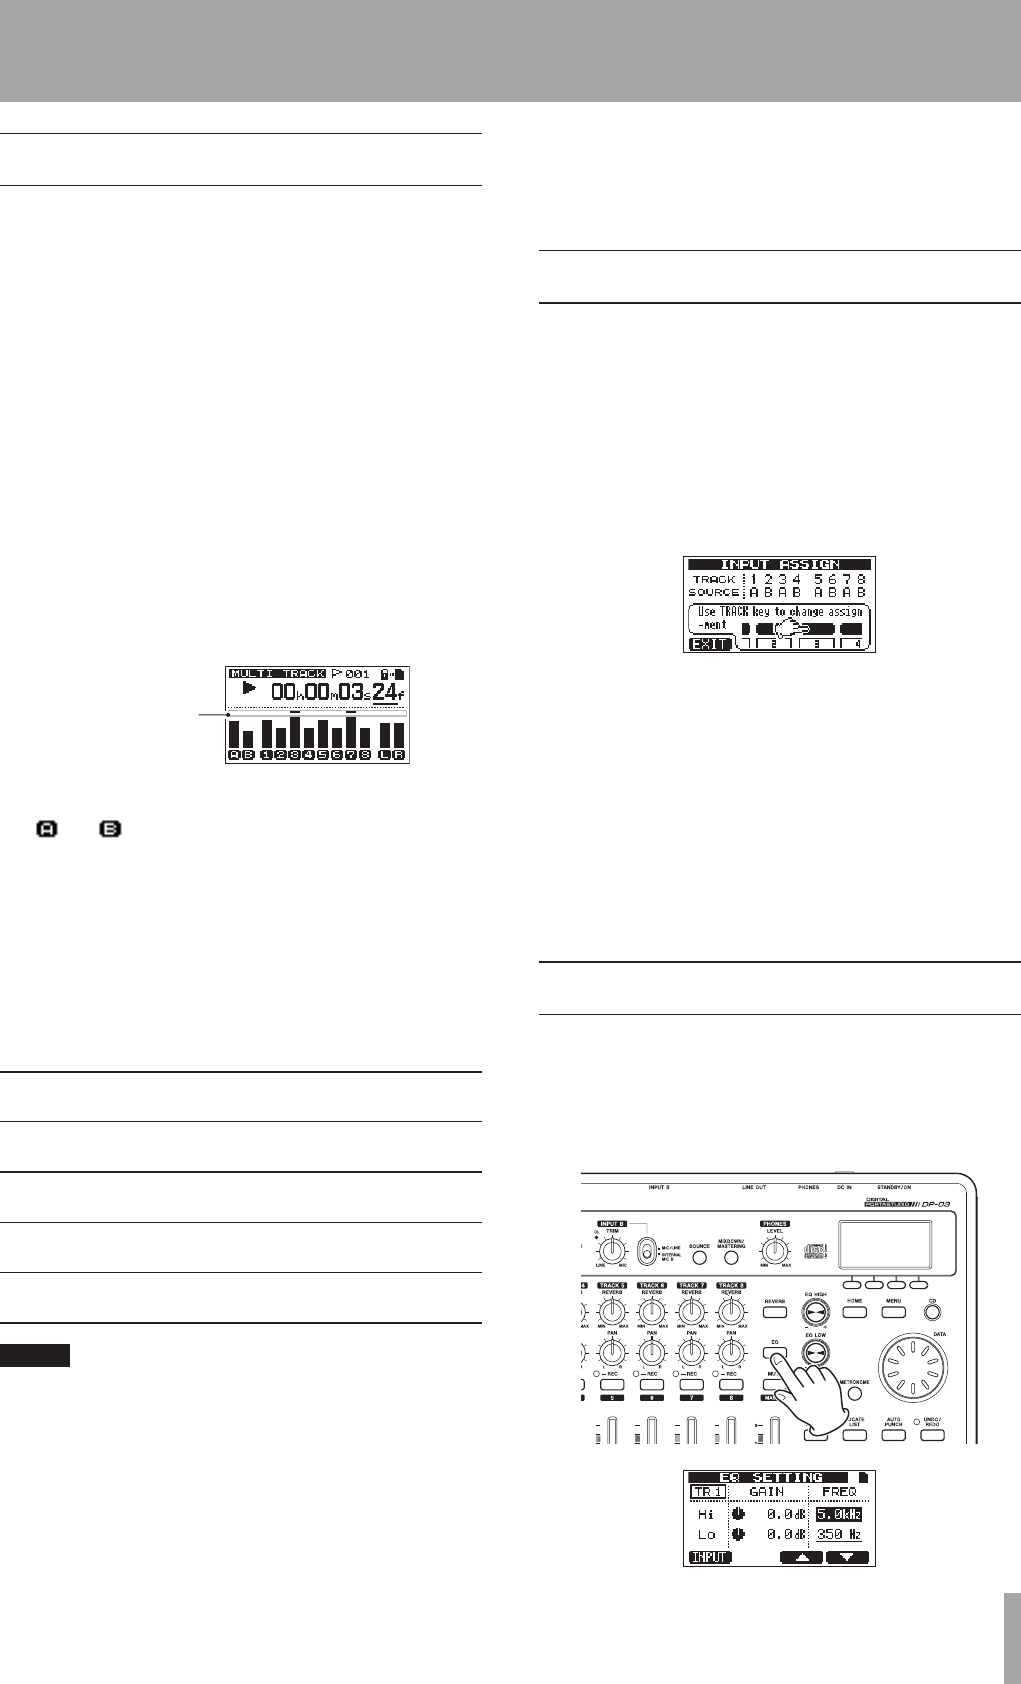
1 When the recorder is stopped, press the ASSIGN
button to open the
INPUT ASSIGN
screen.
By default,
A
(INPUT A) is assigned as the recording
source for tracks
1
,
3
,
5
and
7
, and
B
(INPUT B) is
assigned as the recording source for tracks
2
,
4
,
6
and
8
.
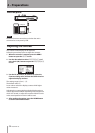
2 Use the REC button to set the input source for each
track to either
A
(INPUT A) or
B
(INPUT B).
Each time you press the REC button the setting
switches between
A
and
B.
3 After making the settings, press the HOME button
to return to the Home Screen.
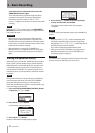
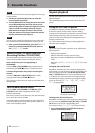
Using input EQ (equalizer)
INPUT A and INPUT B each have a two-band equalizer
(EQ).
Use the
INPUT EQ
screen to make input EQ settings.
1 Press the EQ button to open the
EQ SETTING
screen.
6 – Basic Recording