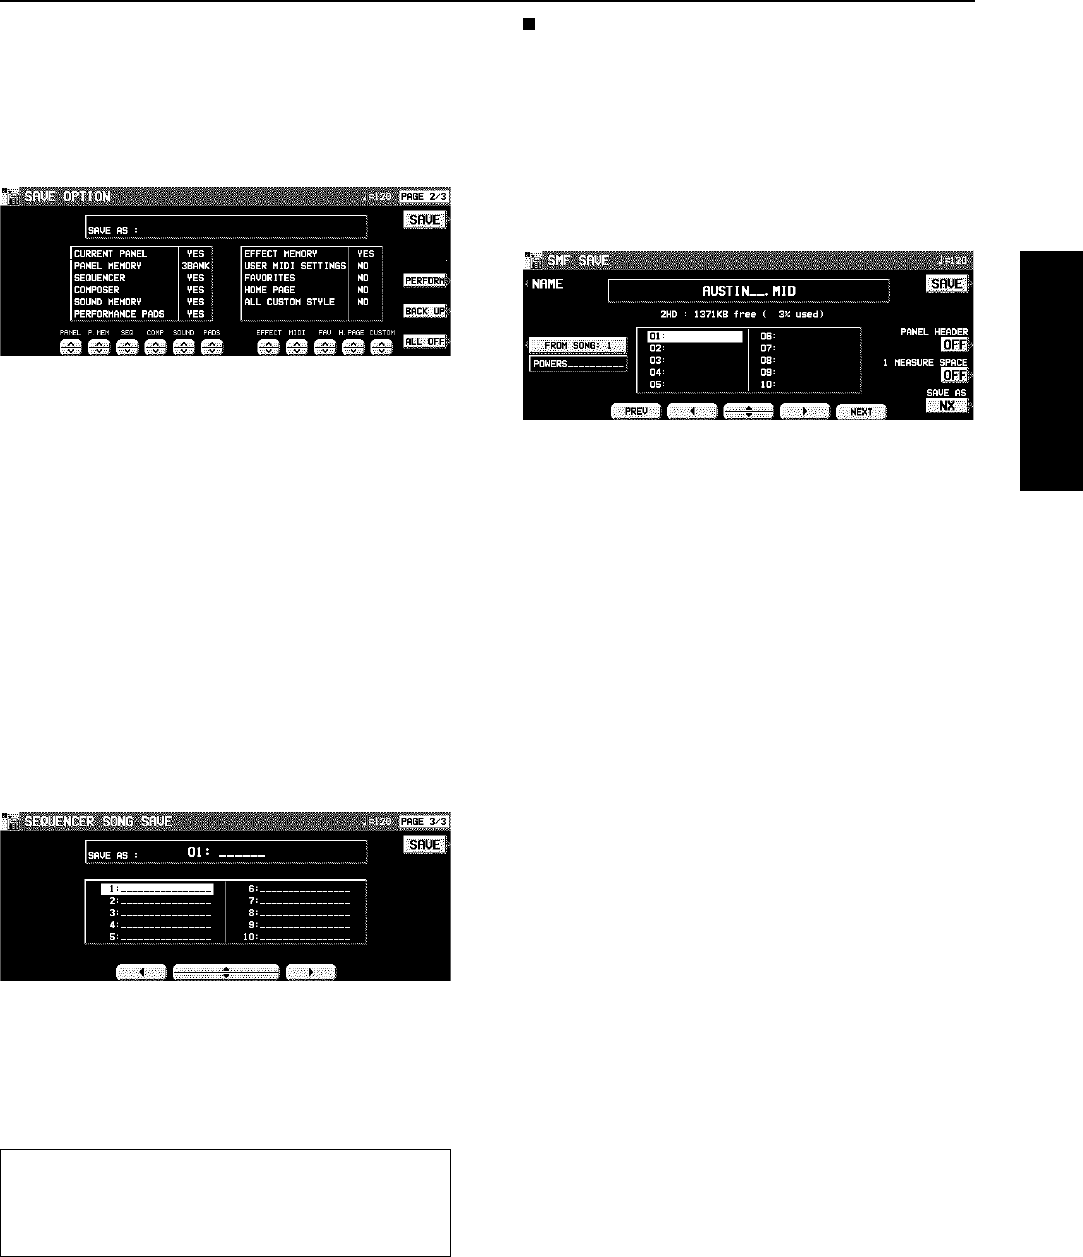
<SAVE OPTION>
Specify the kind of data you wish to save to the disk. To
maximize effective use of disk memory or to minimize the
save time, select only the type of data you wish to save.
1. Use the PAGE buttons to access the 2/3 SAVE
OPTION display.
• The display looks similar to the following.
2. Use the buttons below the display to specify
the types of data you wish to save (YES/NO).
• For PANEL MEMORY, select from NO/1 BANK/ALL.
If you save data with 1 BANK selected, only BANK 1 data
is saved.
• Press the PERFORM button to select all the performance
data, or press the BACKUP button to select all the back
up data at once.
• If the ALL OFF button is pressed, all the settings change
to NO.
3. Press the SAVE button.
• The SAVE operation begins.
<SEQUENCER SONG SAVE>
You can specify a single song in the SEQUENCER to save
to the disk.
1. Use the PAGE buttons to access the 3/3
SEQUENCER SONG SAVE display.
• The display looks similar to the following.
2. Use the buttons below the display to select
the song number you wish to save.
3. Press the SAVE button.
• The SAVE operation begins.
SMF FORMAT 0
This instrument’s SEQUENCER data can be saved in the
“Standard MIDI File” format (FORMAT 0) for use on other
instruments.
• What you can save in the SMF format (FORMAT 0) is
ordinary performance data, such as note data. Data such
as chord and rhythm data, COMPOSER data, etc. is not
saved. If you wish to also save this special Technics data,
save the data in the Technics File format.
• If you use the APC TO SMF CONVERT function of the
SEQUENCER, you can convert the patterns of the auto-
matic accompaniment, etc. in their respective tracks.
1. Use the buttons below the display to select
the song number you wish to save to.
• If the number of files is 10 or more, you can use the PREV
and NEXT buttons to go back or advance 10 files at a
time.
2. If you wish to assign a name to the file, press
the NAME button.
3. Use the buttons below the display to assign a
name.
4. Press the OK button.
• The display returns to the SAVE display.
5. Use the FROM SONG buttons to select the
SEQUENCER song number you wish to save.
• The song name to save from is shown below the FROM
SONG button.
6. Use the PANEL HEADER buttons to specify
ON or OFF.
ON: The sound and volume settings for each part are
saved as data at the beginning of the file.
OFF: This data is not saved.
7. Use the 1 MEASURE SPACE buttons to select
ON or OFF.
ON: A one-measure space is added to the beginning of
the file.
OFF: No space is added.
• When there is various data other than performance data
stored at the beginning of a file, the start of playback may
be delayed. This can be avoided by set the 1 MEASURE
SPACE to ON, thereby inserting a space at the beginning
of the performance.
• If it seems the data you saved with the 1 MEASURE
SPACE set to OFF is not played back properly, try saving
it again with it set to ON.
• When set to ON, a space is added each time a file is
saved. Therefore, if you have already saved a file once
with the 1 MEASURE SPACE set to ON, please set it to
OFF each time the file is subsequently saved.
If there is no point assignment in the SEQUENCER song
you are trying to save even though your original images
have been loaded, when the SAVE button is pressed, a
display appears asking whether or not the image data is
to be saved.
Disk Drive
Part VI Disk Drive
101
QQTG0665
