


Song Medley
Songs saved from the SEQUENCER to a disk (disk data) in the TECHNICS FORMAT can be played back in a medley.
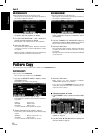
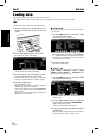
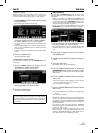
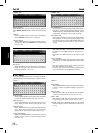
1. On the DISK MENU display, select SONG
MEDLEY from the display.
• The display looks similar to the following.
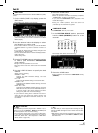
2. Select the order of files in the medley.
• If ALL is pressed, all the files are selected, and the songs
are played back in numerical in a medley.
• You can select a file and song, then press the ADD button
to add it to the song list. Repeat these steps to create
your own list of songs to have played back. A M01, M02
etc. next to the file name indicates its order in the list.
• You can delete a marked file from the medley song list
by selecting it and pressing the ADD button.
• Use the LOOP button to specify ON or OFF for repeat
playback of the medley.
• You can use the MODE button to select the medley mode.
10 SNGS:
Songs 1 to 10 from each file are played in a medley.
1 SONG:
Only song 1 from each file is played back in a med-
ley.
3. Press the START button.
• Medley playback begins.
• During the performance, the display changes to the play-
back display.
• During a medley performance, if you press the MIXER
button you can change the settings for each part.
• During a medley performance, you can use the SKIP
button to skip to the next song.
• If the disk contains SMF or other files, but no TECHNICS
FORMAT file, the display changes to the DIRECT PLAY
display.
Saving data
The recorded data and panel settings of this instrument can be saved on a disk.
Disks
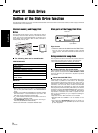
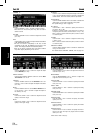
You can use 3.5 inch 2DD (720KB) or 2HD (1.44MB) disks.
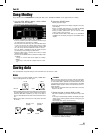
• How to distinguish the two disk types:
• Although 2HD disks can hold more data and are convenient
for quick loading and saving, some models may be able to
read only 2DD disks. Therefore, you may not be able to
use your 2HD disk data with other musical instrument mod-
els.
• When saving data to the disk, the write-protect tab must
be closed.
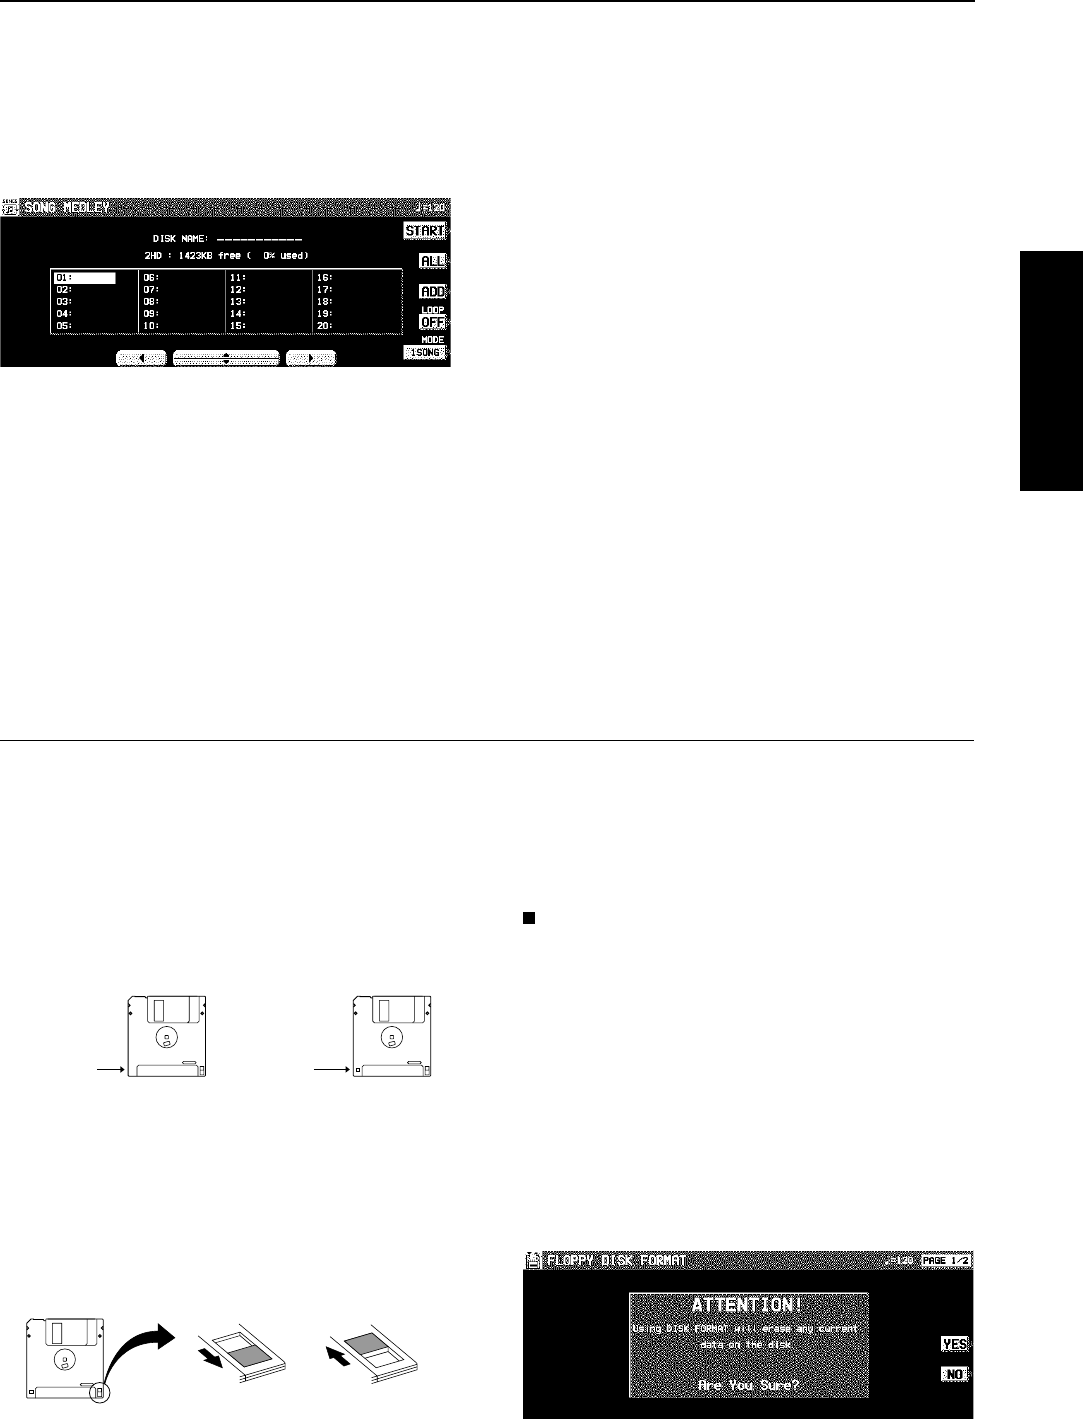
FORMAT
Disks which are used for the first time with this instrument
have to be formatted through the following procedure. When
an unformatted disk is inserted into the Disk Drive slot and
you attempt to execute the save or load procedure, the DISK
FORMAT display appears. Follow the instructions shown to
format the disk.
• Note that this procedure clears any data which is currently
stored on the disk.
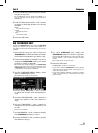
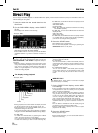
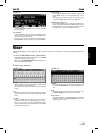
1. Select the type of format (2DD or 2HD).
• Be sure to select the type which is the same as your disk
type.
• If the type is automatically detected, the display changes
directly to the following display, without showing the type
select display.
• The display looks similar to the following.
• If you wish to select the type again, use the PAGE button
to access the PAGE 2/2 display.
2HD2DD
No hole
Hole
Storage is not
possible
Storage is
possible
Open Closed
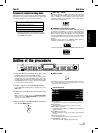
Disk Drive
Part VI Disk Drive
99
QQTG0665