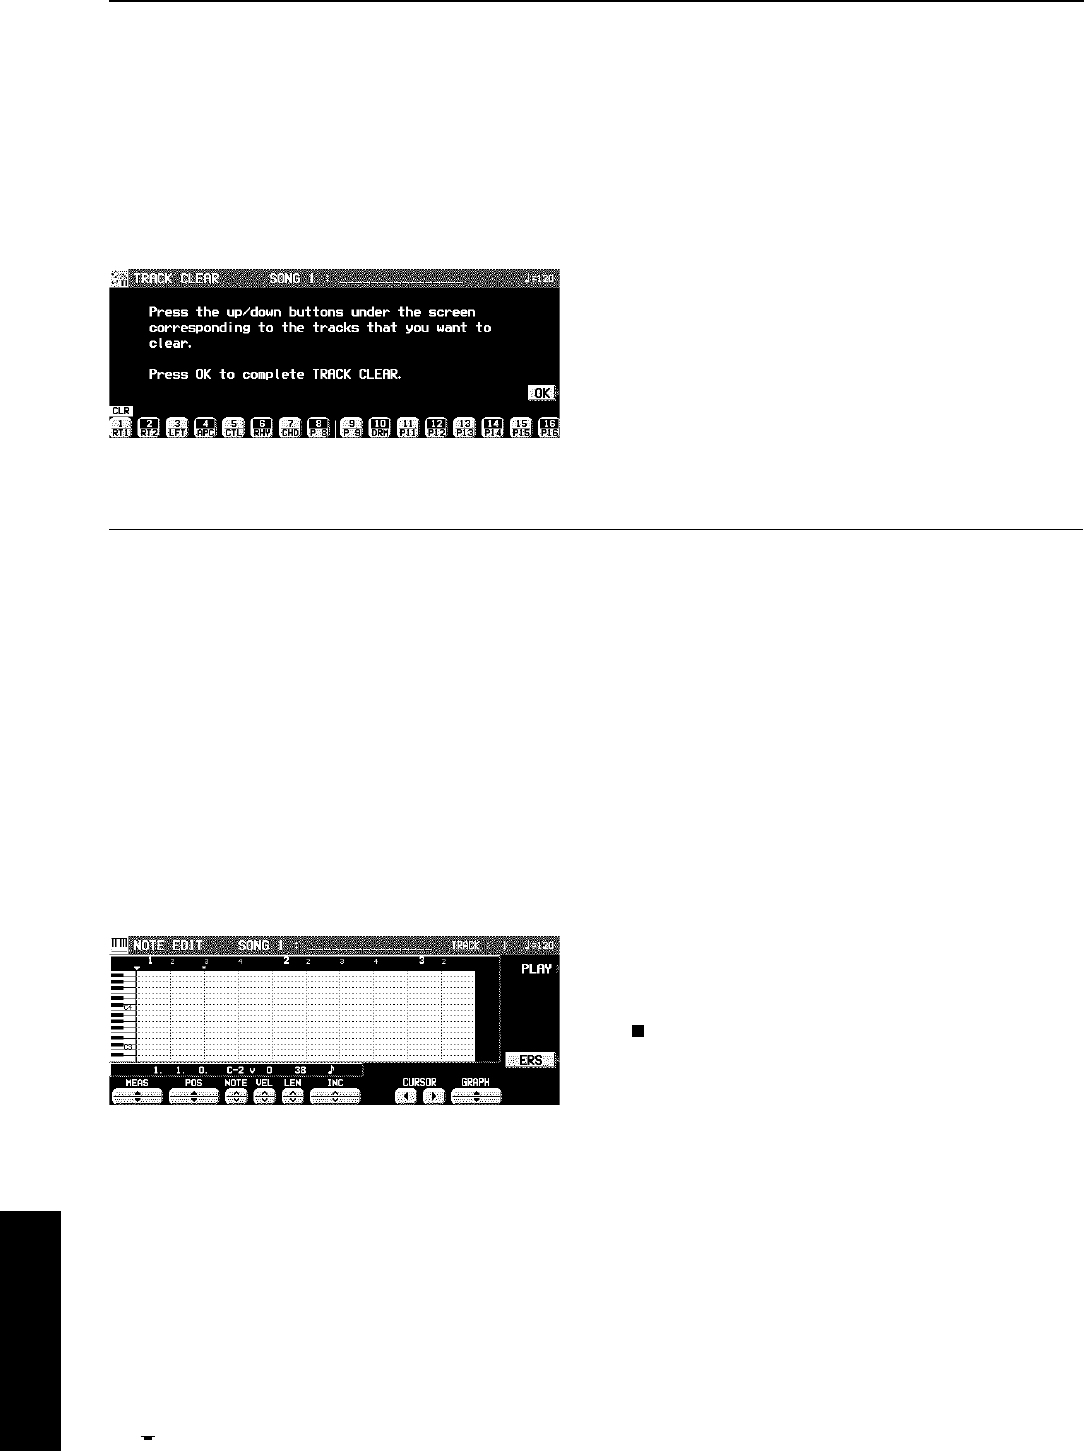
Track Clear
Erase the contents of a specific track.
1. On the SEQ MENU display, select RECORD
& EDIT.
2. On the RECORD & EDIT display, select
TRACK CLEAR.
• The display looks similar to the following.
3. Use the balance buttons to select the track or
tracks you wish to clear.
• A “CLR” mark is shown for the selected tracks.
4. Press the OK button.
• The confirmation display appears. Press the YES button
to execute the function, or press the NO button to cancel
the function.
• If the YES button is pressed, the specified tracks are
erased.
Note Edit
You can edit performance (NOTE) data on a piano roll display. This differs from the normal STEP RECORD edit procedure, and
is a convenient way to check the data for each note.
• Data other than NOTE data cannot be corrected or recorded. To correct or record other types of data, use the STEP RECORD
display. (Refer to page 71.)
1. On the SEQ MENU display, select RECORD
& EDIT.
2. On the RECORD & EDIT display, select NOTE
EDIT.
3. On the PART SELECT display, select a track.
• The CHORD, RHYTHM and CONTROL tracks cannot be
selected.
• The display looks similar to the following.
4. Use the MEAS ▲ and ▼ buttons to select the
measure you wish to edit.
5. Use the CURSOR and buttons to move
the cursor ( ▼) to the point you wish to edit.
• Recorded performance (NOTE) data is shown as horizon-
tal bars. Data selected for editing is highlighted.
• You can use the INC ∧ and ∨ buttons to change the
increment of cursor movement. The resolution can be set
at /96. However, if NOTE data is present between in-
crements, the cursor will stop.
• Use the POS ▲ and ▼ buttons to change the value.
Example: 10.2.48 indicates a point in measure 10, beat
2, point 48 (one point is 1/96 of a quarter note [ ]).
• is shown at the point where the END command is
stored.
6. Select the data to edit (it changes to a
highlighted horizontal bar). Edit the data.
• Use the POS ▲ and ▼ buttons to move the cursor, the
NOTE ∧ and ∨ buttons to change the note number, the
VEL ∧ and ∨ buttons to change the velocity (how hard
the keys are played), and the LEN ∧ and ∨ buttons to
change the note length (1 = 1/96 of a quarter note [ ]).
• Use the GRAPH ▲ and ▼ buttons to view a higher or
lower section of the keyboard (in one-octave steps).
• If the ERS button is pressed, the selected NOTE data is
erased.
7. Repeat steps 4 to 6 to continue editing.
Inserting note data
You can also store note data on this display.
1. Specify the point where the new note data will
be stored.
2. Use the LEN ∧ and ∨ buttons to specify the
note length.
• Examples of note lengths ( = 96)
91: tenuto (95%)
76: normal (80%)
48: staccato (50%)
24: cutting (25%)
3. Play a key on the keyboard to specify the note
pitch (NOTE NUMBER) and velocity (how hard
the key is played).
4. Repeat steps 1 to 3 to input more note data.
▲
▼
Sequencer
Part IV Sequencer
78
QQTG0665


