


Assigning the images
Assign images to the selected point (PIC) of a song.
1. Use the SONG SELECT ∧ and ∨ of the
SEQUENCER MENU display to select a song
number to which the images will be assigned,
and select RECORD & EDIT.
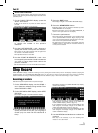
2. Select STEP RECORD on the RECORD &
EDIT display.
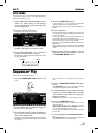
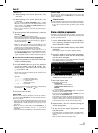
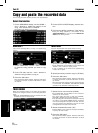
3. Use the balance buttons below the display to
select CONTROL TRACK (CTL).
• The display looks similar to the following.
4. Use the MEAS ∧ and ∨ buttons to specify the
measure to assign.
5. Use the CURSOR buttons to move the cursor
(reversed box) to the point you are going to
assign an image.
• Each point represents one-eighth of a quarter note ( a
thirty-second note).
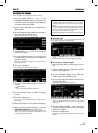
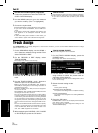
6. Press the PIC button.
• The display looks similar to the following.
7. Use the PRESET/USER button to select one.
PRESET:
preset images
USER:
your original images loaded beforehand
8. Use the VALUE button to select the image
number.
9. Press the YES button.
• The image of the specified number is assigned to that
point (PIC).
10.Repeat the steps 4 to 9 to continue assigning.
11.When you have finished assigning, press the
PROGRAM MENUS button to turn it off.
• When you play back the song, the images appear on the
display and change automatically corresponding to the
music progression (Slide Show).
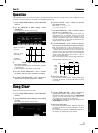
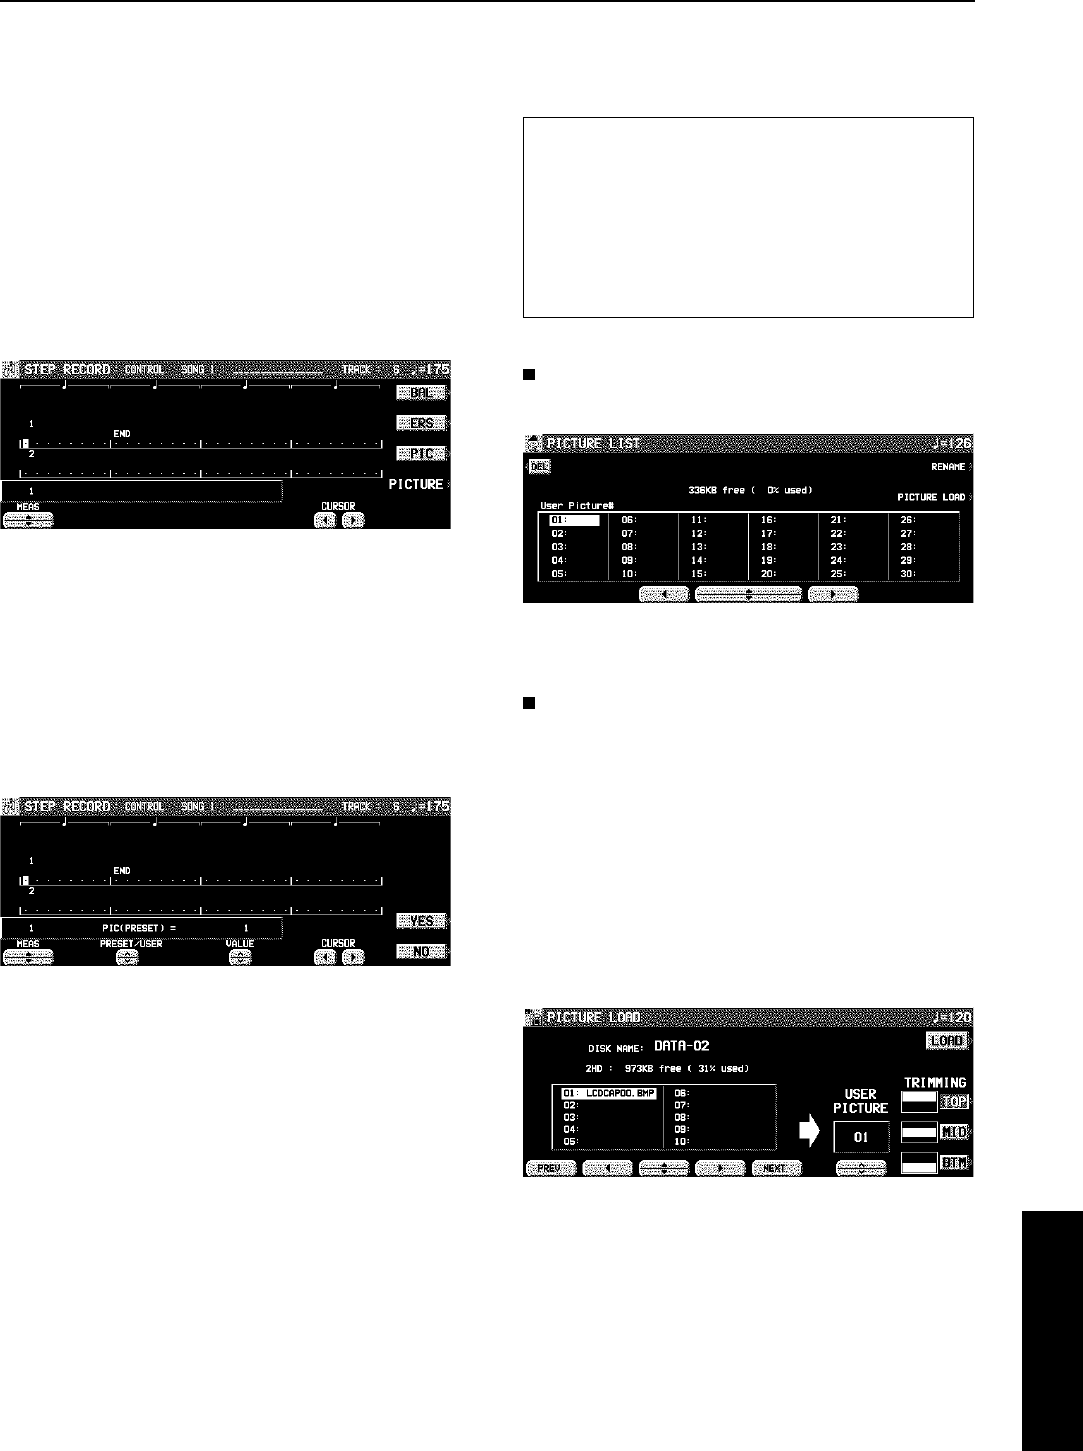
PICTURE LIST
On the step 3 display, if you press the PICTURE button, a
list of USER image data will be displayed.
• Press the RENAME button to rename the image data
name.
• Press the DEL button to delete selected image data.
Loading your original images
1. Save the image data to a disk using your PC.
etc.
2. Insert the disk with saved data into the DISK
DRIVE. (See page 96.)
3. On the CONTROL display of the STEP RE-
CORD, press the PICTURE button.
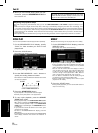
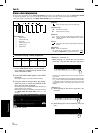
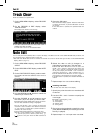
4. On the PICTURE LIST display, press the PIC-
TURE LOAD button.
• The display looks similar to the following.
5. Select the image data file to be loaded.
• When you select a image sized over 640 x 240 pixels,
press the TRIMMING button to select the type of data
cutting out.
6. Use the USER PICTURE ∧ and ∨ buttons to
specify the image number to which the image
data will be loaded.
7. Press the LOAD button.
• The image is loaded and “COMPLETED!” is shown on the
display.
• The moment where the images are displayed may be
retarded slightly from the specified point. If this is too
excessive, adjust the point so that it occurs slightly
sooner.
• When two assigned points are too close, the result may
not be favorable. It is recommended that the interval
between two points should not be less than two beats
for a =120 tempo music for example.
• The preset images are not compatible with other models.
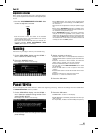
Sequencer
Part IV Sequencer
73
QQTG0665