


83
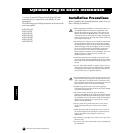
Appendix
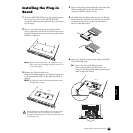
Optional Plug-in Board Installation
Installing the Plug-in
Board
1 Turn the MOTIF-RACK power off, and disconnect
the power cord. Also, if the MOTIF-RACK is
connected with other external device(s), disconnect
the device(s).
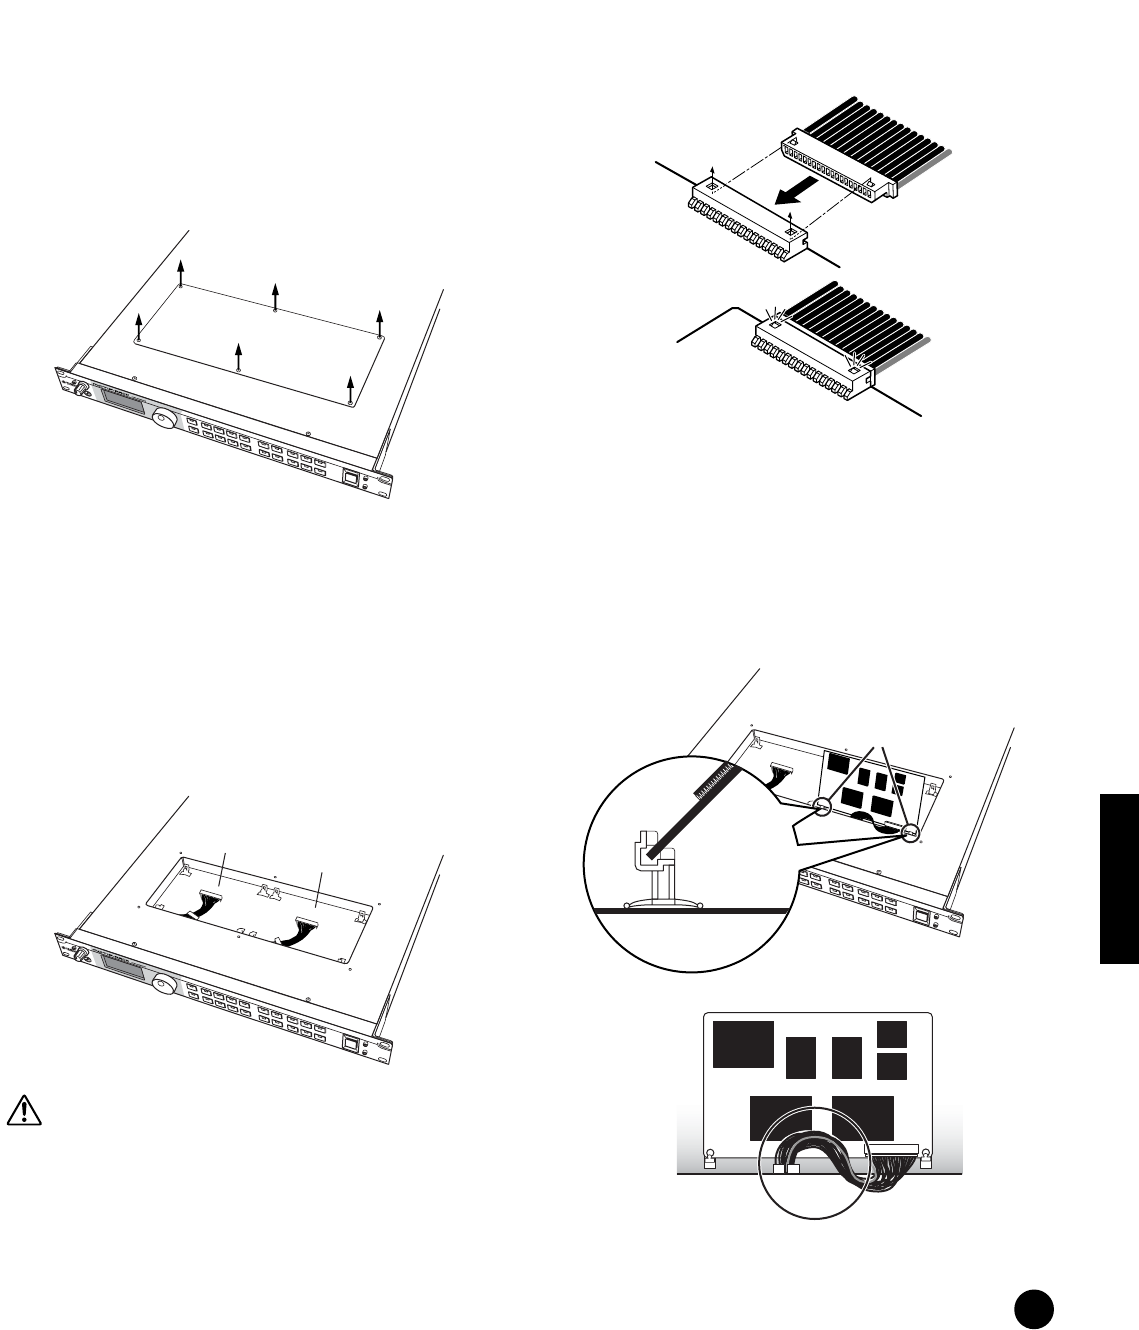
2 Move to a position facing the front panel of the
device, and remove the screws (six flat-head screws)
from the Plug-in board cover at the top panel with a
Phillips screwdriver.
n Keep the removed (6) screws in a safe place. They
will be used when attaching the Plug-in board cover
to the device again.
3 Remove the Plug-in board cover.
Plug-in board plate appears. Two Plug-in boards can
be accommodated: PLG1 at the right and PLG2 at
the left.
n The Multi part Plug-in Board (PLG100-XG) can be
installed only to PLG2.
When installing the optional Plug-in board (from when
you remove the cover to when the cover is replaced
securely) all operations must be done with the AC power
cord disconnected.
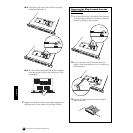
4 Take out the Plug-in board from the anti-static bag.
When installing the board, the side with a
connector and ICs must be on top.
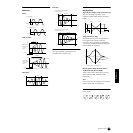
5 Carefully plug the cable connector into the Plug-in
board connector until the two notches on the cable
connector lock into the sockets on the board as
shown in the illustration.
6 Mount the Plug-in board onto the plate as detailed
in the following steps.
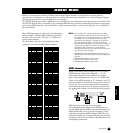
6-1 Insert one side of the Plug-in board
(the connector side) into the hooks 1 as
shown in the illustration, making sure that the
cable is above the board.
P
L
G
1
P
L
G
2
PLG2
PLG1
P
L
G
2
hook 1
hook 1