


23
Operation
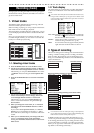
Level Meter
screen
Song and
Location
MixerRecording
(basic)
Recording
(advanced)
PlaybackEffectsEditingOther
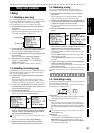
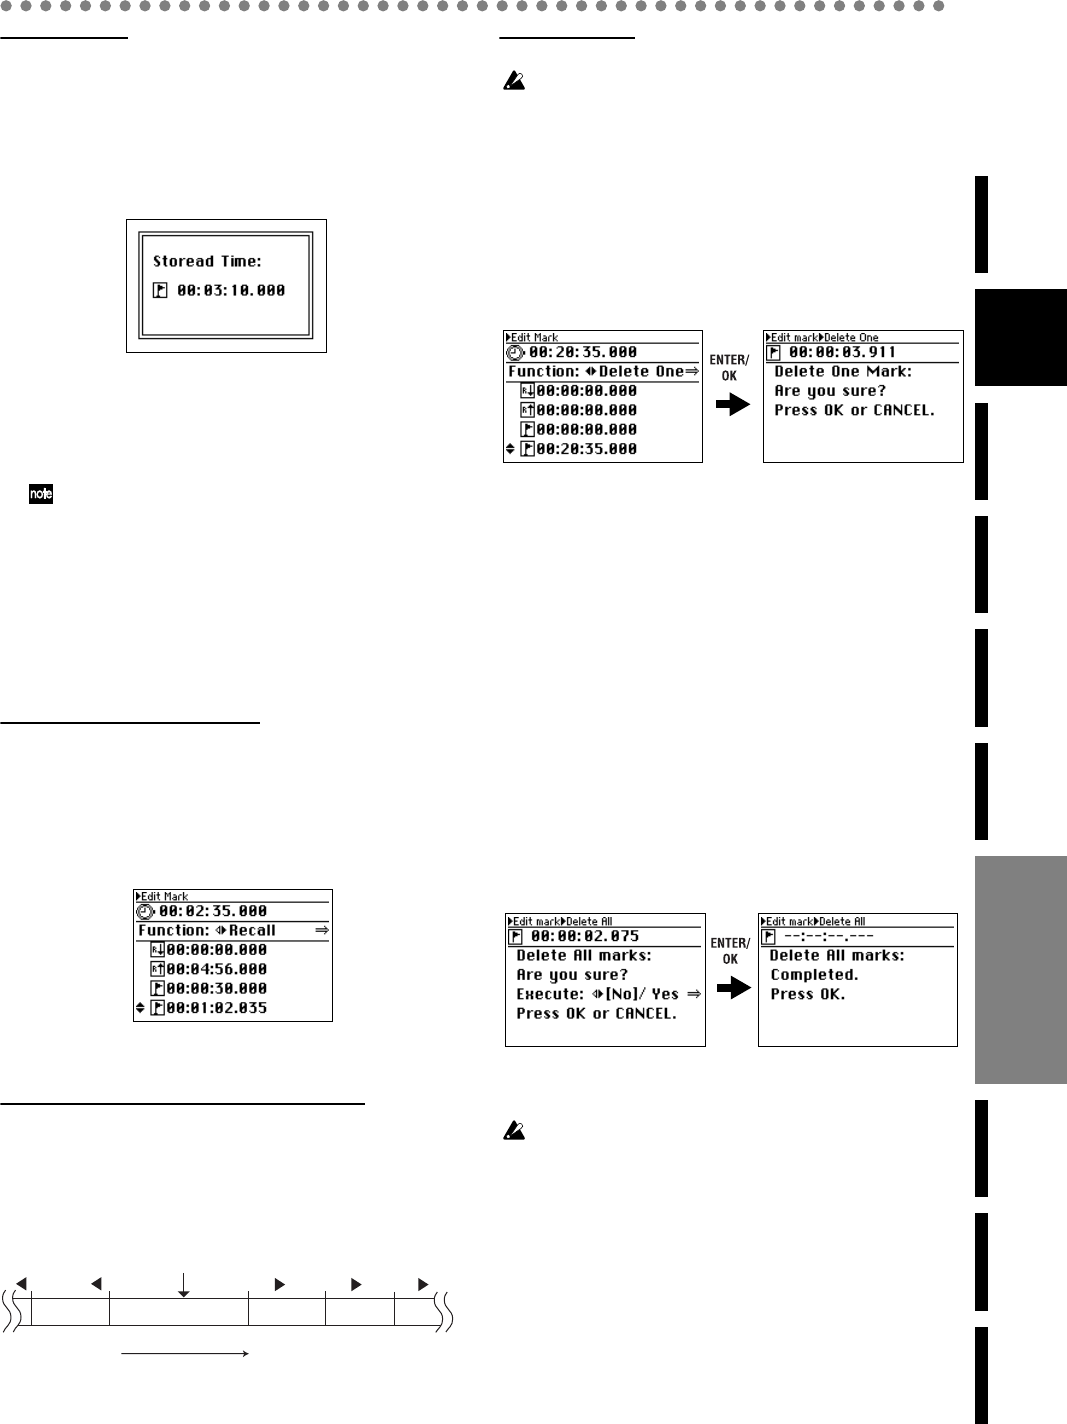
Storing a mark
1) Move to the location that you want to store.
Use the counter or the FF or REW buttons to move.
2) Press the STORE button; a screen will ask you for con-
firmation.
If you decide not to store the mark, press the EXIT/
CANCEL button.
3) Press the ENTER/OK button to store the mark. The
mark will be stored immediately, and in several sec-
onds you will return to the previous screen.
To return to the previous screen immediately, you can
press the ENTER/OK button while this screen is shown.
Mark numbers are automatically reassigned according to
their location, starting at the beginning of the song.
4) Verify that the mark was stored.
Press the MARK EDIT button, and look for the newly
stored mark in the mark list of the Edit Mark screen. If
you’ve stored more than three marks, use the cursor up/
down buttons to scroll the list to find the mark you
stored.
You can also store a mark while the song is playing or record-
ing; simply perform steps 2) and following.
Selecting and moving to a mark
1) Press the MARK EDIT button to access the Edit Mark
screen.
2) Use the cursor left/right buttons to select “Recall,” and
use the cursor up/down buttons to select the desired
mark in the mark list.
3) Press the ENTER/OK button to move to the location of
the mark.
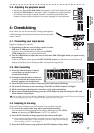
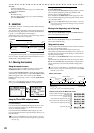
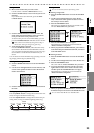
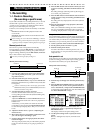
Moving sequentially through the stored marks
Press the JUMP ® button to change the location to the next
mark, moving toward the end of the song.
Press the √ JUMP button to change the location to the pre-
ceding mark, moving toward the beginning of the song.
Deleting a mark
You can’t use the Undo function after deleting a mark.
■ Deleting a single mark
1) Press the MARK EDIT button to access the Edit Mark
screen.
2) Use the cursor left/right buttons to select “Delete
One,” and use the cursor up/down buttons to choose
the mark you want to delete.
3) Press the ENTER/OK button.
The mark to be deleted will be selected, and the screen
will ask “Delete Mark: Are you sure?”
4) Press the ENTER/OK button once again.
When deletion is complete, the screen will indicate
“Delete One Mark: Completed”.
5) When you press the ENTER/OK button, you will move
to the mark that preceded the deleted mark, and return
to the Edit Mark screen.
■ Deleting all marks
1) Press the MARK EDIT button to access the Edit Mark
screen.
2) Use the cursor left/right buttons to select “Delete All”.
3) Press the ENTER/OK button.
The screen will ask “Delete All Marks: Are you sure?”
4) To execute the Delete operation, use the cursor left/
right buttons to select “Yes” for the “Execute” field,
and then press the ENTER/OK button once again.
When deletion is complete, the screen will indicate
“Delete All Marks: Completed”.
5) When you press the ENTER/OK button, all marks will
be deleted and you will return to the Edit Mark screen.
You can’t delete “Last Rec In” and “Last Rec Out”.
Press once
Press once
Press once
Press once
Press once
Mark Mark Mark Mark Mark
JUMPJUMPJUMP
JUMP JUMP
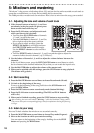
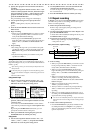
Location
Song
Current
location
Song and
Location