


25
Operation
Level Meter
screen
Song and
Location
MixerRecording
(basic)
Recording
(advanced)
PlaybackEffectsEditingOther
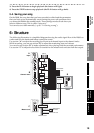
2-2. When INDIVIDUAL is selected
Each jack will carry the audio output of a single mixer chan-
nel of the same number - 1, 2, 3, 4, 5, 6, 7, and 8.
1, 2, 3, 4, 5, 6, 7, 8
These jacks output the audio of channel tracks 1, 2, 3, 4, 5, 6,
7, and 8 from a point immediately before the channel faders.
You can use these as pre-outputs for the devices connected to
the
D888
.
The output of channel tracks 1 and 2 can be adjusted by the
monitor LEVEL knob.
If you want the output level of channel tracks 1 and 2 to match the
output of channel tracks 3 through 8, turn the monitor LEVEL
knob to “10” (all the way toward the right).
S/P DIF OUT
This jack outputs the same audio signal as channel tracks 3
and 4 in the form of a 44.1 kHz 16-bit digital signal.
PHONES 1, 2
These jacks output the same audio signal as channel tracks 1
and 2. Use the corresponding PHONES level knob to adjust
the level.
3. Adjusting the mixer
Use the mixer section to monitor the inputs, and to create a
listening mix by adjusting the volume, tone, and pan of the
playback.
For details on adjusting effects, refer to p.33 “Effects”.
3-1. Adjusting the volume
Adjusting the volume level of each channel
Use the channel faders to adjust the monitoring level of the
inputs or playback. Raise or lower the fader to adjust the vol-
ume.
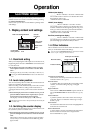
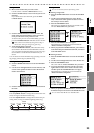
1) Switch the display to the Level Meter screen, and press
the EXIT/CANCEL button several times to select the
channel level display.
2) Use the channel faders to adjust the volume while you
watch the level meters, making sure to avoid clipping
the signal.
The
channel faders
let you adjust the gain in a range of silence
(–∞) – unity gain (0 dB) – +6 dB.
Adjusting the overall volume level
Use the MASTER fader to adjust the volume that is output
from the MASTER OUT jacks, the volume that is sent to the
MONITOR OUT jacks and the headphone jacks, and the
level that is recorded on the master track.
1) Switch the display to the Level Meter screen, and press
the EXIT/CANCEL button several times to select the
channel level display.
2) Use the MASTER fader to adjust the volume being
recorded on the master track while you watch the level
meters, making sure to avoid clipping the signal.
Use the monitor LEVEL knob to adjust the final volume that
is output from the MONITOR OUT jacks.
Use the PHONES level knobs to adjust the final volume that
is output from the headphone jacks.
3-2. Adjusting the pan
Use the PAN knob of each channel to adjust the pan (stereo
position).
3-3. EQ (Equalizer)
HIGH, MID, and LOW equalizer gain knobs are provided on
each channel to adjust the high, mid, and low-range gain. You
can boost or cut the gain of each band by +/–15 dB. The center
frequencies are fixed at 10 kHz, 2.5 kHz, and 100 Hz.
The EQ applies to the playback, and to the master and chan-
nel output, but is not applied when recording individual
tracks (Refer to p.19 “6: Structure”).
Applying EQ to the playback
1) Press the REC/PLAY button, and press the channel but-
ton of the channel whose EQ you want to adjust (the
button will light green).
2) Press the PLAY button to play back the song.
3) Use the HIGH, MID, and LOW knobs to adjust the
high, mid, and low-range gain.
4) Press the LEVEL METER button, and use the level
meters to check the channel levels.
If you boost or cut the EQ values by a large amount, you may
need to re-adjust the level balance between channels or the
overall level (Refer to “3-1. Adjusting the volume”).
3-4. Muting a channel
You can turn the CH ON button on, and then use the chan-
nel buttons to mute (silence) individual channels.
1) Turn the CH ON button on.
Channel buttons of enabled channels will light orange.
If you’ve created a new song, all channels will be enabled.
2) Press the channel button of the channel you want to
mute; the sound will be muted and the button will go
dark.
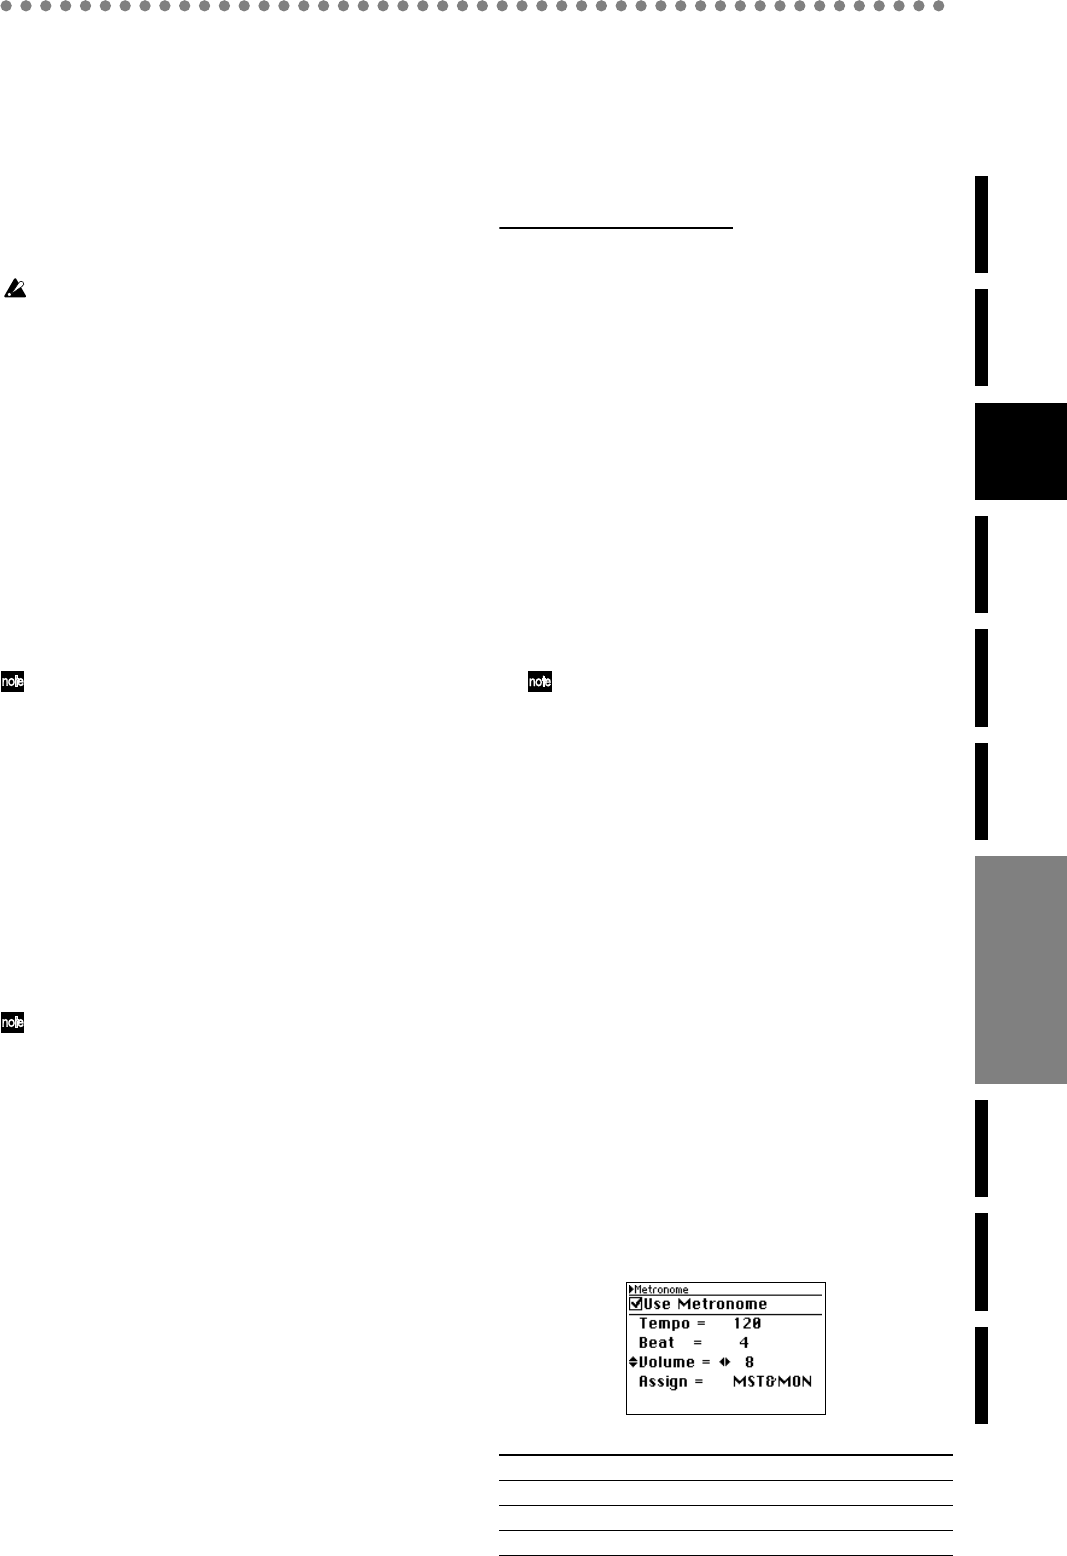
4. Metronome
You can listen to a metronome while you record.
You can send the metronome from the master outputs and
the monitor outputs, but you can also choose to send the met-
ronome only from the monitor output if you don’t want it to
be heard from the master outputs (for example during a live
performance).
1) Press the METRONOME button to access the Metro-
nome screen.
2) When you press the ENTER/OK button, a check mark
will appear for the “Use Metronome” setting, and the
metronome will be turned on.
The metronome will switch between on and off each
time you press the ENTER/OK button.
3) Use the cursor up/down buttons to select the parameter
you want to adjust, and the cursor left/right buttons to
select the value or setting.
If “Use Metronome” is on, the METRONOME button will
light and the metronome will start when you begin recording.
Metronome parameters
Tempo = 40–240
Beat (time signature) 0 (no strong beat), 2, 3, 4, 6, 8 beats
Volume 0–10
Assign (output destination) Mst&Mon (Master & Monitor), Monitor
Mixer