


31
Operation
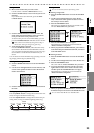
Level Meter
screen
Song and
Location
MixerRecording
(basic)
Recording
(advanced)
PlaybackEffectsEditingOther
2. Recording-related functions
2-1. Rehearsal function
The
D888
provides a rehearsal function that lets you practice
with the mixer settings, LEDs, and display in the same state
as when actually recording.
This operation does not actually record anything, and will
not occupy space on the hard disk.
You can practice as many times as you like under the same
conditions as when actually recording, until you’re satisfied
with your playing.
When you’re ready, simply turn off the rehearsal function to
record immediately with the same settings.
If you want to re-do a specific portion of a recording, it is conven-
ient to use the rehearsal function in conjunction with the “repeat
recording” function described in the preceding section.
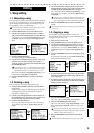
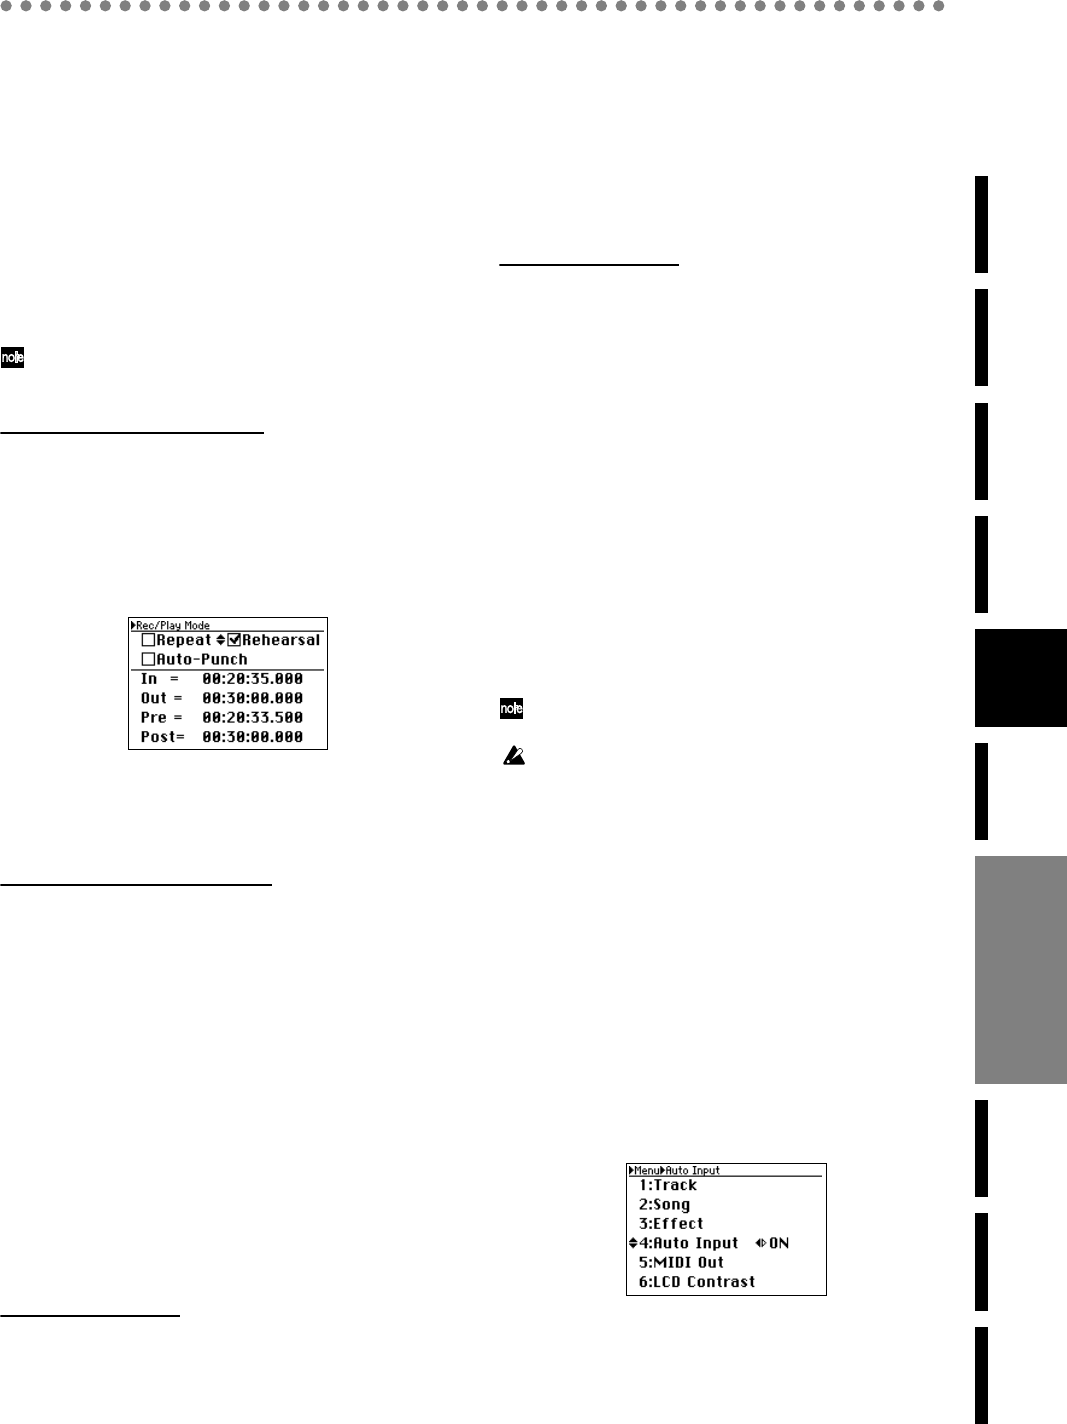
Turning the rehearsal function on
1) Press the REC/PLAY mode button to access the Rec/
Play Mode screen, and use the cursor up/down buttons
and the cursor left/right buttons to select “Rehearsal”.
2) Press the ENTER/OK button.
A check mark will be added to the setting (it will be
turned on), and the REHEARSAL LED will light.
3) Proceed as described in “2-2. Channel track recording”
or “2-3. Overdub recording”.
As long as the REHEARSAL LED is lit, no new recording
will occur regardless of how many times you repeat this.
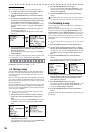
Turning the rehearsal function off
1) Press the REC/PLAY mode button to access the Rec/
Play Mode screen, and use the cursor up/down buttons
and the cursor left/right buttons to select “Rehearsal”.
2) Press the ENTER/OK button.
The check mark will be cleared (the setting will be
turned off), and the REHEARSAL LED will go dark.
3) Record with the current settings.
2-2. Auto input
Automatically switching between recording and
playback
This function automatically switches the mixer channel inputs
in tandem with the record/playback state of the recorder.
Normally you will leave this on so that you can smoothly
transition between recording, playback, and overdubbing.
When auto input is on
Channels set to Record mode (press the PLAY/REC
button and then press a channel button to make it light
red)
While rewinding (REW), fast-forwarding (FF), or
stopped (STOP), you will hear the input signal for that
channel.
During playback (PLAY), you will hear the playback of
the track recorder for that channel.
During recording (REC), you will hear the input signal
for that channel.
Channels set to Play mode (press the PLAY/REC but-
ton and then press a channel button to make it light
green)
While rewinding (REW), fast-forwarding (FF), or
stopped (STOP), you will not hear anything for that
channel.
During playback (PLAY) or recording (REC), you will
hear the playback of the track recorder for that channel.
When auto input is off
Channels set to Record mode (press the PLAY/REC
button and then press a channel button to make it light
red)
You will always hear the input signal for that channel.
Channels set to Play mode (press the PLAY/REC but-
ton and then press a channel button to make it light
green)
While rewinding (REW), fast-forwarding (FF), or
stopped (STOP), you will not hear anything for that
channel.
During playback (PLAY) or recording (REC), you will
hear the playback of the track recorder for that channel.
In this way, you can leave the Auto Input function turned on
so that channels assigned to Record mode will automatically
switch between recording you when record and playback at
other times.
This means that you won’t need to change the setting of the
channel buttons to hear the channels you’ve recorded.
If the Auto Input function is on, an icon is shown in the Level Me-
ter screen (→p.20).
If you want to practice on an instrument connected to the
D888
while playing back previously-recorded tracks, you’ll need to turn
the Auto Input function off in order to hear the input signal.
Alternatively, you can leave the Auto Input function on, and turn
on the Rehearsal function (see the preceding section) so that you
can hear the input signal while you practice.
Turning auto input on/off
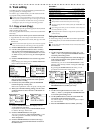
1) Press the MENU button to access the Menu screen.
2) Use the cursor up/down buttons to select “4. Auto
input”.
Alternatively, you can press channel button “4” to select
“4. Auto Input” instead of using the cursor up/down
buttons.
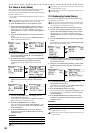
3) Use the cursor left/right buttons to switch the setting
between “ON” and “OFF”.
If the setting you make differs from the current setting, a
“?” symbol will appear.
4) To confirm the change you made, press the ENTER/OK
button.
If you decide not to make the change, press the EXIT/
CANCEL button to revert to the original setting.
Recording
(advanced)