


37
Operation
Level Meter
screen
Song and
Location
MixerRecording
(basic)
Recording
(advanced)
PlaybackEffectsEditingOther
2. Track editing
The
D888
provides various track editing operations that let
you copy, delete, or exchange tracks.
In order to copy or delete tracks, you will need to store the
appropriate locate points beforehand.
In some cases, it may be impossible to execute a track editing op-
eration if there is insufficient free space on the song drive. In this
case, you’ll need to delete unneeded tracks or songs to make the
necessary free space for executing the track editing operation.
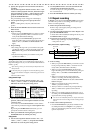
2-1. Copy a track (Copy)
This command copies the specified region (IN–OUT) of track
data to another location (TO).
You can copy data from one track, or from two tracks simul-
taneously.
Here are some ways in which you can use this command.
• Copy the first verse of a song to create the second verse.
• Record a favorite phrase from a track, and copy it to a dif-
ferent track.
Select the virtual tracks of the copy-source (SourceTrk) and copy-desti-
nation (DestTrk) before you make settings for this Copy operation.
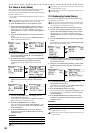
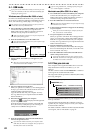
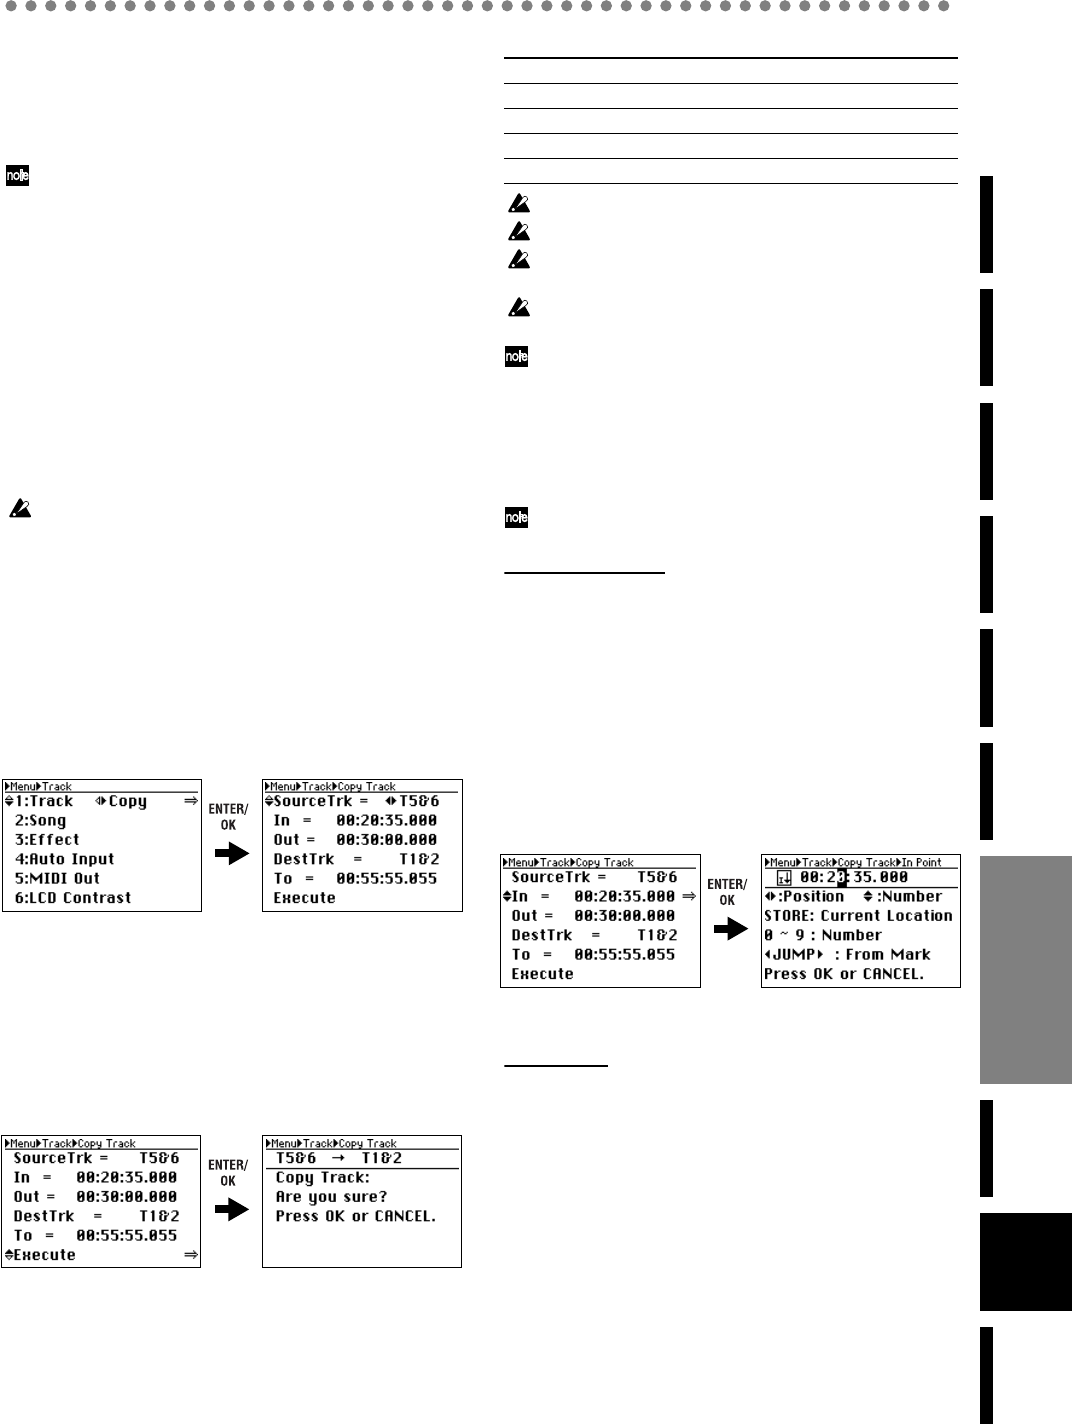
1) Press the MENU button to access the Menu screen.
2) Use the cursor up/down buttons to select “1: Track,”
and use the cursor left/right buttons to select “Copy”.
Alternatively, you can press channel button “1” to select
“1: Track” directly instead of using the cursor up/down
buttons.
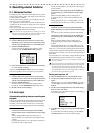
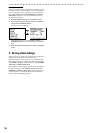
3) Press the ENTER/OK button to access the Copy Track
screen.
If you change your mind, press the EXIT/CANCEL but-
ton to return to the Menu screen.
4) Use the cursor up/down buttons to select the parameter
that you want to change, and use the cursor up/down
buttons to select a setting.
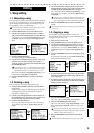
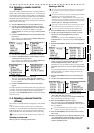
5) For the In, Out, and To fields, press the ENTER/OK
button and specify a locate point.
Refer to the explanation of how to specify a locate point.
6) When you’ve finished making settings, use the cursor
up/down buttons to select “Execute” at the bottom of
the screen.
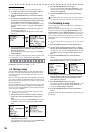
7) Press the ENTER/OK button. The display will ask
“Copy Track: Are you sure?”
If you decide to cancel, press the EXIT/CANCEL button
to return to the Copy Track screen.
8) Press the ENTER/OK button once again.
The screen will indicate “Copy Track: Working...”, and
when the operation is finished, will indicate “Copy
Track: Completed”.
9) Press the ENTER/OK button to return to the Copy
Track screen, and press the Menu button to return to
the Menu screen.
Parameters
Any track data in the destination will be overwritten.
This operation will take more time if the track is longer.
You must specify the same number of tracks for “SourceTrk” and
“DestTrk”.
If you change your mind, you can use Undo to revert to the previ-
ous state of the data (→p.41).
Play back from the To location to verify that the operation was ex-
ecuted correctly.
Setting the locate points
To set a locate point, you can either use numeric input in the
point setting screen, or store marks beforehand and use these
marks.
You can also select a mark and then edit its numerical value to ad-
just the location.
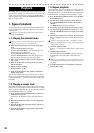
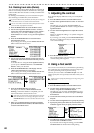
Using numeric input
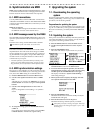
1) Use the cursor up/down buttons to select “In=...” (or
“Out=...”, “To=...”), and press the ENTER/OK button to
access the point setting screen.
2) Use the cursor left/right buttons to select the digit you
want to edit, and use the cursor up/down buttons to
select a numeric value.
Alternatively, you can use the channel buttons to enter
numeric values directly, instead of using the cursor up/
down buttons.
By pressing the STORE button at this time, you can
specify the current location as the point.
3) When you’re finished entering the point, press the
ENTER/OK button to confirm your entry.
Using marks
1) Use the cursor up/down buttons to select “In=...” (or
“Out=...”, “Post=...”), and press the ENTER/OK button
to access the point setting screen.
2) Use the JUMP buttons to select the stored mark that
corresponds to the desired locate point.
You can use step 2) of “Using numeric input” to adjust
the value if desired.
3) Press the ENTER/OK button to confirm your entry.
SourceTrk (copy-source track) T1...T8, T1&T2...T7&T8
In (start copying here) any desired location
Out (stop copying here) any desired location, but In < Out
DestTrk (copy-destination track) T1...T8, T1&T2...T7&T8
To (copy to this location in the destination) any desired location
Editing