


43
Operation
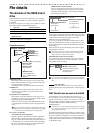
Level Meter
screen
Song and
Location
MixerRecording
(basic)
Recording
(advanced)
PlaybackEffectsEditingOther
6. Synchronization via MIDI
MIDI stands for Musical Instrument Digital Interface, and is
a world-wide standard used to exchange performance data
between electronic musical instruments and computers.
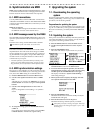
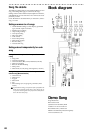
6-1. MIDI connections
Use only MIDI cables to transfer MIDI data. Connect these
cables between the MIDI connector of the D888 and the MIDI
connectors of the external MIDI device with which you want
to transfer data.
MIDI OUT connector
Transmits MIDI messages from the D888. Connect this to
the MIDI IN connector of the external device.
6-2. MIDI messages used by the
D888
Since the
D888
will transmit MTC (MIDI Time Code), it can
operate in synchronization with an external sequencer or re-
corder.
The frame rate is 30 fps, and the MTC format is 30 NDF.
The
D888
can operate as the master, but not as a slave.
About the MIDI implementation chart
The owner’s manual of each MIDI device includes a MIDI
implementation chart. This chart shows the types of MIDI
message that the device can transmit and receive. When us-
ing two MIDI devices together, compare their MIDI imple-
mentation charts to verify that the devices will be able to
communicate as you expect.
*A detailed explanation of the D888’s MIDI functionality can be
found in the separate MIDI implementation. Consult your local
Korg distributor for more information on MIDI Implementation.
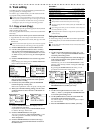
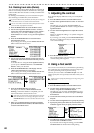
6-3. MIDI synchronization settings
Here’s how to select whether you will synchronize an exter-
nal MIDI device to the
D888
. If you’re not using synchroniza-
tion, choose the “OFF” setting to avoid malfunctions.
1) Press the MENU button to access the Menu screen.
2) Use the cursor up/down buttons to select “5. MIDI
Out”.
Alternatively, you can select “5. MIDI Out” by pressing
channel button “5” instead of using the cursor up/down
buttons.
3) Use the cursor left/right buttons to select “ON” or
“OFF”.
If you’ve changed the current setting, a “?” symbol is
shown.
4) To accept the change, press the ENTER/OK button to
confirm it.
If you decide not to change the setting, press the EXIT/
CANCEL button to maintain the original setting.
7. Upgrading the system
7-1. Downloading the operating
system
The most recent operating system can be downloaded from
the Korg website (http://www.korg.com). For details on the
procedure, refer to the Korg website.
Preparations for updating the system
Use a USB cable to connect the
D888
to your computer (refer
to p.42 “5-1. USB mode”), and copy the downloaded system
file to the root directory (or folder) of the KORG
D888
hard
drive.
7-2. Updating the system
If the power is turned off accidentally while the system is be-
ing loaded, the
D888
may stop operating correctly. If this oc-
curs, please contact Korg customer service.
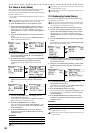
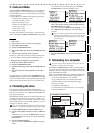
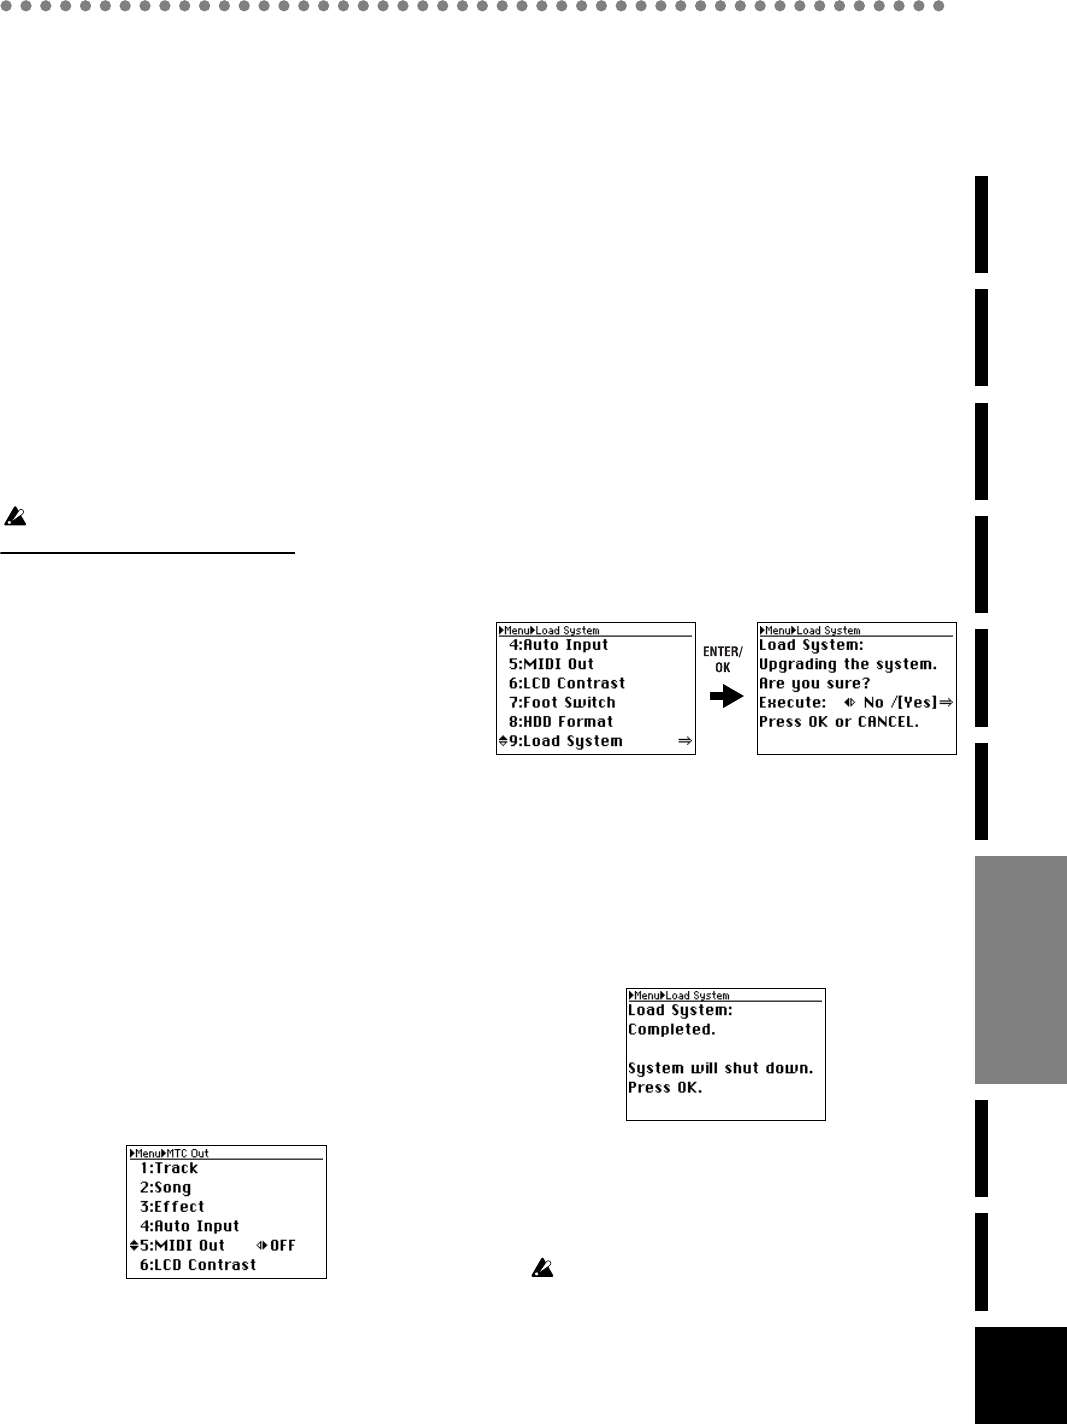
1) Press the MENU button to access the Menu screen.
2) Use the cursor up/down buttons to select “System
Load”.
3) Press the ENTER/OK button.
The screen will indicate “System Load: Are you sure?”
If you decide not to load the system, press the EXIT/
CANCEL button to return to the Menu screen.
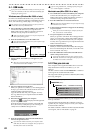
4) To execute the Load System operation, use the cursor
left/right buttons to select “Yes” for the “Execute” field,
and then press the ENTER/OK buttom once again.
The display will indicate “System Load: Working...”
and loading will begin.
5) When system load is complete, the display will indi-
cate “System will shut down. Press OK”.
6) Press the ENTER/OK button.
The
D888
will shut down and enter standby mode (the
STANDBY LED will light).
7) Press the ON button to turn on the power.
The
D888
will start up with the system you loaded.
If the update process fails, a message will appear. Take the ap-
propriate action for the message that appears (→p.45 “Vari-
ous messages”).
Other