


39
Operation
Level Meter
screen
Song and
Location
MixerRecording
(basic)
Recording
(advanced)
PlaybackEffectsEditingOther
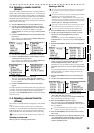
2-4. Selecting a master track file
(Master)
The most recently created master track recording will be se-
lected as the current master track. However, you may also se-
lect and play master track recordings that you made earlier.
You can also select and play WAV files that you loaded into
the
D888
using USB mode. However, you can only select
WAV files (44.1 kHz 16-bit, stereo only) that are in the same
folder as the current song.
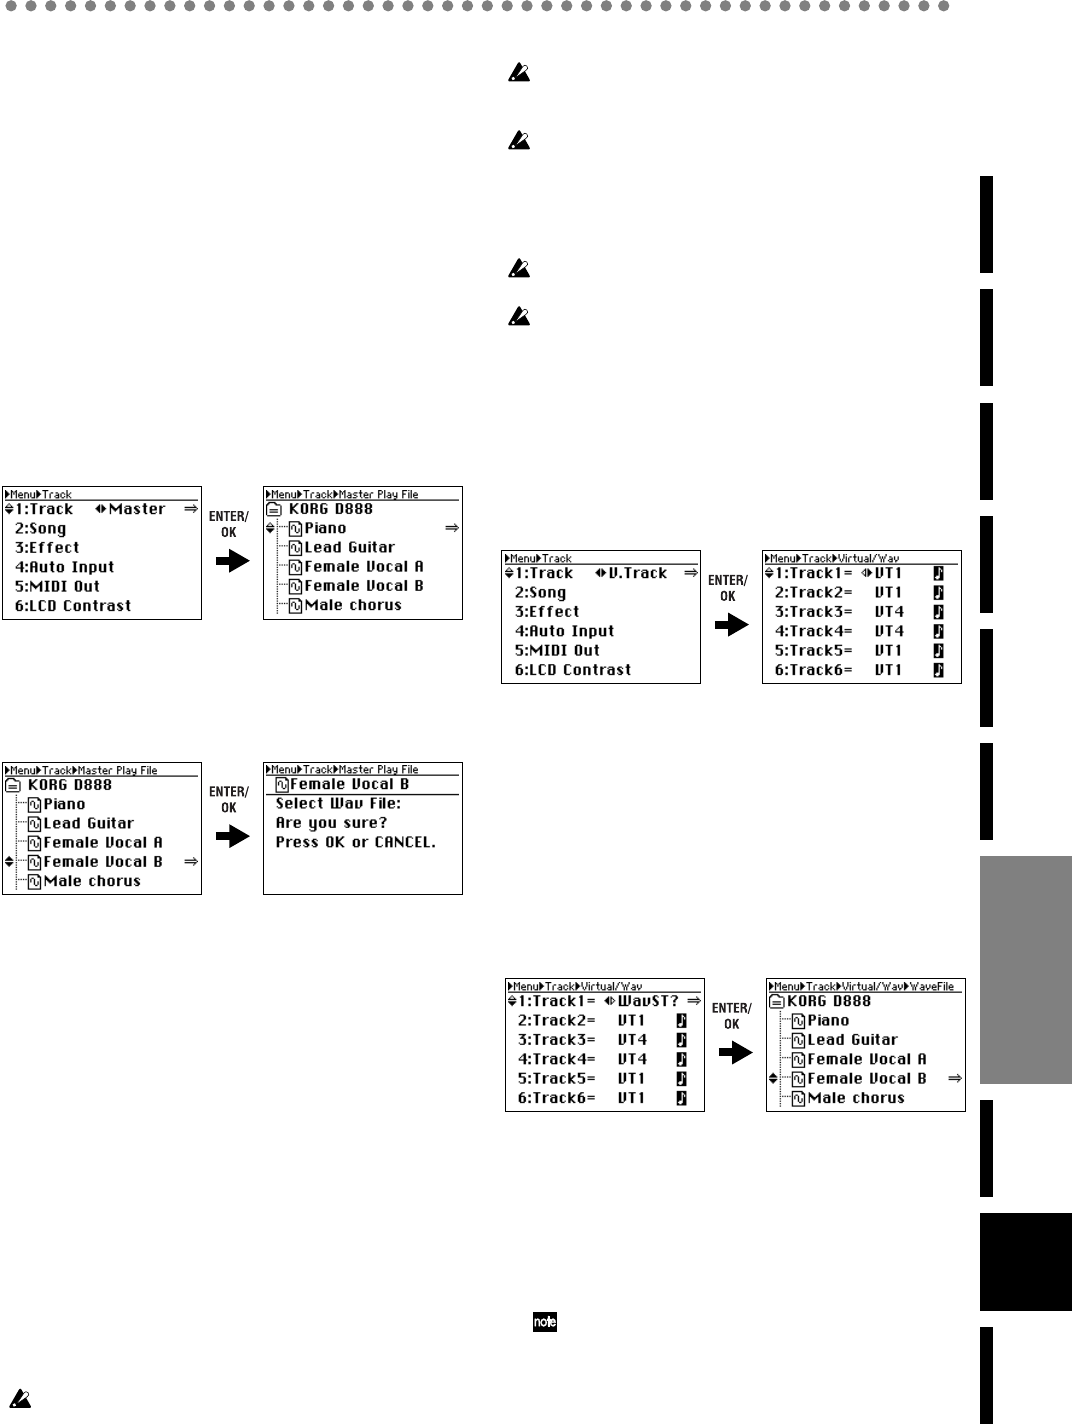
1) Press the MENU button to access the Menu screen.
2) Use the cursor up/down buttons to select “1: Track,”
and use the cursor left/right buttons to select “Master”.
Alternatively, you can select “1. Track” by pressing
channel button “1” instead of using the cursor up/down
buttons.
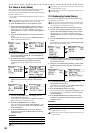
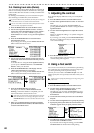
3) Press the ENTER/OK button to access the Master Play
File screen.
If you change your mind, press the EXIT/CANCEL but-
ton to return to the Menu screen.
4) Use the cursor up/down buttons to select a WAV file.
5) Press the ENTER/OK button, and the display will ask
“Select Wav File: Are you sure?”
If you change your mind, press the EXIT/CANCEL but-
ton to return to the Master Play File screen.
6) Press the ENTER/OK button once again.
The screen will indicate “Select Wav File: Working...”,
and then “Select Wav File: Completed” when the opera-
tion is completed.
7) Press the ENTER/OK button to return to the Menu
screen.
44.1 kHz 16-bit stereo WAV files are the only type of files you
can select. An error message will appear if you attempt to se-
lect a file of any other format. If an error message is dis-
played, press the ENTER/OK button to return to the Master
Play File screen.
2-5. Selecting a channel track file
(VTrack)
Here’s how to select the file that is assigned to each channel
track.
You can select a virtual track (VT1–VT8), a master track
WAV file, or a WAV file that you loaded into the
D888
using
USB mode. However, you can only select WAV files (44.1
kHz 16-bit) that are in the same folder as the current song.
You can’t use a file that is already selected for the master track.
Selecting a virtual track
Refer to p.26 “1-1. Selecting virtual tracks”.
Selecting a WAV file
You can’t record or edit a track for which you’ve selected a WAV
file. In order to record or edit, you must select a virtual track
(VT1–VT8).
To select a mono WAV file, it must be named using the automatic
D888 naming conventions (TRK01VT1.WAV,
TRK01VT2.WAV,... TRK08VT8.WAV) . These files can be re-
named by connecting the D888 to a computer via USB. Once they
are named in this way, the D888 will see them as virtual tracks.
Refer to p.26 “1-1. Selecting virtual tracks”
If you select a stereo WAV file, the file will be assigned to the ad-
jacent pair that includes the selected track (1-2, 3-4, 5-6, 7-8).
You can’t use a file that is already selected for another track.
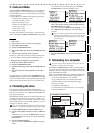
1) Press the MENU button to access the Menu screen.
2) Use the cursor up/down buttons to select “1: Track,”
and use the cursor left/right buttons to select
“V.Track”.
Alternatively, you can select “1: Track” by pressing
channel button “1” instead of using the cursor up/down
buttons.
3) Press the ENTER/OK button to access the Virtual/Wav
screen.
4) Use the cursor up/down buttons to select the track to
which you want to assign the WAV file, and use the
cursor left/right buttons to select “WavST?”
Alternatively, you can select a track by pressing a chan-
nel button 1–8 instead of using the cursor up/down but-
tons.
If you change the selection of a track for which a file is
already selected, a “?” symbol will appear when you
select the file name.
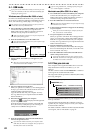
5) Press the ENTER/OK button to access the Wave File
screen.
6) Use the cursor up/down buttons to select a WAV file.
7) Press the ENTER/OK button. The screen will ask
“Select Wav File: Are you sure?”
If you change your mind, press the EXIT/CANCEL but-
ton to return to the Virtual/Wav screen.
8) Press the ENTER/OK button once again.
The screen will indicate “Select Wav File: Working...”,
and then “Select Wav File: Completed” when the opera-
tion is completed.
Since the selected WAV file is stereo, tracks 1-2, 3-4, 5-6, or
7-8 will be the L and R channels respectively.
9) Press the ENTER/OK button to return to the Virtual/
Wav screen.
10) When all changes have been finalized and there are no
“?” symbols shown in the Virtual/Wav screen, press
the EXIT/CANCEL button (or the Menu button) to
return to the Menu screen.
Editing