


38
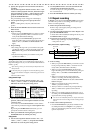
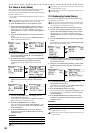
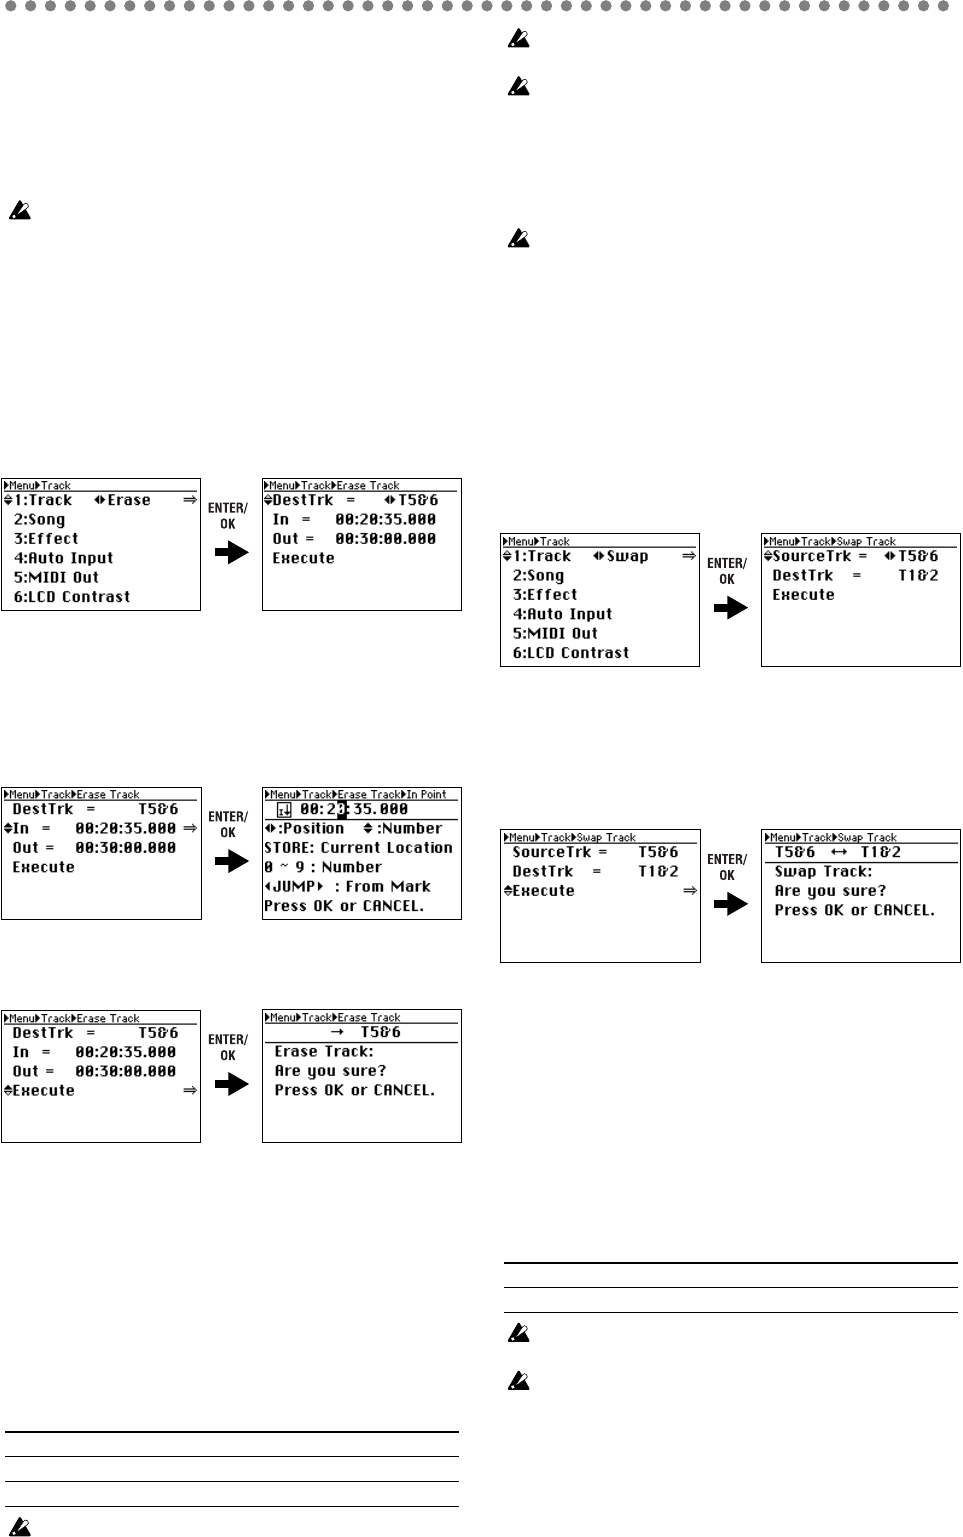
2-2. Erase a track (Erase)
This command erases track data from the specified region
(IN–OUT) of a track. The region will become blank.
This Erase Track command will not cause the data following
the OUT point to move.
• You can also erase the IN through OUT region of a pair of
two tracks.
Before you make settings for this operation, check the virtual track
of the DestTrk track from which you will be erasing data.
1) Press the MENU button to access the Menu screen.
2) Use the cursor up/down buttons to select “1: Track,”
and use the cursor left/right buttons to select “Erase”.
Alternatively, you can select “1. Track” by pressing
channel button “1” instead of using the cursor up/down
buttons.
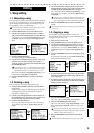
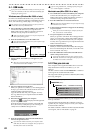
3) Press the ENTER/OK button to access the Erase Track
screen.
If you change your mind, press the EXIT/CANCEL but-
ton to return to the Menu screen.
4) Use the cursor up/down buttons to select the parameter
you want to change, and use the cursor left/right but-
tons to select the value.
5) To make the In and Out settings, press the ENTER/OK
button and specify the appropriate locate points.
For details, refer to the section on how to set locate
points.
6) When you’ve finished making settings, use the cursor
up/down buttons to select “Execute” in the bottom
line.
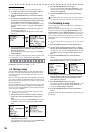
7) Press the ENTER/OK button. The display will ask
“Erase Track: Are you sure?”
If you change your mind, press the EXIT/CANCEL but-
ton to return to the Erase Track screen.
8) Press the ENTER/OK button once again.
The screen will indicate “Erase Track: Working...”, and
when the operation is completed, will indicate “Erase
Track: Completed”.
9) Press the ENTER/OK button to return to the Erase
Track screen, and press the Menu button to return to
the Menu screen.
Parameters
This operation will take longer in proportion to the length of the
track.
If you change your mind, you can use Undo to revert to the previ-
ous state of the data (→p.41).
Play back from the In location to verify that the operation was ex-
ecuted correctly.
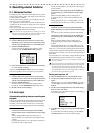
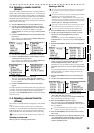
2-3. Exchanging tracks (Swap)
This operation exchanges (swaps) track data between the
two channels you specify.
Before you make swap settings for the tracks, you should verify
that the appropriate virtual track is selected for the swap source
(SourceTrk) and swap destination (DestTrk).
1) Press the MENU button to access the Menu screen.
2) Use the cursor up/down buttons to select “1: Track,”
and use the cursor left/right buttons to select “Swap”.
Alternatively, you can select “1. Track” by pressing
channel button “1” instead of using the cursor up/down
buttons.
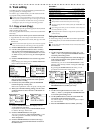
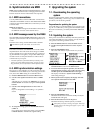
3) Press the ENTER/OK button to access the Swap Track
screen.
If you change your mind, press the EXIT/CANCEL but-
ton to return to the Menu screen.
4) Use the cursor up/down buttons to select the parameter
you want to change, and use the cursor left/right but-
tons to select the value.
5) When you’ve finished making settings, use the cursor
up/down buttons to select “Execute” in the bottom
line.
6) Press the ENTER/OK button. The display will ask
“Swap Track: Are you sure?”
If you change your mind, press the EXIT/CANCEL but-
ton to return to the Swap Track screen.
7) Press the ENTER/OK button once again.
The screen will indicate “Swap Track: Working...”, and
when the operation is completed, will indicate “Swap
Track: Completed”.
8) Press the ENTER/OK button to return to the Swap
Track screen, and press the Menu button to return to
the Menu screen.
Parameters
If you change your mind, you can use Undo to revert to the previ-
ous state of the data (→p.41).
Play back the tracks you swapped to verify that the operation was
executed correctly.
DestTrk (track to erase) T1...T8, T1&T2...T7&T8
In (start erasing here) any desired location
Out (stop erasing here) any desired location, but In < Out
SourceTrk (swap source track) T1...T8
DestTrk (swap destination track) T1...T8