


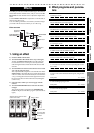
41
Operation
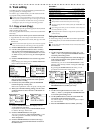
Level Meter
screen
Song and
Location
MixerRecording
(basic)
Recording
(advanced)
PlaybackEffectsEditingOther
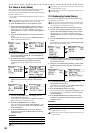
3. Undo and Redo
When the UNDO or REDO LED is lit, you can cancel the pre-
ceding operation or revert to the state prior to cancelling.
Undo and Redo let you revert only the single most recently
executed operation.
Undo and Redo are available for the following operations.
• Channel track recording (→p.27)
• Overdub recording (→p.27)
• Bounce recording (→p.27)
• Master track recording (→p.28)
•Track copy (→p.37)
•Track erase (→p.38)
•Track swap (→p.38)
The undo and redo data is erased when you perform Song
Select or Reload (the UNDO and REDO LEDs will go dark).
Examples
• Copy a track
1) Copy a track (→p.37 “2-1. Copy a track (Copy)”).
2) The UNDO LED will light.
3) Press the UNDO/REDO button.
4) The UNDO LED will go dark, and the REDO LED will
light.
5) The track copy operation will be cancelled.
In this way, Undo will cancel the preceding operation, but
you can use Redo to bring back the cancelled operation.
• Bring back the cancelled track copy operation
1) Make sure that the REDO LED is lit.
2) Press the UNDO/REDO button.
3) The REDO LED will go dark and the UNDO LED will
light.
4) The data will return to its state before you executed
Undo.
If you execute a new operation while the REDO LED is lit,
the REDO LED will go dark and the UNDO LED will light.
Undo will cancel the most recently performed operation, but
Redo will cancel the operation only if you executed Undo.
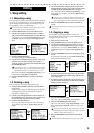
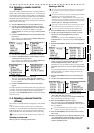
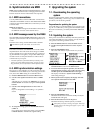
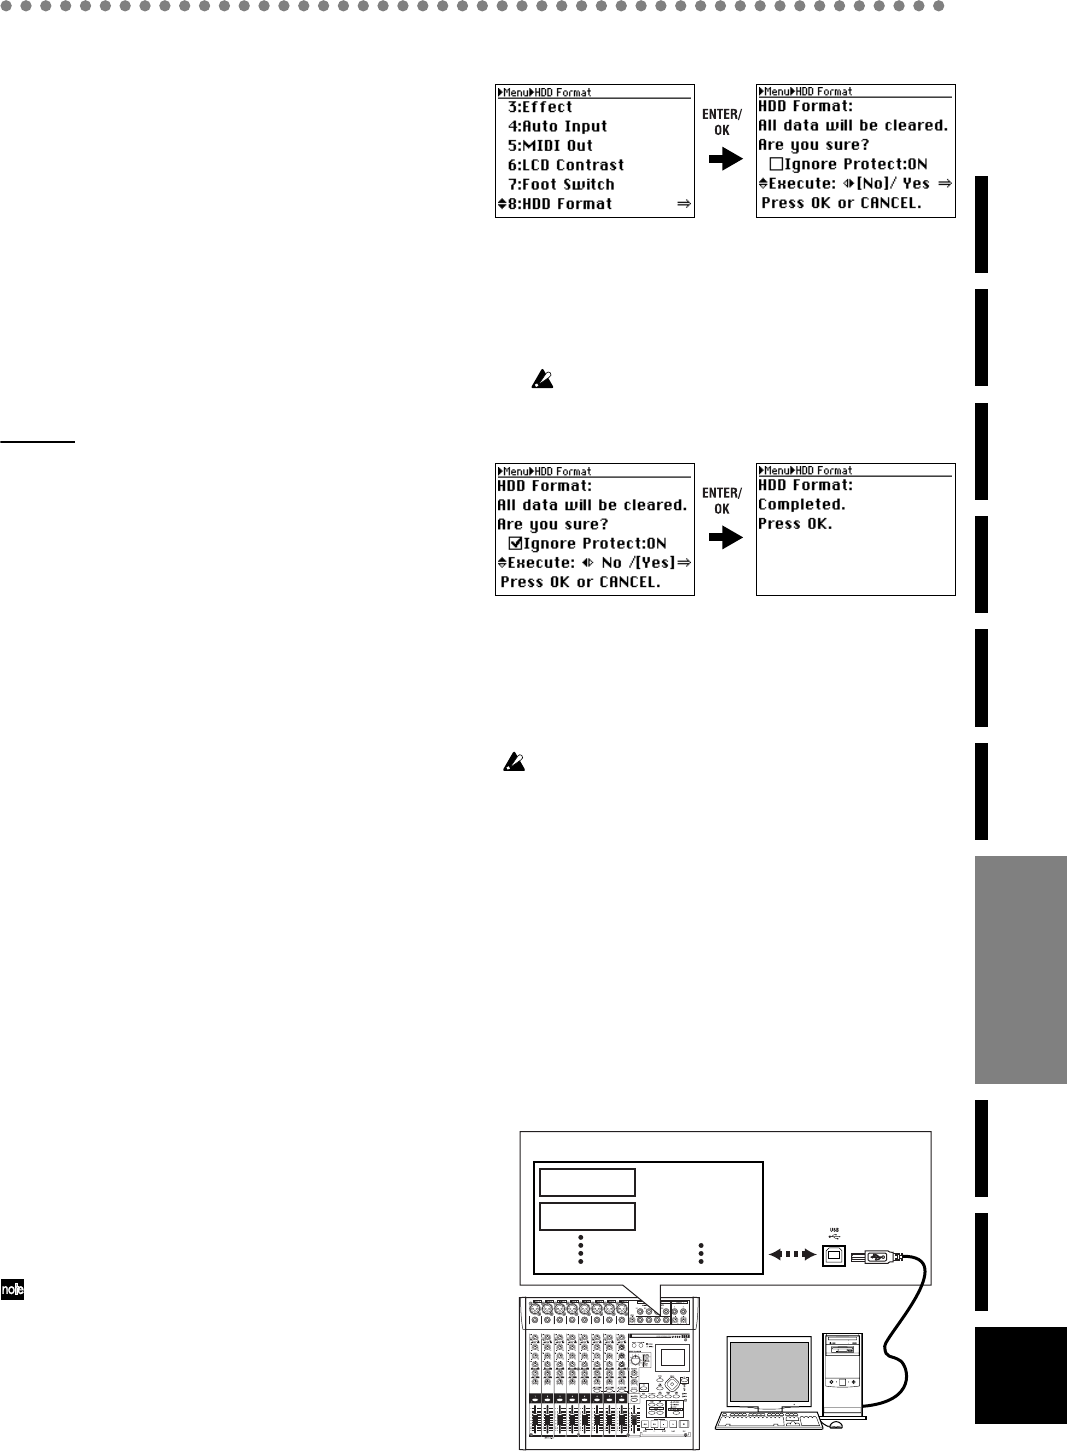
4. Formatting the drive
This operation will format the
D888
’s hard disk drive.
You should execute this operation if you want to erase all the
data stored on the drive, or if a “Drive error occurred” mes-
sage appears frequently.
Remember that all data on the drive will be erased when you
execute the Format operation, so please be sure that you’re
not erasing any data you need to keep. If necessary, you can
make a backup before you execute this operation. (→“5. Con-
necting to a computer,” below)
If the power is turned off accidentally while the drive is being for-
matted, it is possible that the
D888
may stop operating correctly.
1) Press the MENU button to access the Menu screen.
2) Use the cursor up/down buttons to select “8. HDD For-
mat”.
Alternatively, you can select “8. HDD Format” by press-
ing channel button “8” instead of using the cursor up/
down buttons.
3) Press the ENTER/OK button.
The screen will ask “HDD Format: All Data... Are you
sure?”
If you decide not to format the drive, press the EXIT/
CANCEL button to return to the Menu screen.
4) To format the drive, use the cursor left/right buttons to
select “Yes” for the “Execute” field, and then press the
ENTER/OK button once again.
The screen will indicate “HDD Format: Working...”, and
then “HDD Format: Completed” when formatting is
complete.
You won’t be able to format the drive if the D888’s hard disk
contains even one protected song. In this case, check the “Ig-
nore Protect: ON” check box before you execute the HDD
Format operation.
5) Press the ENTER/OK button to return to the Menu
screen.
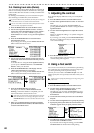
5. Connecting to a computer
You cannot connect USB peripheral devices such as an external
hard disk or CD-R/RW drive to the
D888
.
The
D888
has a USB connector that lets you connect it direct-
ly to your computer so that you can save data from the
D888
’s
hard drive onto your computer or write data from your com-
puter to the
D888
’s hard drive.
When you connect the
D888
to your computer and enter USB
mode, you’ll be able to perform the following operations.
• Copy track data (WAV) to your computer.
• Copy WAV files from your computer to the
D888
• Rename folders or files (some restrictions apply)
• Back up your data
• Update the system software
• Use the
D888
as an external drive for your computer
• Defrag the hard drive
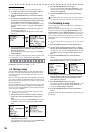
The D888’s hard disk drive
SONG0001
SONG0002
Sysdata
PCmade1.WAV
PCmade2.WAV
Other