26
The Lock function
Joystick
1 Select program bank INT-A001: Acoustic Piano, and
play the keyboard.
To select a program, make sure that you are in Program
mode, and press the BANK [INT-A] key, numeric key
[1], and then the [ENTER] key.
2 Move the joystick toward yourself (the –Y direction).
The modulation will deepen, and at the same time, res-
onance will be applied to give a unique character to the
sound.
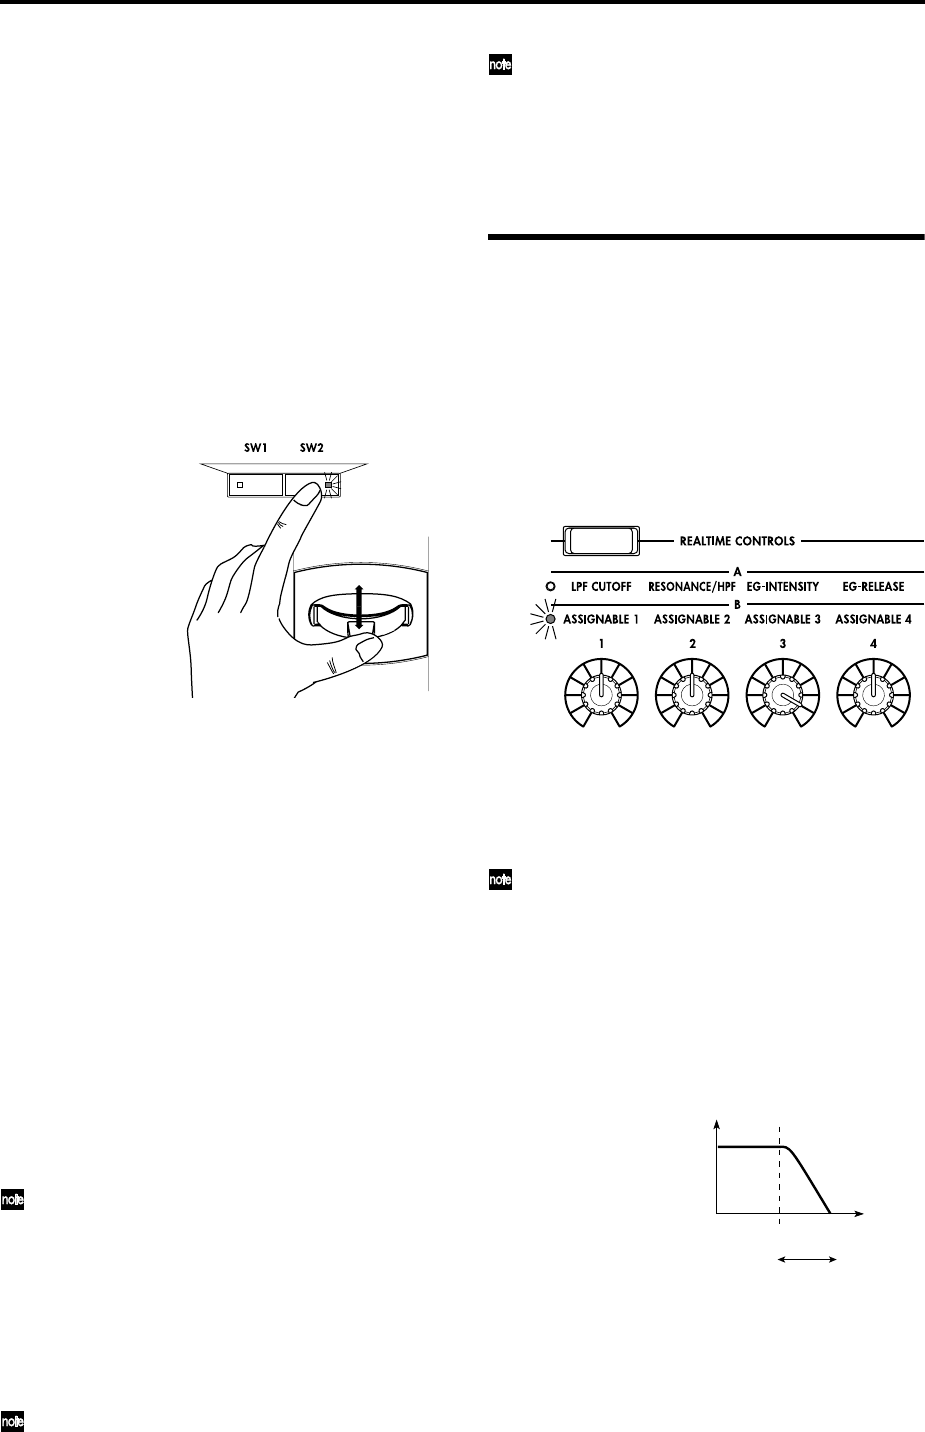
3 While holding the joystick toward yourself, press the
[SW2] switch (The [SW2] key LED will light).
The modulation effect at this point will be maintained.
(Lock function)
4 Release the joystick, and play the keyboard.
The modulation will stay the same as it was when the
[SW2] key was pressed. Moving the joystick toward
yourself will not affect the sound.
5 Press the [SW2] key once again to release the Lock
function.
Ribbon controller
Make sure that the INT-A001: Acoustic Piano program is
selected.
1 Press the [SW2] key. (The [SW2] key LED will light.)
2 Touch the ribbon controller, and move your finger to
left and right.
Movement in the +X direction will brighten the tone,
and movement in the –X direction will darken the tone.
3 Take your finger away from the ribbon controller.
The sound will remain as it was before you removed
your finger. (Lock function)
4 Press the [SW2] key once again to release the Lock
function.
In the LCD screen, SW2 indicates JS–Y & Ribbon
Lock. This means that the [SW2] key is assigned to
control the Lock function for the joystick –Y direction
and the ribbon controller (☞PG p.249). The key will
operate in Toggle mode.
If you move the joystick in the –Y direction, press the
[SW2] key to turn on the Lock function, then operate
the ribbon controller, and finally release both control-
lers, the sound you modified by the two controllers
will be maintained.
In many programs and combinations, the [SW2] key
is assigned to control the Lock function for the joy-
stick –Y direction and the ribbon controller.
The Lock function can also be applied to aftertouch. If
the [SW1] or [SW2] switch is assigned to After Touch
Lock, the effect produced by pressing down on the
keyboard can be held by turning on the [SW1] or
[SW2] switch. For details on the [SW1] and [SW2]
switch functions, refer to PG p.249.
REALTIME CONTROLS [1], [2], [3], [4]
These knobs can be used to control the filter cutoff fre-
quency and resonance, the amp and filter EG, volume,
portamento time, pan, pitch LFO, or the send levels to the
master effects, etc.
1 Press the [REALTIME CONTROLS] key to
switch the function of the realtime controllers to A-
mode or B-mode.
Each time you press the key, A-mode or B-mode will be
alternately selected, and the corresponding LED will
light.
2 Rotate the desired knob to control the sound, etc.
A-mode controls
In A-mode, knobs [1]–[4] will control/edit the following
functions.
Placing the knobs in the center (12 o’clock) position
will produce the values specified by the program
parameters.
Knob [1]: LPF CUTOFF
Adjusts the cutoff frequency of the low pass filter.
When you adjust the cutoff frequency of the filter, the
brightness of the sound will change. The effect will
depend on the settings of the program parameters, but
normally, rotating the knob toward the left will darken the
sound, and rotating it toward the right will brighten it.
Knob [2]: RESONANCE/HPF
Adjust the resonance level of a low pass filter or the cutoff
frequency of a high pass filter.
The content that is controlled will depend on the filter
type specified by the program.
By adjusting the filter resonance level, you can increase or
decrease the resonance level to add a unique character to
the sound.
Frequency
HighLow
Cutoff
frequency
Level
LPF
