53
Quick Start
Power on/offDemo songPlaying
programs
Playing
combinations
Using
controllers
ArpeggiatorRPPRProgram
editing
Combination
editing
SamplingSong
When you begin step recording, all data that follows
the measure where you began recording will be
erased from that track.
You need to be aware of this if you begin step record-
ing from a measure mid-way through the song.
If you want to re-input data into a measure that
already contains data, perform step recording in
another un-recorded track, and execute “Move Mea-
sure” or “Copy Measure” (☞PG p.72).
If you want to edit or add to the recorded data, you
can use the “Event Edit” function (☞PG p.69).
7. Using controllers to record tonal changes
Let’s try using the realtime controllers and the joystick to
add effects to the performance that we just step-recorded
on track 8.
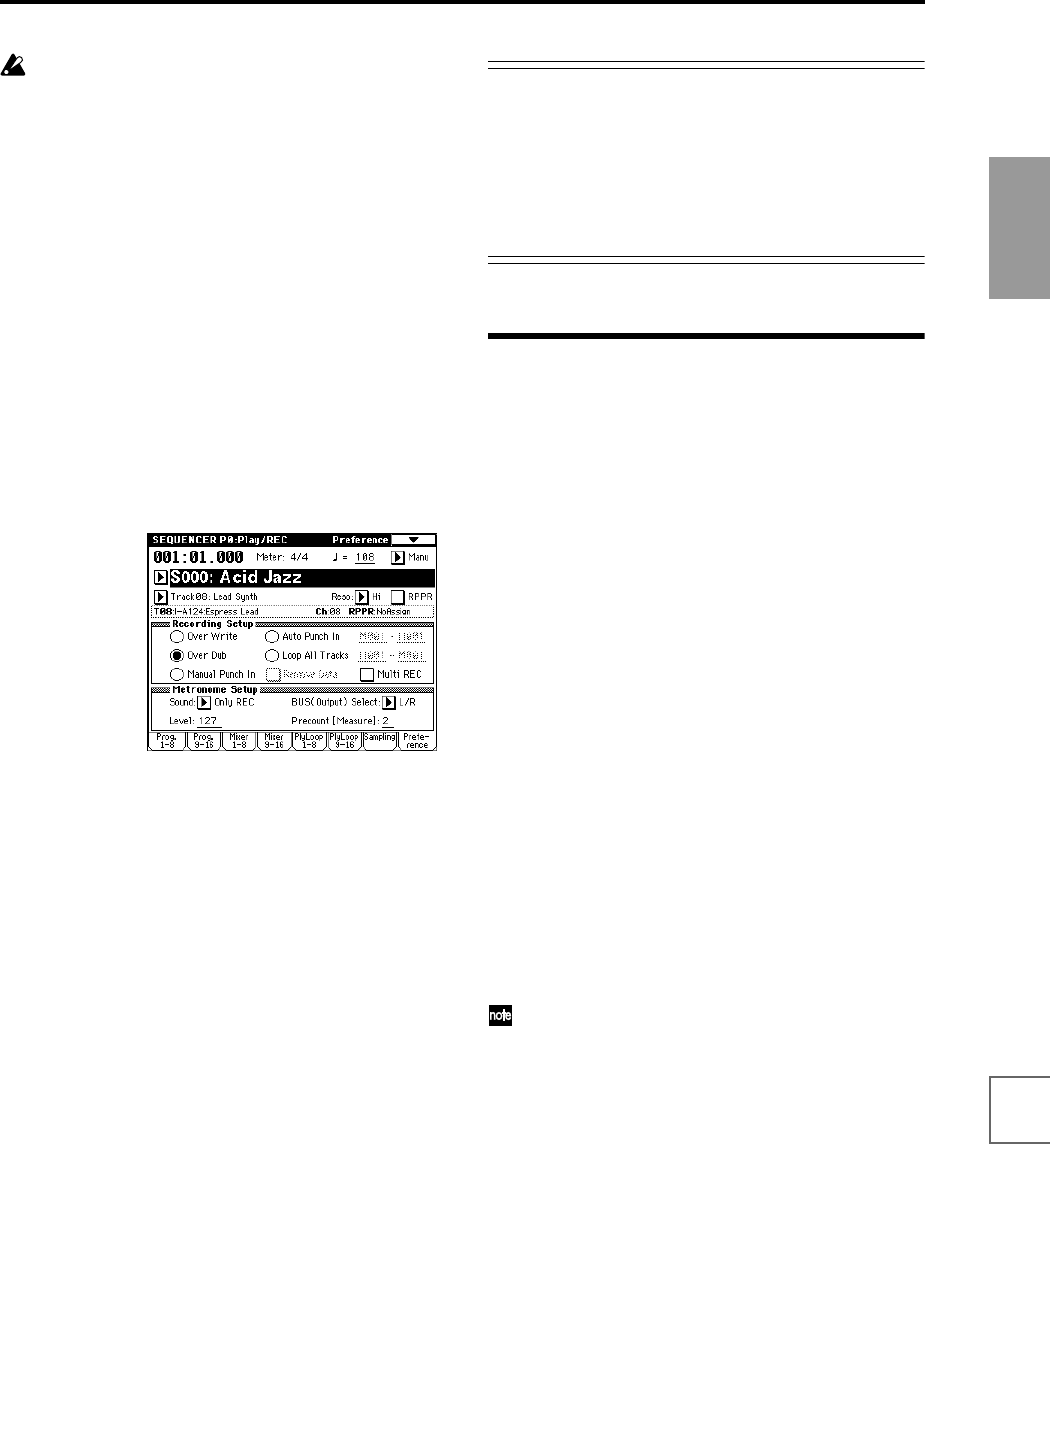
1 Press the [EXIT] key, and then press the Preference
button to move to the P0: Play/REC, Preference page.
2 Set the “Recording Mode” to Over Dub.
Over Dub allows you to add to a previously-recorded
track.
3 For “Track Select,” make sure that Track08: Lead
Synth is selected.
Press the SEQUENCER [START/STOP] key to start
playback, and operate the realtime controllers and joy-
stick to rehearse. When you are finished rehearsing,
press the SEQUENCER [START/STOP] key to stop.
Press the [LOCATE] key.
4 Start recording.
Press the SEQUENCER [REC/WRITE] key, and then
press the SEQUENCER [START/STOP] key.
After a two-measure count-in, recording will begin.
Operate the LFO CUTOFF or RESONANCE/HPF real-
time controllers or the joystick (±Y axis) to record their
movements.
When you are finished performing, press the
SEQUENCER [START/STOP] key.
If you make a mistake or want to re-record, press the
[COMPARE] key to execute the Compare function,
and then re-record.
Recording the drum part
In this explanation, we used the TRITON STUDIO’s built-
in patterns to create the drum part, but if you want to
input the drum part yourself, it will be convenient to set
“Recording Mode” to Over Dub for recording. (☞p.84)
It is best to use realtime recording (“3. Recording the bass
track” ☞p.50) to record the rhythm instruments in the
order of bass drum, snare, and hi-hat.
Naming the song and tracks
It’s a good idea to assign a name to each song and track so
that they can be easily identified.
Naming a song
1 Press the [EXIT] key to access P0: Play/REC.
The “Rename Song” page menu command can also be
selected from P2, P3, P4, or P7, as well as from P0.
2 Press the page menu button to access the page menu,
and press “Rename Song.”
3 A dialog box will appear. Press the text edit button
and input the desired song name.
For the procedure of inputting a name, refer to p.40, 56.
4 When you are finished inputting the name, press the
OK button twice to finish the procedure. (☞p.40)
Naming a track
1 Press the [MENU] key to select P5: Track Edit, and
press the Track Name tab.
The P5: Track Edit, Track Name page will appear.
2 Press the text edit button for the track whose name
you want to edit, and input the desired name for that
track.
For the procedure of inputting a name, refer to p.40, 56.
3 When you are finished inputting the name(s), press
the OK button.
You can also assign a name to each cue list and user
pattern.


