


Recording your music
30
r
KR111 Digital Intelligent Piano
8. Recording your music
Your KR111’s 16-track Recorder also allows you to record your own music or versions of existing songs.
Recording with Arranger backing
Let us first look at the most straight-forward way of
recording your renditions with Arranger backing.
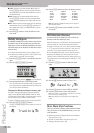
(1) Press the [Arranger] button.
The icon appears. You can now use your
left hand for transposing the Arranger’s key in real-
time.
Note: It is also possible to record in Piano mode while
using the Arranger. To do so, switch off the [Split] button.
See page 35 for details about this mode.
(2) Press a [Music¥Style] button to select a Music Style
(or select a Music Assistant memory).
See page 20 or 17.
• If you don’t want to start with the Intro pattern, that
is selected when you press the [Arranger] button,
press [Intro÷Ending] now.
• Press [To¥Original] or [To¥Variation] to select the
accompaniment level.
• If you don’t want recording to start as soon as you
play a note or chord in the left half of the keyboard,
switch off the Sync Start function: Simultaneously
press the [Intro÷Ending] and [Start÷Stop] buttons (the
[Start÷Stop] indicator stops flashing).
(3) Press the Style Orchestrator button ([Basic],
[Advanced] or [Full]) of the orchestration level you
want to use.
(4) Use the Tempo [+][–] buttons to set the desired
tempo.
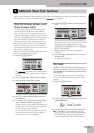
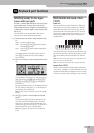
(5) Assign the desired Tone to the right half of the
keyboard.
Press a Tone button and use the [√][®] and [+][–] but-
tons to select a family and a sound within that fam-
ily. See also page 37.
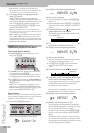
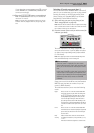
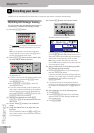
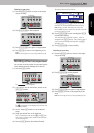
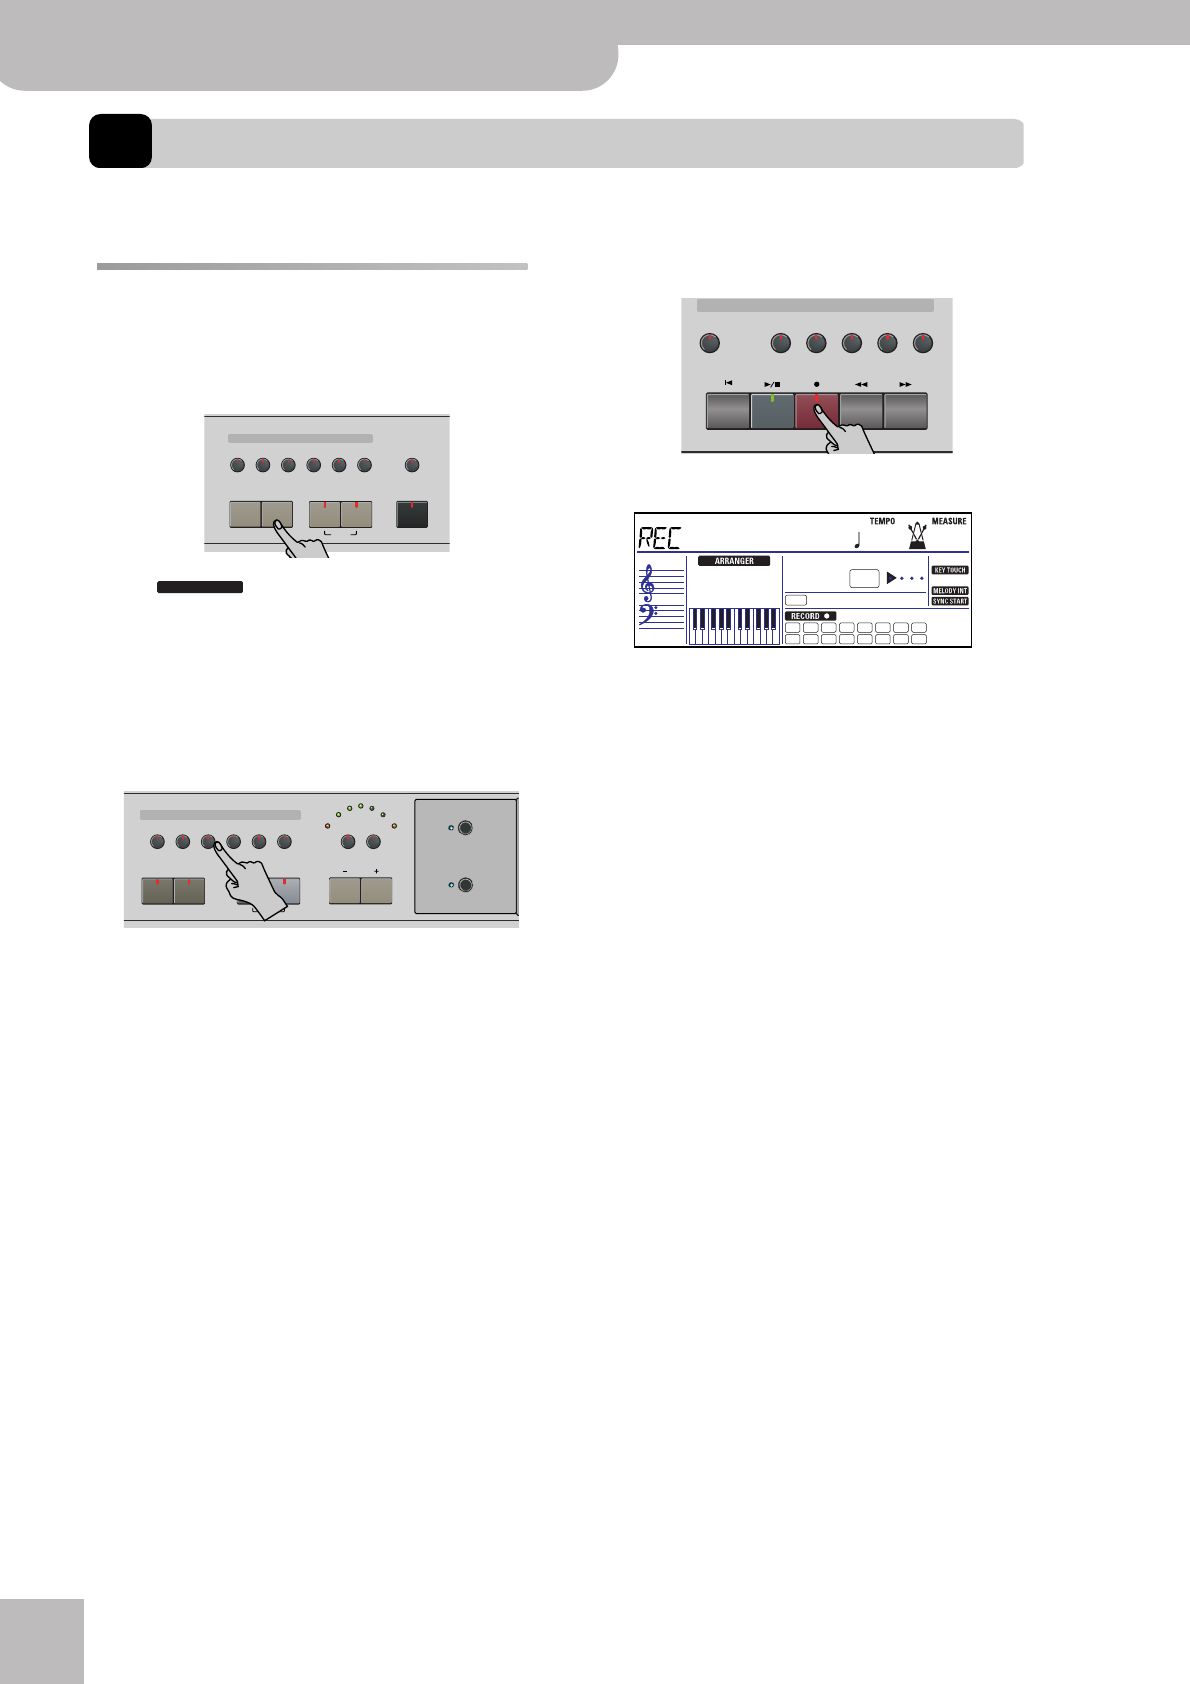
(6) Press the [REC¥∏] button (its indicator flashes).
The display should look as follows:
(The [RECORD≈∏] and [1]~[16] icons flash. The indica-
tor of the [REC¥∏] button also flashes.) You are now in
“New Song” mode, which means that everything you
and the KR111’s Arranger play will be recorded.
Note: When you select “New Song”, the song in the
KR111’s USR memory is erased. You may want to save the
current song first (see p. 54).
(7) Start recording in one of the following ways (the
[REC¥∏] button will light steadily):
• Press the [Start÷Stop] button to start Arranger play-
back with the selected pattern.
If you start recording without the Arranger and want
to bring it in at a later stage, it would be a good idea
to switch on the metronome by pressing the
[Metronome] button.
• If you did not switch off the Sync Start function,
press one or several keys to the left of the Split point
(or anywhere on the keyboard, if the [Split] button is
off).
(8) Stop recording in one of the following ways:
• Press [Start÷Stop].
• Press the [Intro÷Ending] button to start the Ending
phrase. As soon as it ends, Arranger playback and
song recording stop.
• Press [Play÷Stop¥®÷ª].
Tone
Guitar
Bass
Melody
Intelligence
Piano
Piano
Lower
One Touch Program
Layer
Split
Arranger
DiskStringsOrgan
Others
Drum/Sfx
Sax
Brass
ARRANGER
Tempo
Marker
Music Style
User
Trad
Kids
Latin
Gospel
Intro
Ending
Start
Stop
Big Band
Swing
Ballad
Acoustic
Oldies
Country
Pop
Rock
Fill In Sync
To Original
To Variation
Count Metronome
Song
Music
Assistant
Record/Playback
Reset
FwdBwdRec
Play/Stop
UpperLower
Whole
Rhythm
Bass
Accomp
Menu
R4321
INTRO
FULL
BAND
=
1
9
2
10
3
11
4
12
5
13
6
14
7
15
8
16
ORCHESTRATOR BEAT
NewSong
120 001