


IMPORTANT SAFETY PRECAUTIONS
24 TASCAM DP-02/DP-02CF
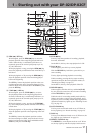
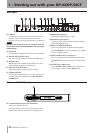
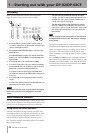
1 – Starting out with your DP-02/DP-02CF
When you have connected a source, and assigned the
inputs to tracks, you are ready to start recording.
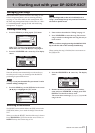
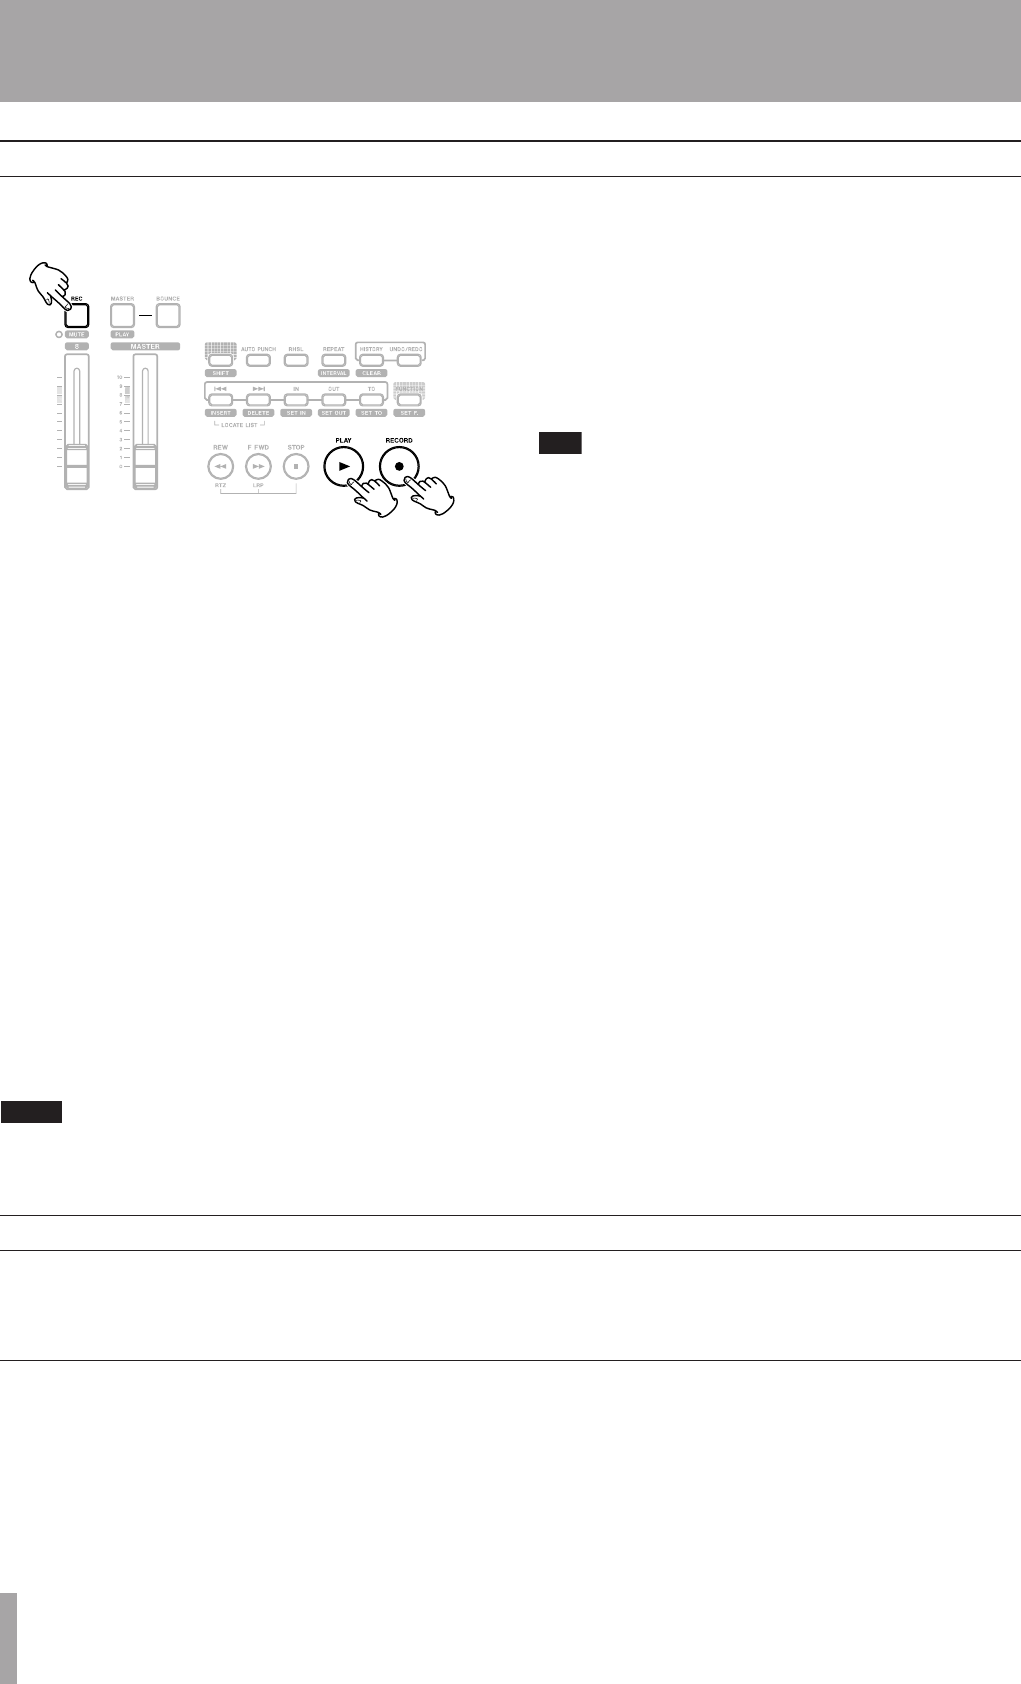
1. Press the REC key of the track(s) you’re going to
record on, which start to flash slowly (this process is
called “arming the track(s)”.
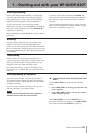
2. Press and hold the RECORD (–) key and press the
PLAY (¥) key.
The RECORD (–) key lights red, and the PLAY (¥)
lights green. The track REC keys stop flashing and
light steadily.
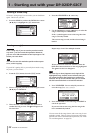
3. Press STOP when you’ve finished recording.
4. To return to the place where you started recording,
press and hold down the STOP key, and press the F
FWD (LRP = Last Recording Position) key.
To return to the zero point, press and hold down
the STOP key and press the REW (RTZ = Return To
Zero) key.
5. Press PLAY (¥) to start playback of the recorded
tracks.
Use the track fader(s) and the red MASTER fader to
adjust the level of what you hear.
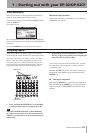
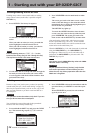
NOTE
The faders and other mixer controls adjust the output
level of the recorded when playing back recorded
tracks.
The pan controls position the track in the stereo
“image” you hear in the left and right speakers (or
headphones). The center position is marked by a
“click” when you turn the knob.
The EQ HIGH and EQ LOW equalization controls
work in a similar way to the bass and treble tone
controls on a stereo system. The center “click” posi-
tion of the knob means there’s no cut or boost for
that control.
T I P
You can change the EQ control point of the high and
low equalization controls. See ”EQ settings” on page
31 for details.
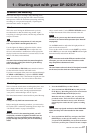
You can re-record the track if you’re not happy with it by
going back to the original point and repeating the process.
When you’re happy with your recording, you can un-arm
the track(s) (“safe” them) and arm and record on other
tracks. Remember to reassign the inputs as well as arming
the tracks.
Press the REW or F FWD keys for a short while and then
release them to move backwards or forwards through your
recording (like a tape recorder). Press and hold these keys
to increase the rewind or fast forward speed. Press STOP
to stop (again, like a tape recorder).
Recording
The unit has many advanced features which you may want
to use later on. Though we will not go into full detail on all
of them now, you should be aware of a few of them now.
More advanced features
Using marks to locate positions
Although “Recording” on page 24 shows you some ways
of moving around in your song, the unit provides you with
ways to jump around the song using location marks, as
well as locating to locate directly to a position you set.
See “Location” on page 29 for details of how to set and use
these location marks.