


IMPORTANT SAFETY PRECAUTIONS
30 TASCAM DP-02/DP-02CF
2 – Advanced techniques
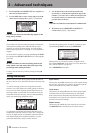
Meters to let you know what’s going on with the audio in
the unit. Here are a few little hints and tips which may help
you.
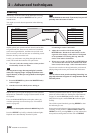
As well as showing you the level of signals, the meters
can show you if the signals are actually getting to the unit.
Even if you can’t hear anything and the input meters are
showing a signal, it means that the connections from the
instrument to the unit are okay (and you should probably
check your monitoring equipment levels).
It’s important to remember that meters should never be
continuously at the top of the bar. If they are, it means the
level is too high, and you will probably experience distor-
tion. Digital distortion is unpleasant (unlike, say, tube
guitar amp distortion), and you need to avoid it.
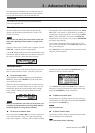
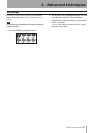
Input meters
These meters (A and B) show the level of the signal coming
into the unit. Adjust the level with the front panel controls,
or the instrument volume control, if available.
Track meters
These meters (1 through 8) show the volume of the signal
recorded on the track (un-armed tracks) or entering the
track (armed tracks). Remember that the faders do not
control the level of signals sent to the track, and will never
affect the track meter readings.
Master meters
These meters (L and R) show the master level at all times.
The MASTER fader controls the level of these meters.
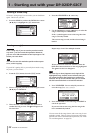
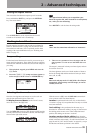
Using the meters
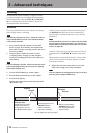
These marks are used for setting the points at which auto-
mated punch recording starts and ends and for repeat
playback, as well as for track editing. You can set these
marks while playing back, recording, or while playback is
stopped.
Set IN and OUT marks by pressing and holding the SHIFT
key and pressing SET IN or SET OUT keys at the appropri-
ate points.
NOTE
IN and OUT marks are also used (along with the TO
mark, which is set and used in the same way) when
performing track editing functions.
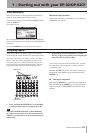
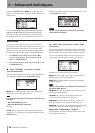
Locate to the IN and OUT points by simply pressing IN
and OUT.
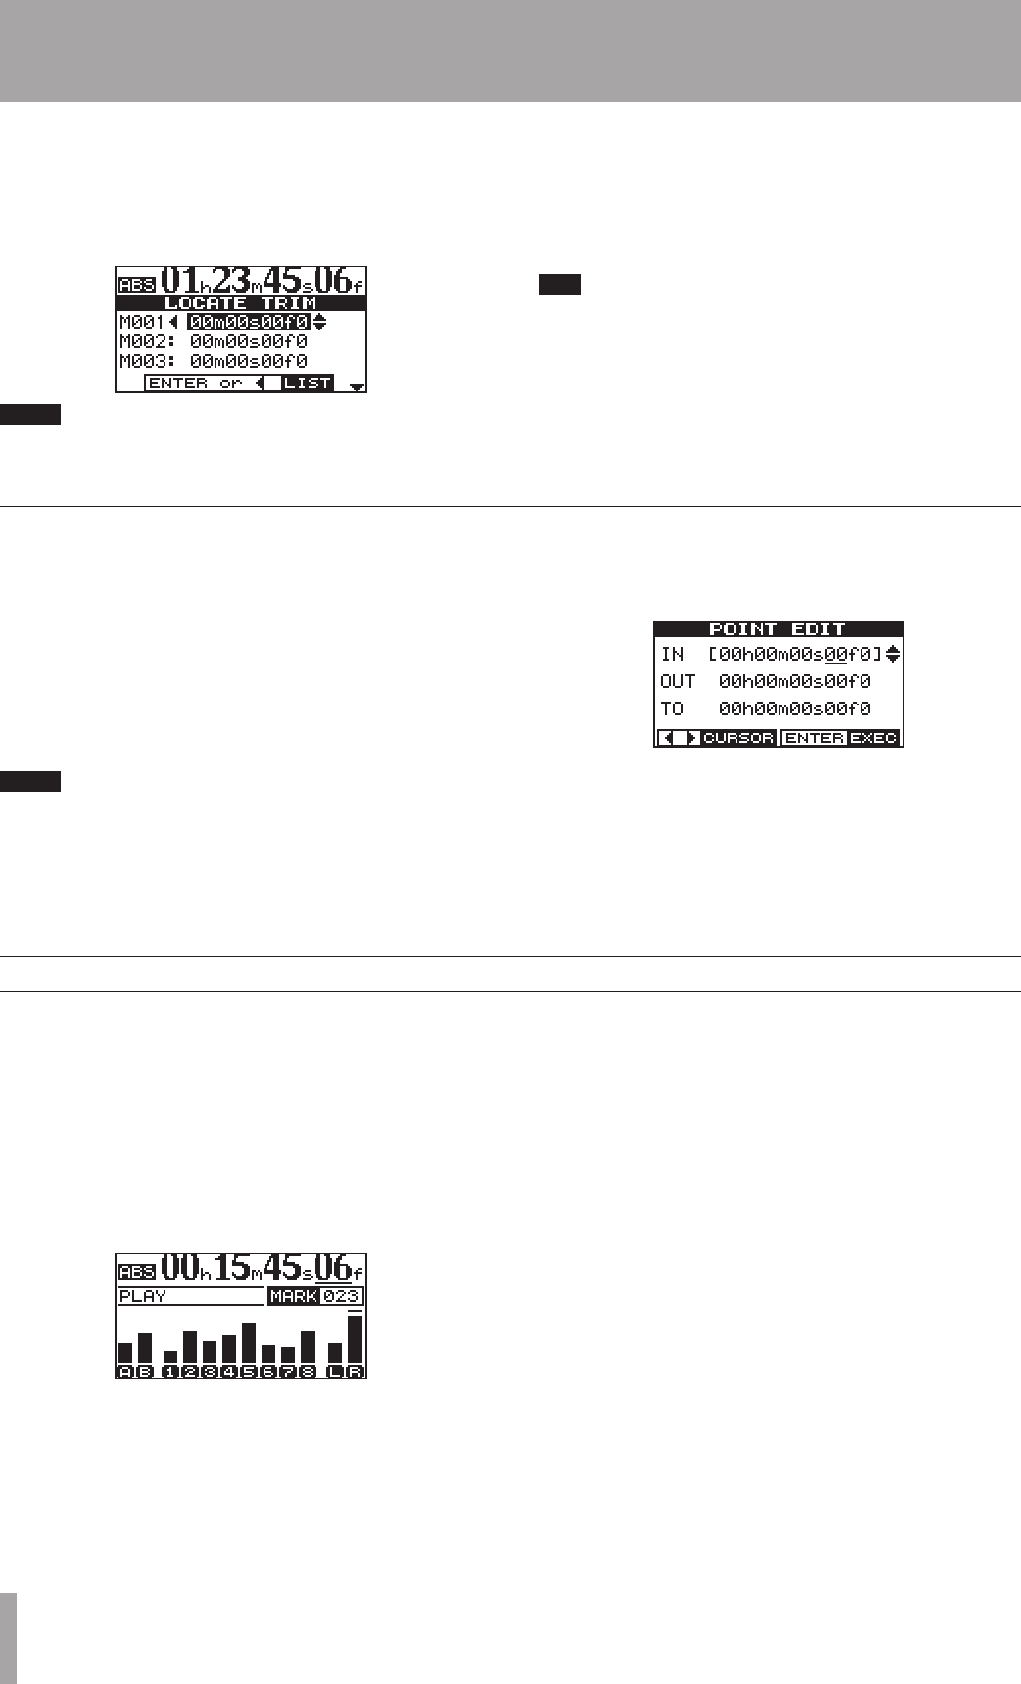
Fine-tune the position of the IN and OUT points by press-
ing and holding SHIFT and pressing POINT EDIT:
Edit the point, to 1/10 frame accuracy, using the cursor
keys and the DATA dial, in the same way as for direct loca-
tion (“Direct location” on page 29).
Press YES/ENTER when done.
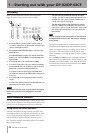
IN and OUT marks
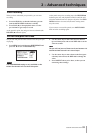
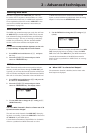
1. Press and hold both LOCATE LIST keys togather to
show the location mark list.
2. Use the DATA dial to select a mark and press the ¥
cursor key to bring up the LOCATE TRIM screen.
NOTE
The marks are shown in the order they appear in the
song, not by number.
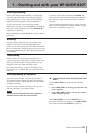
3. Use the dial to move the mark backwards and
forwards by 1/10 frame (the right most digit of the
number). You can’t move a mark forward past the
next mark in the list, or backwards to before the
previous mark in the list.
T I P
1/10 frame is 1/300 of a second about 3.3 milliseconds
4. When done, press YES/ENTER or NO/EXIT to
return to the LOCATE TRIM screen.