


IMPORTANT SAFETY PRECAUTIONS
34 TASCAM DP-02/DP-02CF
2 – Advanced techniques
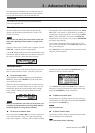
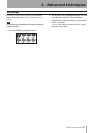
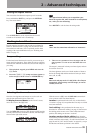
Repeat allows you to repeat the playback or auto-punched
rehearsal (see “Rehearsal” on page 32) between the IN and
OUT points.
First, set the IN and OUT points at the place where you
want the repeat loop to start and stop (see “IN and OUT
marks” on page 30).
NOTE
You can’t set these points when the REPEAT key is lit.
Press the REPEAT key briefly so that the indicator lights.
Playback starts automatically from the IN point.
When the playback reaches the OUT point, playback
pauses for a short while (see “Setting the repeat interval”
on page 35) and the PLAY (¥) indicator flashes before
playback starts again, and the PLAY (¥) indicator lights
steadily.
Turn off the repeat function by pressing REPEAT so that
the indicator goes out.
Repeat auto-punch rehearsal, but not repeat auto-punch
recording, is also possible. If AUTO PUNCH, RHSL and
REPEAT are all lit, pressing RHSL to go from rehearsal to
auto punch recording mode will also turn off REPEAT.
Repeat
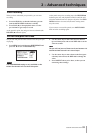
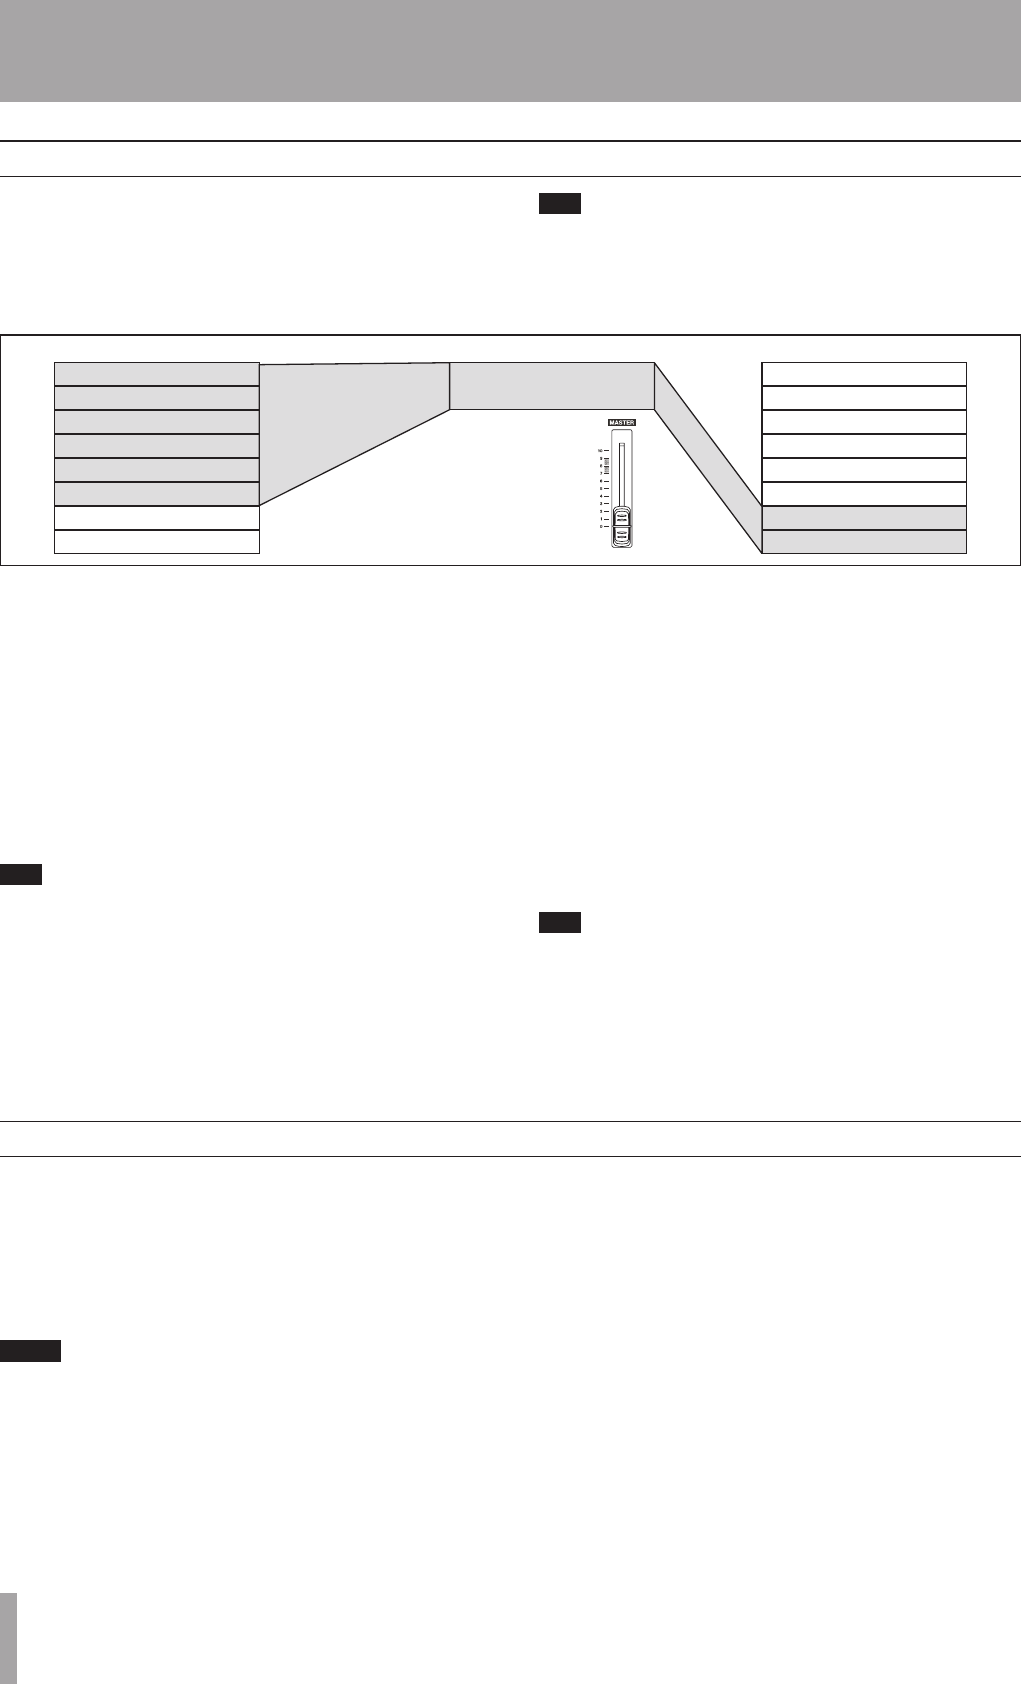
Bouncing
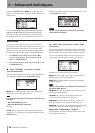
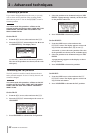
“Bouncing” on the unit refers to the technique of mixing
recorded tracks through the MASTER fader to a pair of
unused tracks.
You might use a track bounce operation in the following
situation:
T I P
You can bounce to one track, if you want, but you will
probably want to bounce in stereo.
1 Drums L
2 Drums R
3 Bass
4 Acoustic Guitar
5 E. Guitar 1
6 E. Guitar 2
7
8
1 Organ L
2 Organ R
3 Lead vox 1
4 Lead vox 2
5 Backing vox 1
6 Backing vox 2
7 Bounce mix L
8 Bounce mix R
B
O
U
N
C
E
MASTER(stereo)
You’ve recorded the drums in stereo, the bass and two
rhythm guitars (one acoustic and one electric) and an elec-
tric guitar lead line. There are two tracks left. You’d like
some stereo organ added in, and there are two lead vocal
lines to record, as well as at least one set of backing vocals.
But there are only two tracks left!
Luckily, you can bounce everything through the stereo
tracks, and record them onto the two spare tracks.
1. “Un-arm” (safe) the existing tracks so that you don’
t accidentally record over them.
T I P
You may want to copy the song and give it another
name (see “Copying songs” on page 41) before start-
ing the bounce, so that you can go back to the original
if necessary.
2. Press the BOUNCE key (above the MASTER fader)
so that it lights.
3. Arm the two tracks which you are mixing to.
4. Use the faders and mixer controls of the tracks you’
re bouncing to create a stereo mix.
5. Adjust the overall level of the mix using the
MASTER fader. Watch the L and R meters on the
right side of the display so that the level is adjusted
to the optimum level. During this step, mute the
tracks at the bounce destination.
6. When you’re ready, use PLAY (¥) and RECORD (–
) to record the mix onto the two armed tracks from
start to end, with no stops. “Safe” the armed tracks.
You can now record over the original tracks you bounced,
playing along to the stereo pair created from the bounce.
T I P
You can also use auto punch recording (“Punching” on
page 32) to bounce only part of a song between the IN
and OUT points.