16
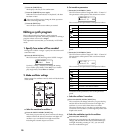
Using MOD SEQUENCE to modify
the sound
1. Playing a program in which MOD
SEQUENCE is on
Some of the factory preset programs contain sequence data.
Here’s how to select and play these programs.
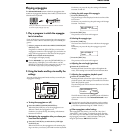
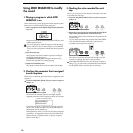
1 Select a program whose MOD SEQUENCE [ON/OFF]
key is lit.
Programs whose MOD SEQUENCE [ON/OFF] key is lit
contain sequence data.
For some programs, both the sequence and the arpeg-
giator will be on, but for this example we recommend
that you select a program in which only the sequence is
on.
2 Play the keyboard.
The program will sound, and the sequence will begin
playing to modify the sound.
The SELECT [1]–[16] keys will light consecutively to
indicate the step that is currently playing.
3 Rotate the [TEMPO] knob.
The speed at which the sound is modified will change.
2. Checking the parameter that is assigned
to each sequence
Here’s how to check the parameter that is assigned to each
sequence.
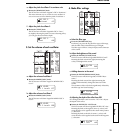
● Press the SEQ EDIT [SELECT] key to select a sequence
(SEQ 1–3).
The LED of the selected sequence will light, and the
assigned parameter will be displayed in the LCD screen.
If all LED’s are dark, no sequence is selected (sequence
select is off). In this case, the voice mode and tempo of
the program will be displayed.
In Program Play mode, you can only check the assigned
parameters. To assign a parameter, use LCD Edit mode
(☞Basic Guide p.25, Edit section “b. Specify sequence
data for each step”).
3. Checking the value recorded for each
step
Here’s you to use the sixteen knobs to check the value that
is recorded for each step.
1 Press the SEQ EDIT [SELECT] key to select a sequence
(SEQ 1–3).
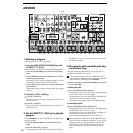
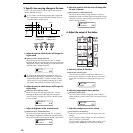
2 Rotate the sixteen knobs located beside the SEQ EDIT
LED so that the ORIGINAL VALUE LED is lit.
The number shown below each knob corresponds to the
sequence step.
As you rotate each knob, the position where the ORIGI-
NAL VALUE LED lights will be the value that was
recorded at that step of the sequence.
The value of each step represents the change from the
written or currently-set value of the parameter.
If the SEQ EDIT [SELECT] key has selected a sequence
(SEQ 1–3), you can use the sixteen knobs located beside
the SEQ EDIT LED to edit the data of each step.
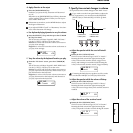
If “Cutoff” is assigned to SEQ1
A01:MS2000/R
SEQ1:Cutoff


