


20
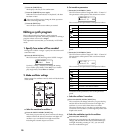
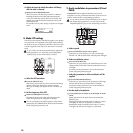
3 Press the [WRITE] key.
The display will ask you for confirmation.
4 Press the [WRITE] key once again.
When the LCD screen indicates “Completed,” the data
has been written.
Never turn off the power during the Write operation.
This can damage the data.
5 Press the [EXIT] key.
You will return to the screen where you started.
Editing a synth program
Here is the procedure for editing a synth program.
Unless otherwise specified, this is the procedure for editing a
program whose voice mode is Single.
The explanation assumes that you are already in LCD Edit
mode.
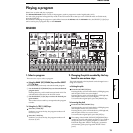
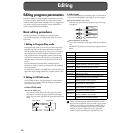
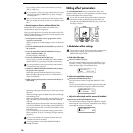
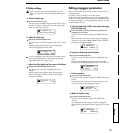
1. Specify how notes will be sounded
In Page 03A: VOICE “Assign,” specify how the timbre will
sound the notes.
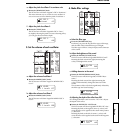
● Press the SELECT [2] key.
The LCD screen will show Page 03A: VOICE “Assign.”
Use the [+/YES] [–/NO] keys to change the setting.
If you wish to play chords, select Poly. If you wish to
play single notes, select Mono or Unison.
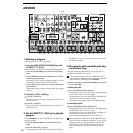
2. Make oscillator settings
Make settings for oscillator 1 and 2, which will be the basis
of the sound.
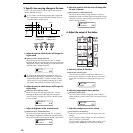
a. Select the waveform for oscillator 1
● Press the OSCILLATOR 1 [WAVE] key.
Each time you press the key, the waveform will change,
and the LED for the selected waveform will light. For
oscillator 1 you can choose from eight waveforms
including the external output waveform.
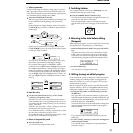
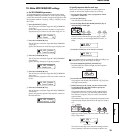
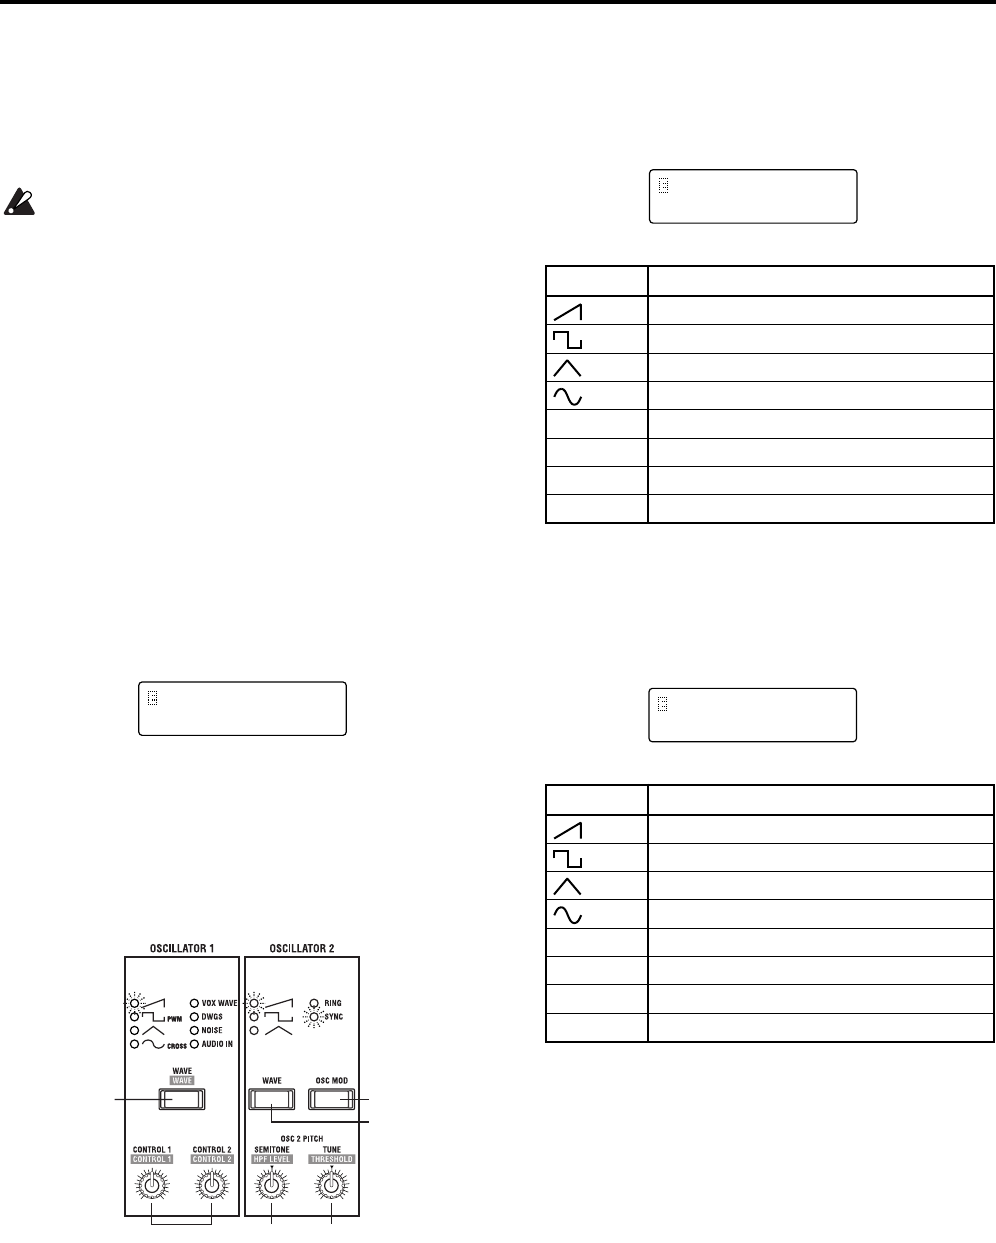
b. Set waveform parameters
1 Rotate the [CONTROL 1] knob.
The LCD screen will show Page 05B: OSC 1 “Control 1.”
The parameter will depend on the selected waveform.
The waveforms and parameters correspond as follows.
For details on the parameters, refer to the parameter
guide.
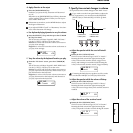
2 Rotate the [CONTROL 2] knob.
The LCD screen will show Page 05C: OSC 1 “Control 2.”
The parameter will depend on the waveform selected
for “Wave.”
The waveforms and parameters correspond as follows.
For details on the parameters, refer to the parameter
guide.
c. Select the oscillator 2 waveform
● Press the OSCILLATOR 2 [WAVE] key
The waveform will change each time you press the key,
and the LED of the selected waveform will light. For
oscillator 2, you can select from three waveforms.
The most common way to use this is to select the same
waveform as for oscillator 1, and change the pitch to add
depth to the sound.
d. Select the modulation type for the oscillator
● Press the [OSC MOD] key.
Each time you press the key, the modulation type will
change, and the LED for the selected modulation type
will light. Including a setting of “off,” you can select
from four modulation types.
03A VOICE
Assign: Mono
a
d
c
b
e
f
WAVE CONTROL1
Modify waveform
Modify waveform
Modify waveform
Cross modulation amount
VOX WAVE Modify waveform
DWGS ––––––––––––––––––––––––––––––––––––
NOISE Cutoff of the LPF inside the oscillator
AUDIO IN Volume balance of AUDIO IN 1 and AUDIO IN 2
WAVE CONTROL2
Depth of LFO1 modulation
Depth of LFO1 modulation
Depth of LFO1 modulation
Depth of LFO1 modulation
VOX WAVE Depth of LFO1 modulation
DWGS Select DWGS waveform (64 types)
NOISE Resonance of LPF inside the oscillator
AUDIO IN Depth of LFO1 modulation
05B OSC 1
Control 1: 000
05C OSC 1
Control 2: 060