


103
VR800 Owner’s Manual (Changing the initial setting: SETUP mode)
Setting BAR/BEAT resolution mode (“Resolu ?” menu)
The “Setting BAR/BEAT resolution mode” menu enables you to turn BAR/BEAT resolution mode on and off.
The initial setting is “off.” When you turn this mode on, the CLK (clock) digits will be always round off to 00 and
be stored in the memory key while the VR800 is using the BAR/BEAT/CLK Time Base. That is, beat resolution is
used. Using this function allows you to automatically store a beat-resolution value of the CLIPBOARD IN/OUT
points and other points in real-time. (Press the STORE key, then the corresponding memory key while playing the
VR800.) Therefore, it is very convenient when you perform the Copy & Past or Move & Paste operation in beat-
resolution.
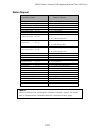
For example, assume that you have stored the value for 001BAR1
46 CLK as the CLIPBOARD IN point, and the
value for 002BAR 4
51 CLK as the CLIPBOARD OUT point.
These values will be used as they are if BAR/BEAT resolution mode is turned off. However, the mode is turned on, the
following values will be stored instead. The following example has a time signature setting of 4/4.
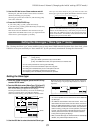
001BAR1
46 CLK -> 001BAR1 00 CLK (A CLK value of 46 will be rounded off.)
002BAR4
51 CLK -> 003BAR1 00 CLK (A CLK value of 51 will be rounded up.)
• Initial setting : [o FF]
• Options : [on] or [o FF]
* This setting is shared by all Programs in the same disk.
* The settings cannot be saved and loaded as part of the song data.
* The settings are maintained after you turn off the power to the unit.
Setting BAR/BEAT resolution mode
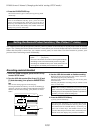
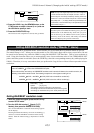
1. While the VR800 is stopped, press the SETUP key
to enter SETUP mode.
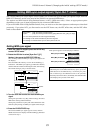
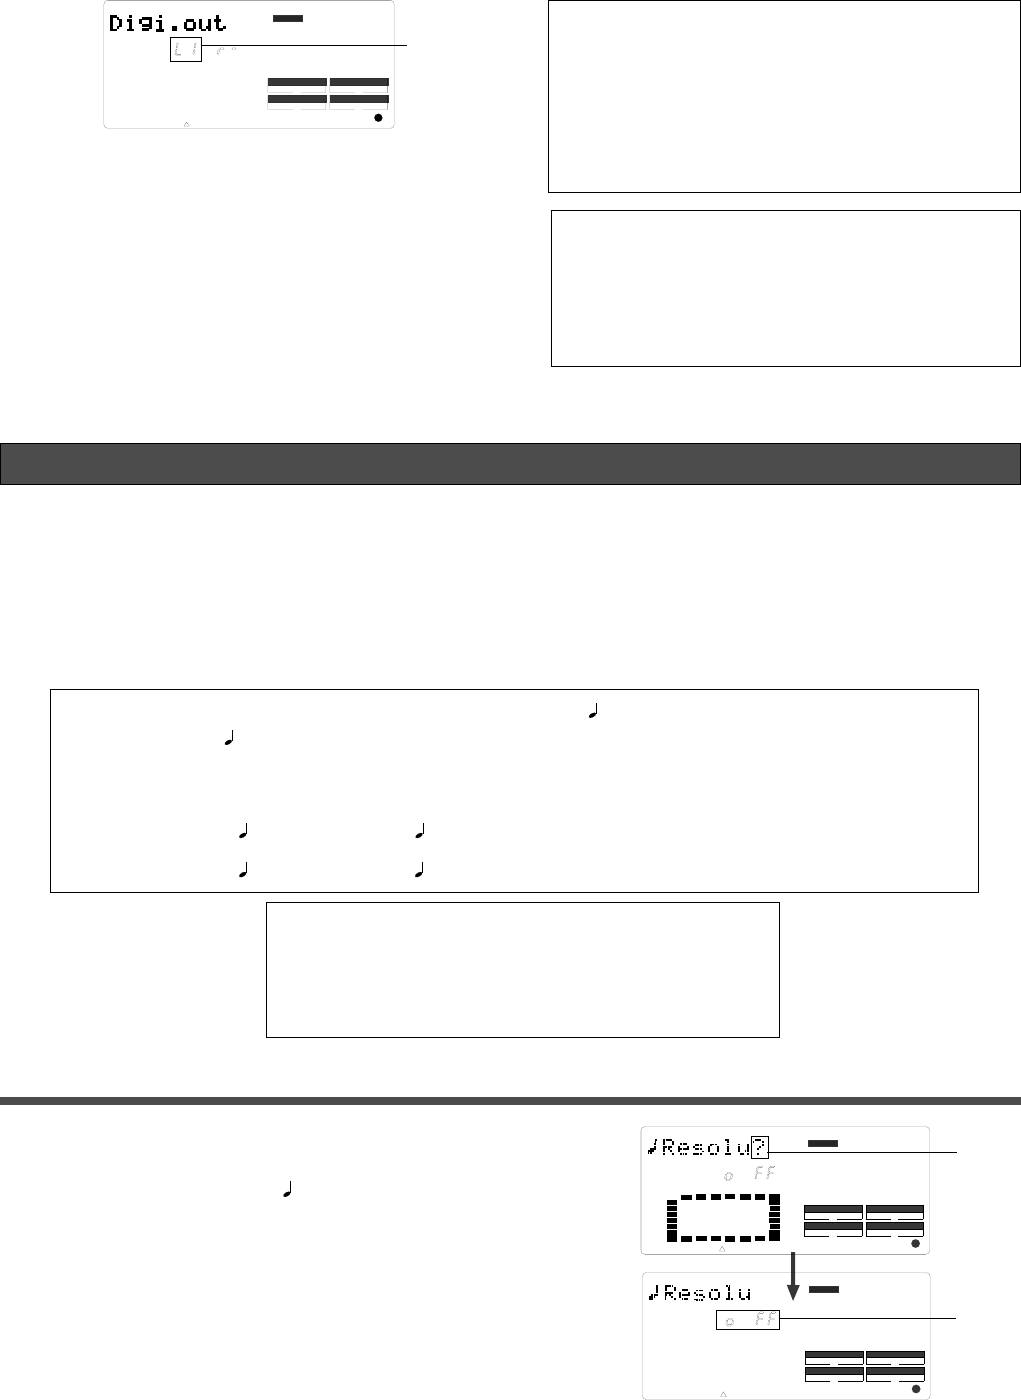
2. Turn the JOG dial to select [ Resolu ?] ([?]
flashes), then press the EXECUTE/YES key.
The current BAR/BEAT resolution mode setting appears
on the display.
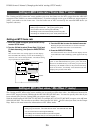
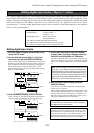
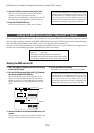
Pressing the EXECUTE/YES key turns off the flashing [?]
character, and the BAR/BEAT resolution mode setting
flashes. With the initial setting, [o FF] flashes as shown
below.
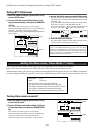
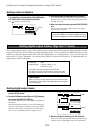
5. Press the EXECUTE/YES key.
The selected track assignment is stored, and [?] flashes.
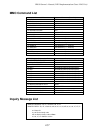
Note:
At setup of the digital output track, tracks to be assigned to
L and R cannot be the same, for example, such as L-4 and r-4.
Should setup be executed by mistakenly selecting same track
numbers for L and R, the number setup for the L channel will be
given priority and “
-
“ (no assign) will be setup automatically for R.
In other words, L channel will be setup to the specified track and R
channel will be setup to “-.”
To cancel the operation, or to restore the setting
obtained prior to the EXECUTE/YES key press, press the
STOP button or the EXIT/NO key. Each time you press
one of these keys, the VR800 returns to the previous
hierarchy level of the menu, and finally exits SETUP
mode and displays the previous Time Base.
CLK
SYNC OUT DRIVE
SCSI
AUTO A.PUNCH
SETUP
DIGITAL
44.1kHz
SETUP
DRIVE
AUTO A.PUNCH
SYNC OUT
CLK
SCSI
44.1kHz
DIGITAL
SETUP
DRIVE
AUTO A.PUNCH
SYNC OUT
CLK
SCSI
44.1kHz
DIGITAL
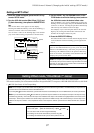
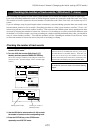
4. Press the HOLD/> key, the REWIND button, or the
F FWD button to select a channel (L or r) and use
the JOG dial to specify a track.
flashes
flashes
flashes