


29
VR800 Owner’s Manual (Formatting a Disk)
1
.
2
.
3
.
4
.
5
.
6
.
7
.
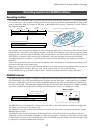
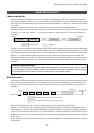
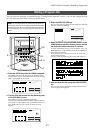
Insert a formatted disk into the SCSI drive.
The VR800 displays the recording mode of the disk
(ADAC 8ch, Master 8ch, or Master 4ch), then displays
ABS 0 of Program 1. If you are using a disk formatted
for backup, the VR800 displays [Bk Format], then the
Time Base indication.
Re-formatting a formatted disk
This section explains how to re-format a current drive or backup disk as the current disk.
You need to use the [Format ?] menu in SETUP mode to reformat a disk. In the following procedure, we assume
that a SCSI drive is connected to the VR800 and that the power to the VR800 and the SCSI drive is turned on. (The
same procedure also applies to a fixed disk or 3.5-inch E-IDE hard disk.)
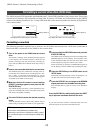
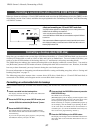
Press the SETUP key to enter SETUP mode and
turn the JOG dial to select [Format ?].
Press the EXECUTE/YES key.
The ID number of the connected SCSI drive appears and
[SURE ?] flashes on the display.
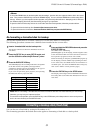
Press the EXECUTE/YES key again.
Turn the JOG dial to select [ADAC 8ch], [Master 8ch], or
[Master 4ch], according to the media or your application.
Use the JOG dial to select the desired recording
mode. Press and hold down the RECORD button
and press the EXECUTE/YES key.
The VR800 starts formatting the disk in selected record-
ing mode.
[REMAIN] lights up on the display, and the negative value
of the unformatted disk area size will count down as the
format operation progresses. Please wait a while.
When formatting is complete, [COMPLETED !] lights up
on the display, and the VR800 stops spinning the disk.
Press the EXIT/NO key or the STOP button to exit
SETUP mode.
Formatting will automatically create one Program 1 on
the disk, and the Time Base will change to ABS 0.
Press the DISP SEL key to change to the REMAIN
display and check the available recording time.
Press the DISP SEL key again to return to the Time Base
display.
Note:
Before re-formatting a formatted disk, first make sure that the disk does not contain data you want to keep. Otherwise,
you may lose your important archives.
To cancel the format operation, press the EXIT/NO key or the STOP button prior to Step 5 above to return to the previous level
in the menu hierarchy and exit SETUP mode.
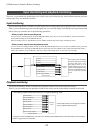
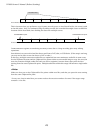
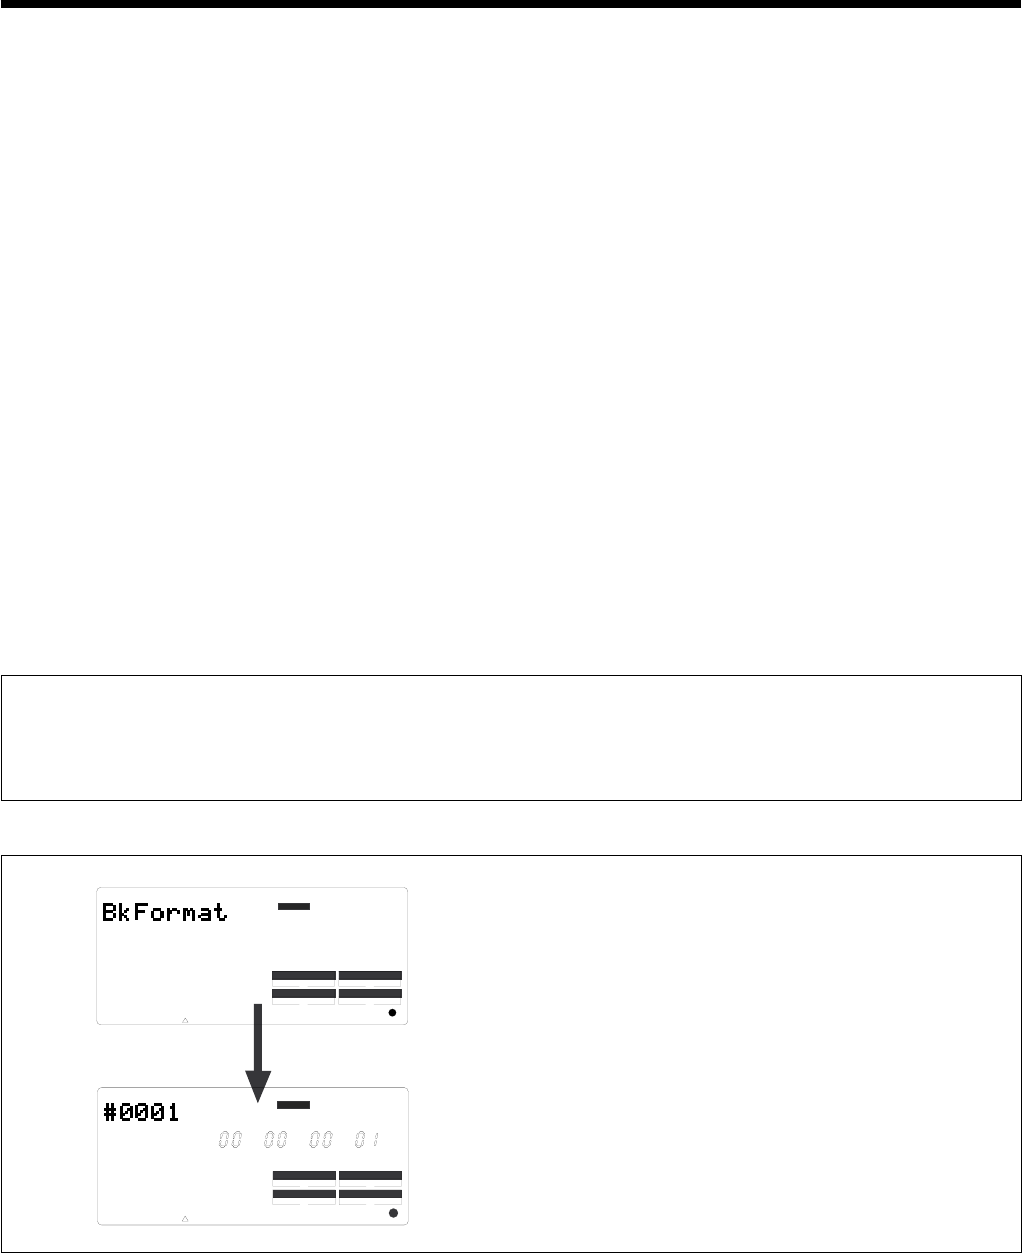
<Notes on re-formatting a disk>
When you re-format a backup disk to be a current drive disk, insert-
ing the disk in the current drive displays [Bk Format] followed by the
ABS 0 Time Base.
Although the ABS 0 Time Base appears, the disk cannot be used in
its present condition as the current drive disk to perform real-time
playback/recording.
CLK
SYNC OUT DRIVE
SCSI
AUTO A.PUNCH
SMF
PGM
ABS
44.1kHz
DIGITAL
CLK
SYNC OUT DRIVE
SCSI
AUTO A.PUNCH
SETUP
DIGITAL
44.1kHz