19
VR800 Owner’s Manual (Names and Functions)
Warning messages
The following warnings are shown operating mistakes are made, an unsuitable editing point (= locate point) is input,
or when errors occur. If any of these warnings appear, refer to information detailed below.
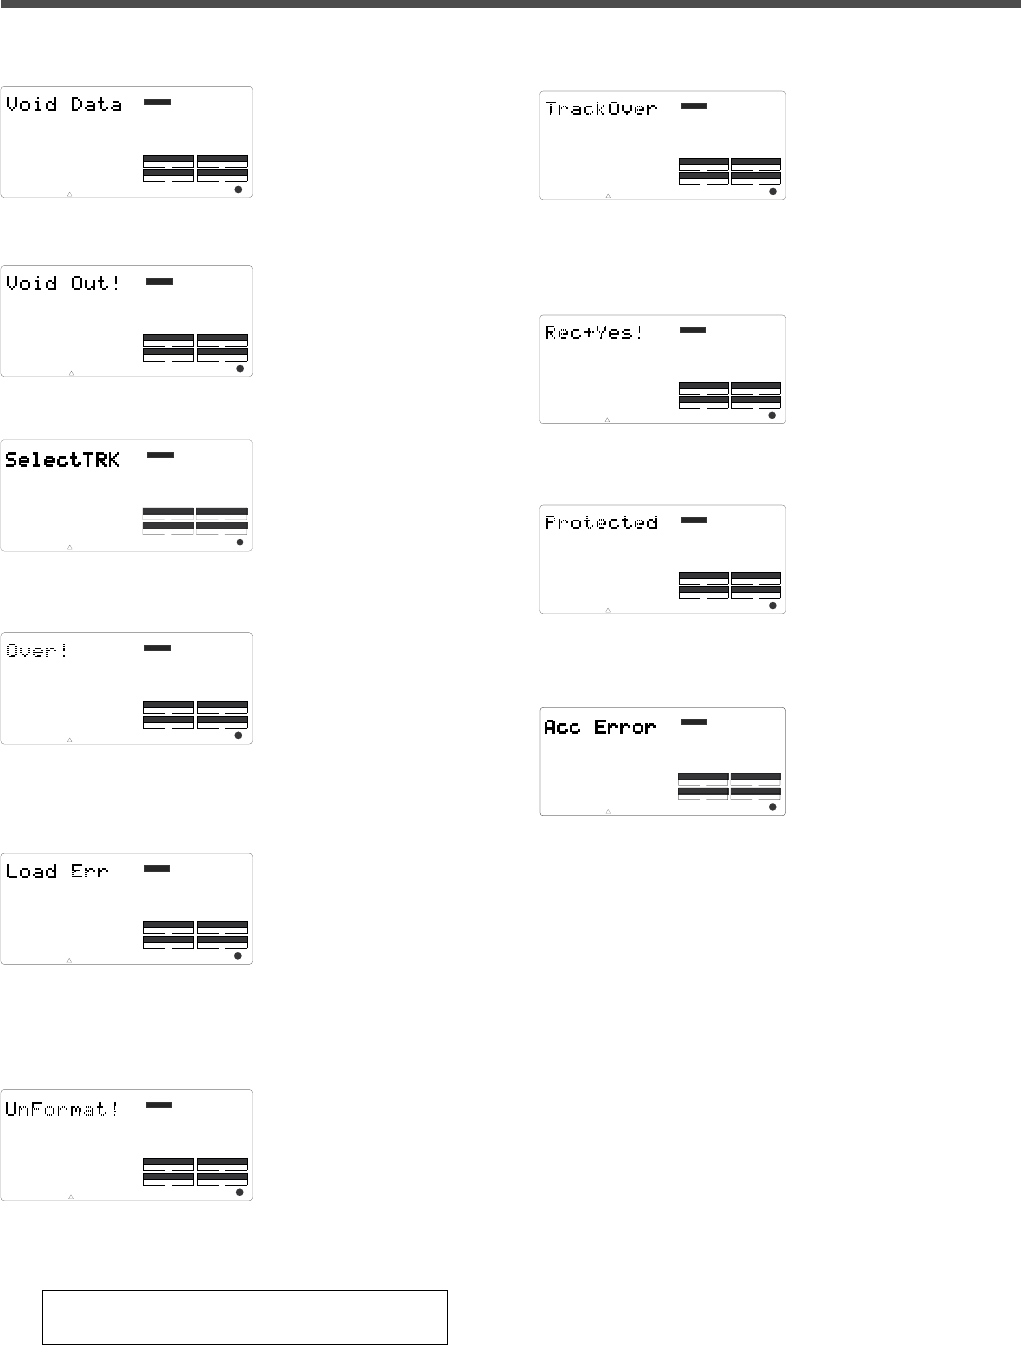
<Void Data> message
This means registered data
necessary for the selected
operation is incorrect.
<Void Out !> message
This means the registered in/
out point is wrong.
<Select Trk> message
This means a track has not
been specified.
<Over !> message
This means there is
insufficient disk space
necessary for recording and
editing.
<Load Err > message
This means that loading is
impossible because there is
an error in data applied to
the DATA IN connector from
the external DAT, or adat.
<Unformat !> message
An unformatted or crashed
SCSI disk. After a few
seconds of this display, the
VR800 automatically enters
the SETUP mode [Format ?]
menu.
<Protected> message
This means the disk inserted
in the drive cannot be used
because it is write-protected.
The disk will be ejected
automatically.
<Rec + Yes !> message
This is displayed when
formatting. This means press
the EXECUTE/YES key while
pressing the RECORD button.
Note:
Any sound data recorded up to this point on the disk
will be lost.
<Track Over> message
This message appears when
trying to record more than 2
tracks of signals
simultaneously using a MO
drive/disk as a Current Drive.
<Acc Error> message
This message indicates that
an error occurs when
accessing the disk. With this
message, no keys and buttons
do not function at all.
Action to take: If this message appears, please use the following
procedures.
1. Leave the disk inside the SCSI drive and turn off the power to
the VR800 and all connected devices.
2. Turn on the power to the SCSI drive.
3. Make sure that the orange LED on the SCSI drive lights up in
green and that the disk is not being accessed. Then, turn on
the power to the VR800.
Action to take: The MO drive only allows to record up to 2
tracks at a time. After changing the RECORD TRACK select key
setting, please record signals.
Action to take:
Press the EXECUTE/YES key while pressing the RECORD button.
Action to take:
Release the write-protect and re-insert it.
Action to take: Re-register the correct data.
Action to take: Re-register the correct data.
Action to take: Select any one track with the RECORD TRACK
select key.
Action to take: Before proceeding to the next operation,
temporarily data in order to source empty space necessary for
the next operation.
Action to take: Check the external DAT or adat connected to
the DATA IN connector and be sure there is no problem with
the DAT, or adat tape. Then, try loading again.
Action to take: Press the EXECUTE/YES key while pressing the
RECORD button.
DRIVE
AUTO A.PUNCH
SYNC OUT
CLK
SCSI
DIGITAL
DRIVE
AUTO A.PUNCH
SYNC OUT
CLK
SCSI
DIGITAL
CLK
SYNC OUT DRIVE
SCSI
AUTO A.PUNCH
DIGITAL
44.1kHz
DRIVE
AUTO A.PUNCH
SYNC OUT
CLK
SCSI
DIGITAL
DRIVE
AUTO A.PUNCH
SYNC OUT
CLK
SCSI
DIGITAL
DRIVE
AUTO A.PUNCH
SYNC OUT
DIGITAL
CLK
SYNC OUT DRIVE
SCSI
AUTO A.PUNCH
DIGITAL
DRIVE
AUTO A.PUNCH
SYNC OUT
CLK
SCSI
DIGITAL
SETUP
DRIVE
AUTO A.PUNCH
SYNC OUT
CLK
SCSI
SURE ?
DIGITAL
DRIVE
AUTO A.PUNCH
SYNC OUT
CLK
SCSI
DIGITAL


