Torq 1.5 User Guide Chapter 1
24
Torq 1.5 User Guide Chapter 4
24
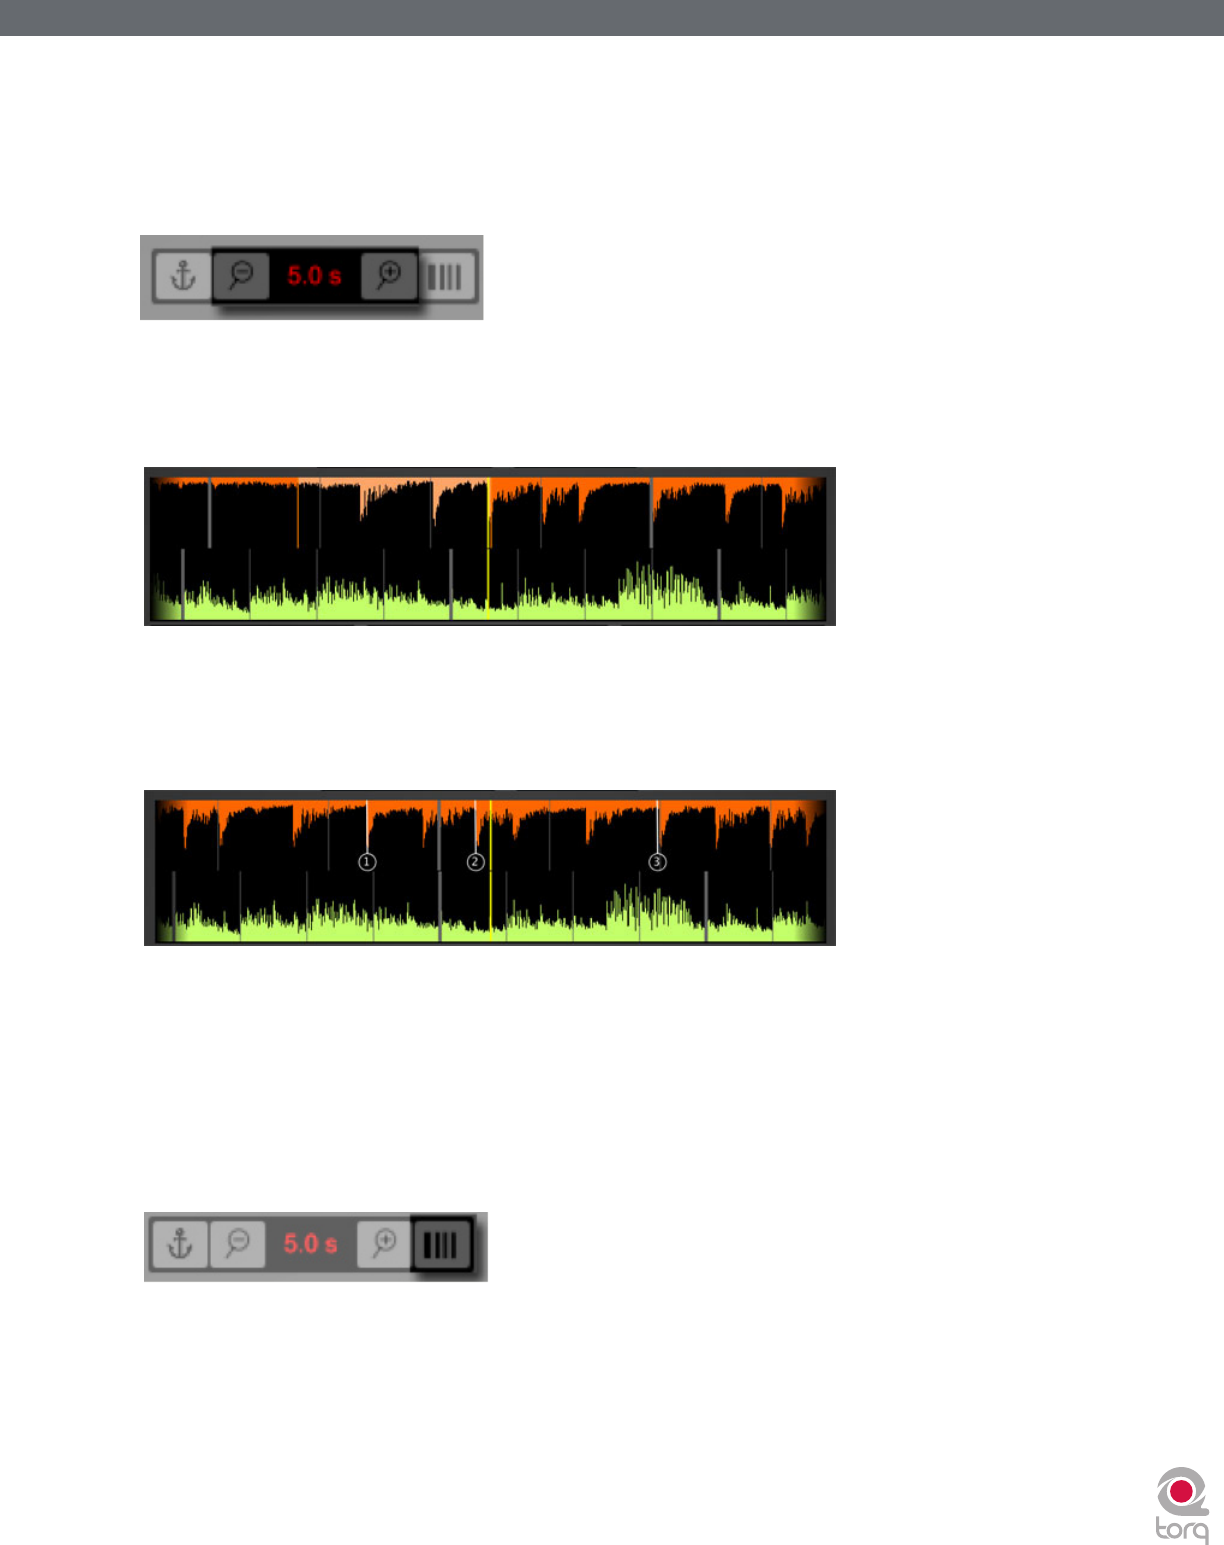
Zoom
At times, you may find yourself wanting to “zoom in” to the Scrolling Waveform Display to match beats more precisely
or to “zoom out” in order to see more of each track. Use the magnifying glass icons directly above the display to do this.
The magnifying glass button on the left zooms out while the button on the right zooms in. The total amount of time (in
seconds) from the left edge to the right edge of the Scrolling Waveform Display is listed between the two buttons.
Loop Points
The Loop Points of the song (set with the Loop In/Out buttons or the QuickCue buttons) will be shown on the
Waveform. The looped area of the music will appear in a lighter shade compared to the rest of the waveform.
Cue Points
If you’ve used the Cue button or QuickCue buttons to place various Cue Markers in the song, you will see them here.
The QuickCue markers have numbers attached to them (corresponding to the assigned QuickCue button) and the
standard Cue Point appears as an orange line.
Phase Grid
Torq superimposes a Phase Grid over the Scrolling Waveforms to indicate the location of the beats in a song. The thicker
lines in the Phase Grid indicate the locations of the downbeats in the music. Torq will attempt to position the Phase Grid
in the proper location as part of the analysis when loading a song into a Deck. Torq uses the position of the Phase Grid to
properly synchronize the song.
If you would like to turn the Phase Grid lines off, click the “Hide Phase Grid” button located above the waveform display
(next to the zoom controls).


