Torq 1.5 User Guide Chapter 1
58
Torq 1.5 User Guide Chapter 9
58
iTunes
iTunes is a free media player available from Apple for both Mac and Windows computers (www.itunes.com). It provides
an excellent way to download, organize, and rip music as well as interfacing with Apple’s famous portable media player,
the iPod.
Torq can interface with iTunes, providing you instant access to your entire collection of music and playlists without having
to manually add folders to the Database. Furthermore, any updates or changes that you make to your iTunes Library or
Playlists will automatically be reflected in Torq.
< Library
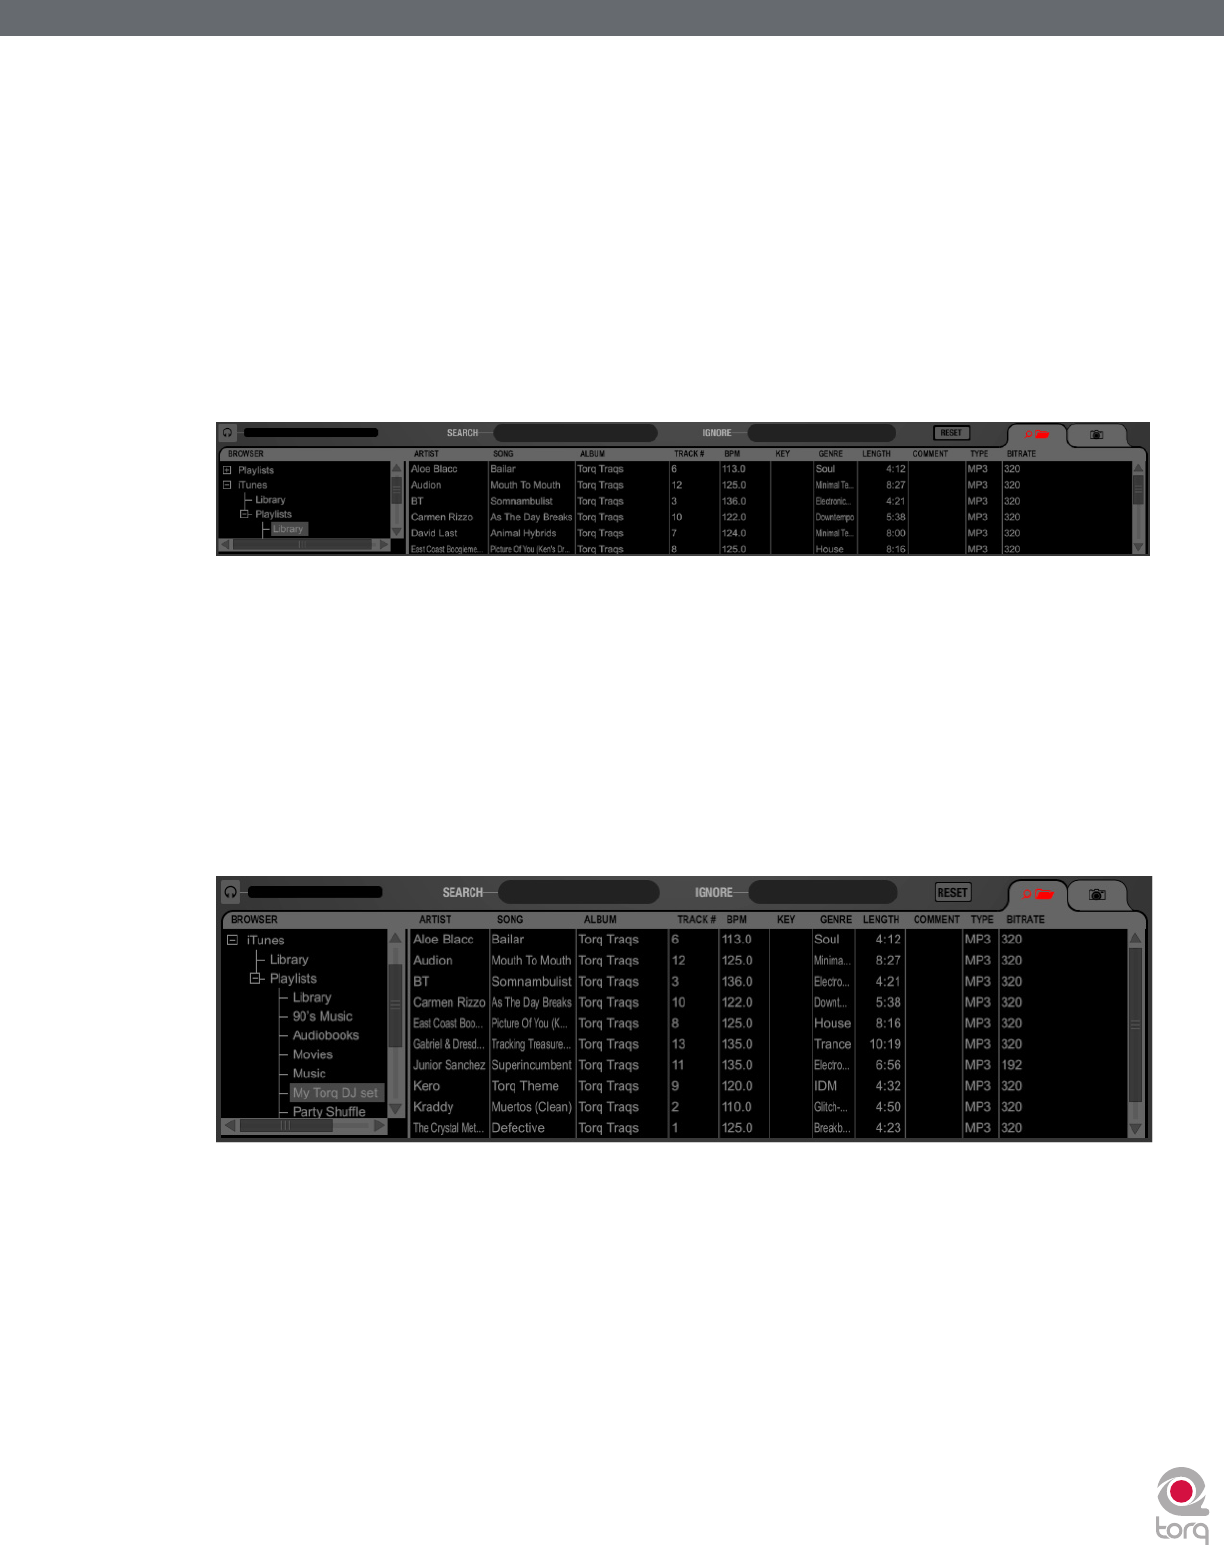
The iTunes Library is the entire collection of music and videos currently managed by iTunes. You can browse and
search the iTunes Library by clicking the plus sign in front of the iTunes heading in the Browser, then clicking the
Library heading. The contents of the Library will be shown in the File List.
✓ Note: If you have an especially large iTunes Library, it may take a moment for Torq to read the entire contents of
the Library the first time you select it in a Torq session.
Once you’ve clicked the Library heading, you can search and sort the Library contents in the same manner as the
Database (described earlier).
< Playlists
iTunes also supports the creation and editing of playlists, but they are a different format from the .m3u format
used by Torq. Not to worry—Torq can still access these playlists through the iTunes heading in the Browser.
Simply click the plus sign in front of Playlists to view them. Click on an individual Playlist to see its contents in the
File List.
< Searching iTunes with the Database
Torq can also automatically add the contents of the iTunes Library to the Database. That way, when you click the
Database heading in the Browser, you’ll get the files from all folders assigned to the Database as well as all files
within the iTunes Library. To enable this feature:
1. Open the Preferences.
2. Click the Misc tab.
3. Next to “Search iTunes Library with Database,” select “Yes.”
4. Close the Preferences.
5. Torq will now include the contents of the iTunes Library when you click the Database heading.
