


100
Chapter 4 Recording and Saving the Performance
Recording a Performance Using
Automatic Accompaniment
You can record the performance with Automatic Accompaniment easily.
A recorded performance is automatically assigned to Track buttons.
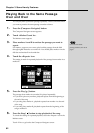
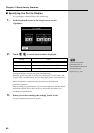
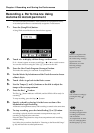
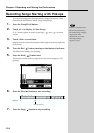
1. Press the [Song/Disk] button.
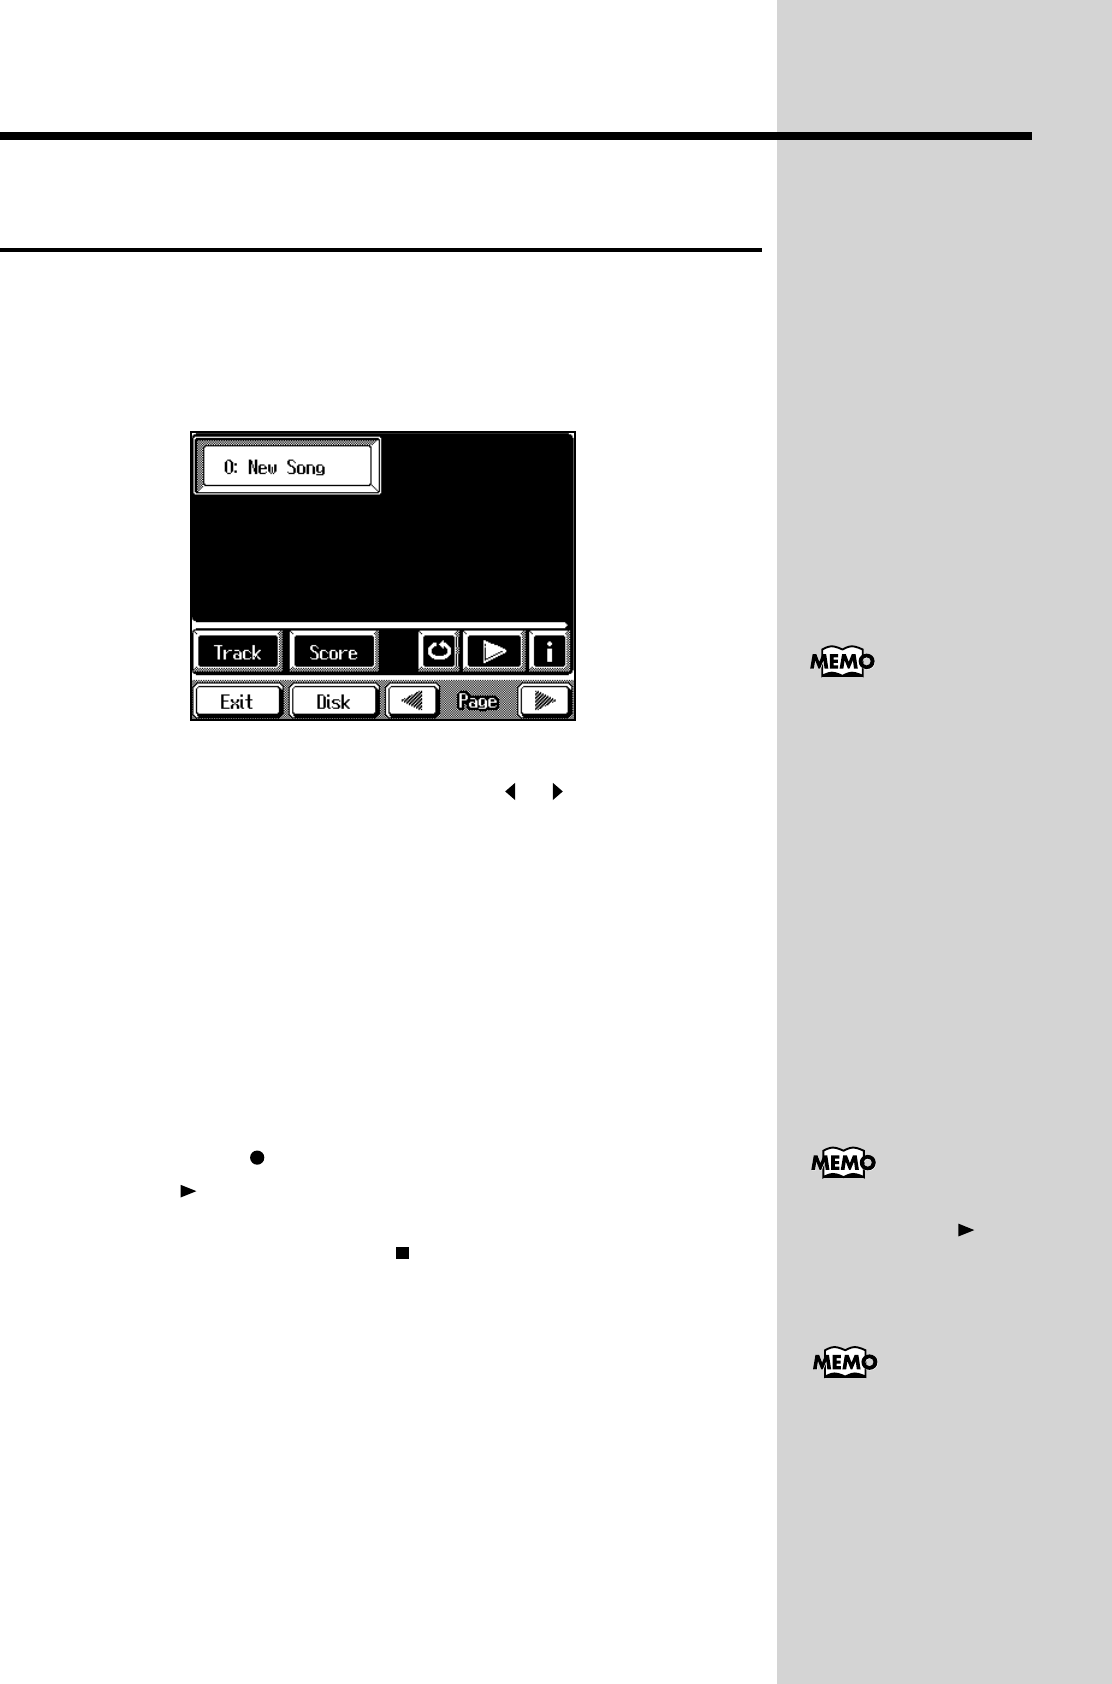
A Song/Disk screen like the one shown below appears.
fig.04-03.e_60
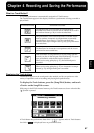
2. Touch <0:> to display <0:New Song> on the screen.
If <0: > doesn’t appear on screen, touch Page < >< > to switch screens.
You can also choose it using the Value [-] [+] buttons or the dial.
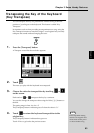
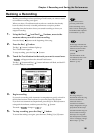
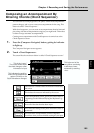
3. Press the One Touch Program [Arranger] button.
This makes the setting for Automatic Accompaniment.
4. Use the Music Style buttons and the Touch Screen to choose
a Music Style.
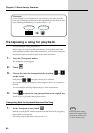
5. Touch <Exit> to go back to the Basic screen.
6. Use the Tempo [-] and [+] buttons or the dial to adjust the
tempo of the accompaniment.
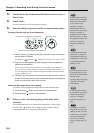
7. Press the Rec [ ] button.
The Play [ ] button indicator will blink, and the KF-90 will be ready for
recording.
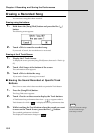
To stop recording, press the Stop [ ] button.
8. Specify a chord by playing it in the lower section of the
keyboard to begin recording.
Automatic accompaniment starts, and recording is started at the same time.
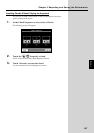
9. To stop recording, press the Intro/Ending [1] or [2] button.
An ending is played, then the automatic accompaniment stops, and
recording is stopped at the same time.
Press the [Start/Stop] button to stop the accompaniment and recording
without ending.
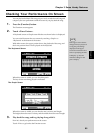
Let's follow the procedure described in “Listening to the Recorded Songs”
(p. 99) and listen the recorded performance.
If there is song data in the
KF-90’s internal memory,
the “Delete song” message
appears. For more
information, see “If the
following message
appears” (p. 99).
You can start recording by
pressing the Play [ ]
b
utton.
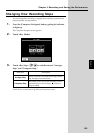
You can change how
recording is stopped when
recording a performance
with Automatic
Accompaniment. To learn
how, see “Changing How
Recording Stops” (p. 103).