150
Chapter 8 Changing Various Settings
Changing the Settings for the
Marker and the Count Sound
You can set markers at points within measures and change
the sound used with the CountIn feature. To change these
settings, use the following procedure to bring up the
“Marker Option Screen.”
1. Press the [Composer Navigator] button.
The Composer Navigator screen appears.
2. Touch <Marker/Count In>.
The Marker/Count In Screen (p. 90) appears.
3. At the Marker screen, touch <Option> at the
bottom right of the screen.
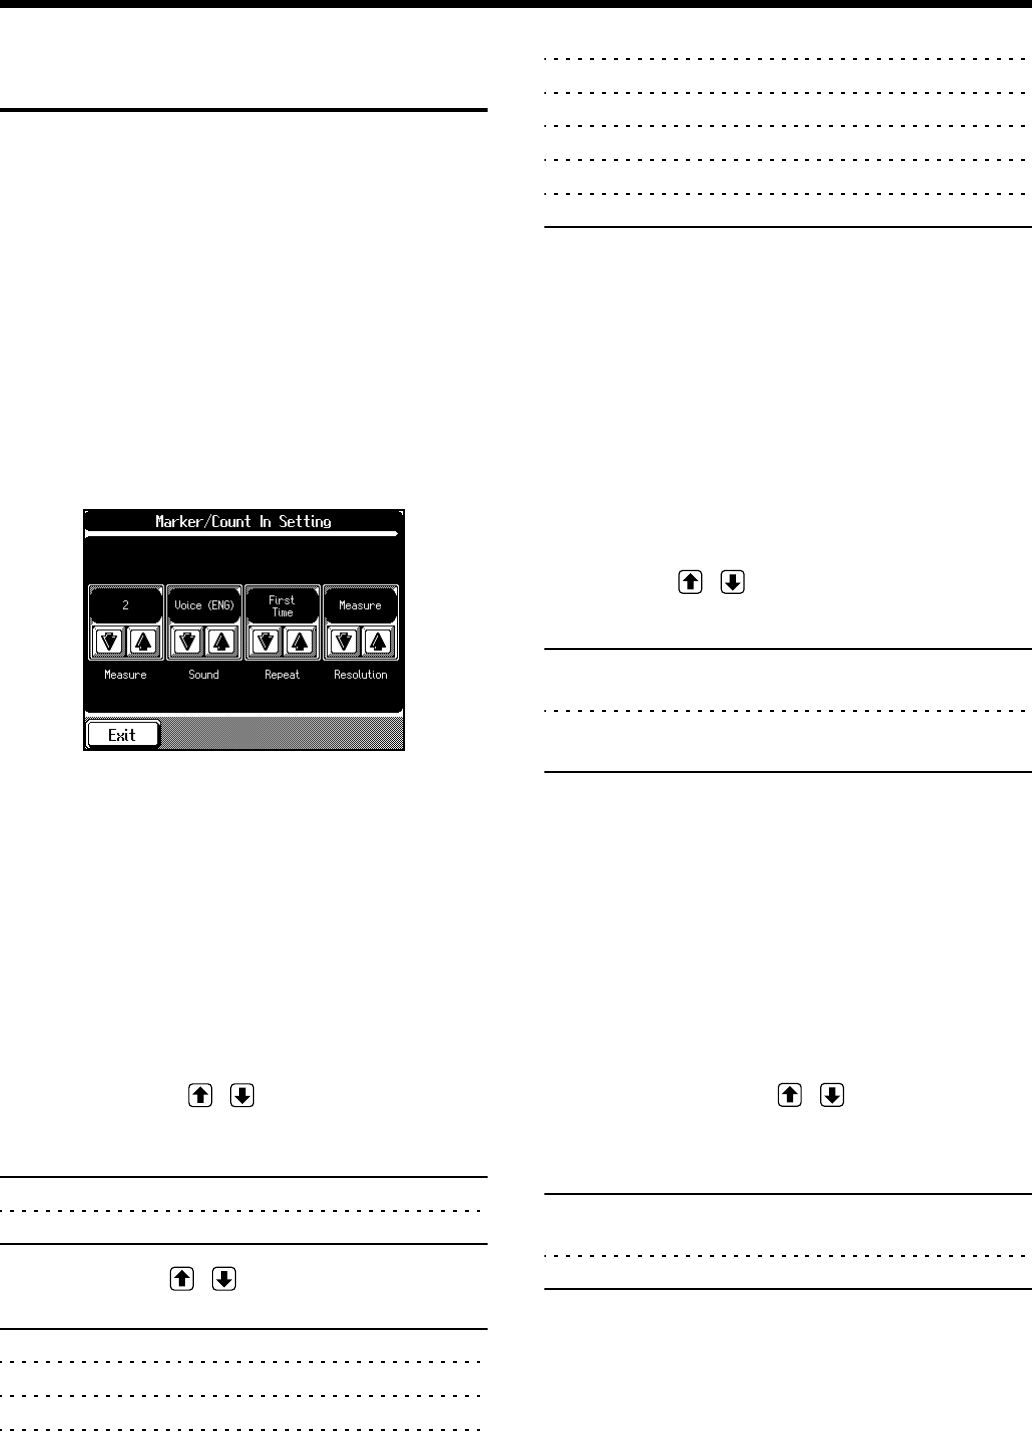
The following screen will appear.
fig.08-22.eps
This is called the “Marker Option screen.”
Touch <Exit> to go back to the Marker screen.
■ Changing the Number of
Measures Counted and the
Count Sound
When you’ve made the setting for sounding an audible count
(p. 88), you can change the number of measures that are
counted, as well as the type of counting sound.
1. Display the Marker Option screen.
2. Use <Measure> to choose the number of
measures to count and the count sound.
Indication Description
1 The one-bar count will sound.
2 The two-bar count will sound.
3. Use <Sound> to choose the count sound.
Indication Description
Sticks Sound of tapping with a stick
Click A bell and a clicking sound
Electronic Electronic sound
Voice(JP) A voice counting “1, 2” in Japanese
Voice(ENG) A voice counting “1, 2” in English
Wood Block Wood Block
Triangle/Castanet Triangle and castanet sound
Handclap Clapping
Animal Animal Voice
Touch <Exit> to go back to the Marker screen.
→ Take a look at “Counting Down Before a Performance Starts”
(p. 88).
■ Playing the Count Sound at
Each Repetition
You can choose whether the count is sounded at every
repetition when you repeat playback of a song or a particular
passage.
1. Display the Marker Option screen.
2. Select the way this is to be played with the
<Repeat> .
Indication Description
First Time The count is sounded only before the first
playback.
Every Time The count-in is sounded each time the song
is played.
Touch <Exit> to go back to the Marker screen.
→ Take a look at “Counting Down Before a Performance Starts”
(p. 88).
■ Placing a Marker in the Middle
of a Measure
A marker is normally placed at the start of the selected
measure, but you can also set it so that a marker is placed at a
position partway through a measure.
1. Display the Marker Option screen.
2. Touch <Resolution> to choose the
marker setting.
Indication Description
Measure This lets you place a marker at the beginning
of the measure.
Beat This lets you place a marker at each beat.
Touch <Exit> to go back to the Marker screen.
* When “Beat” is selected for this setting, place the markers
while the song is played back.
→ Take a look at “Placing/Erasing a Marker Within a Song” (p.
90).


