90
Chapter 3 Some Handy Features
Placing a Marker Within a Song
By setting markers at points in a song that you want to practice repeatedly,
you can then easily move and repeatedly play back the selected measures.
■ Placing/Erasing a Marker Within a Song
You can place two separate markers (Marker A and Marker B) in one song.
The marker is placed at the beginning of the bar. Placing markers is a handy
way to start playback at the same place as many times as you like.
1. Press the [Composer Navigator] button.
The Composer Navigator screen appears.
2. Touch <Marker/Count In>.
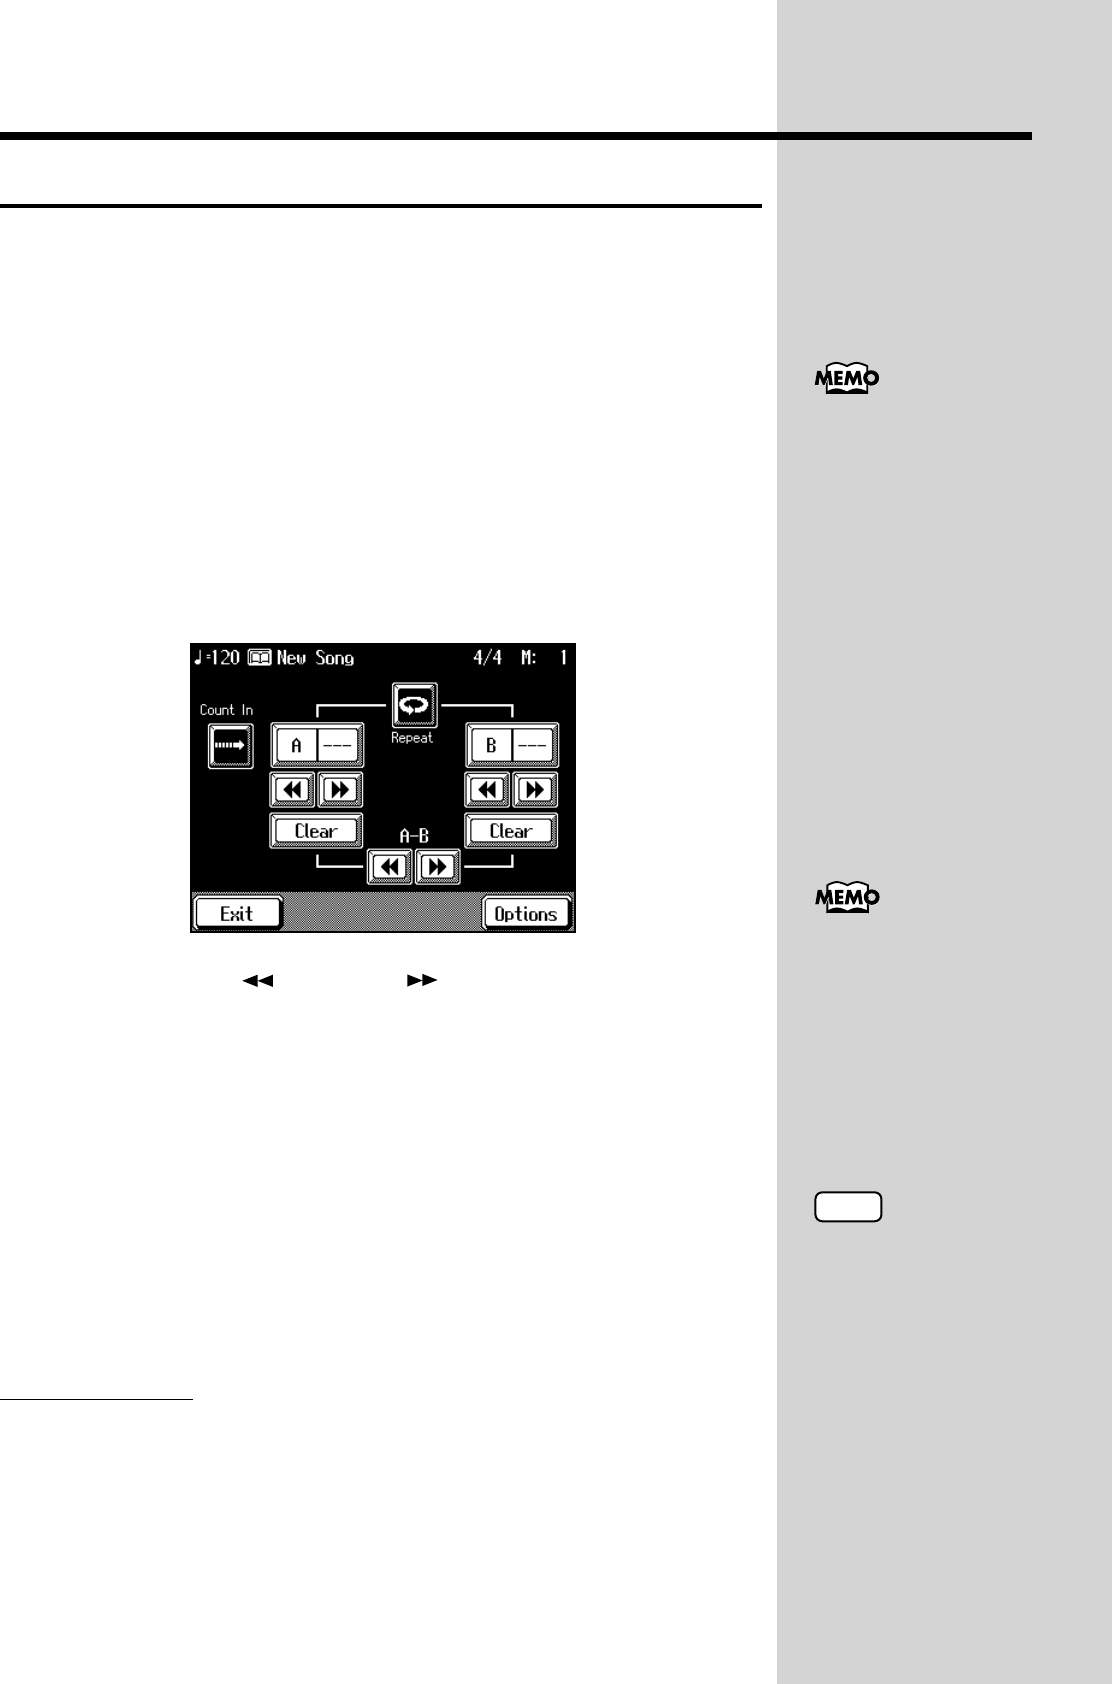
The Marker screen appears.
fig.03-05.e_60
3. Use the Bwd [ ] and Fwd [ ] buttons to move to the bar
where you want to place the marker.
The measure number appears in the top-right area of the screen.
4. Touch <---> for Marker <A>.
Marker A is placed at the beginning of the bar you moved to.
<---> in the screen will change to the number of the measure where you
placed the marker.
5. In the same way, move a position and touch <---> for Marker
<B> to place Marker B.
When you’ve placed a marker, the number of the measure with the marker
appears on screen.
Erasing a Marker
1. At the Marker screen, touch <Clear> for the marker you want
to erase.
The marker disappears and the on-screen display changes to <--->.
You can also add markers
or move to a marker even
while playback is in
progress.
A marker is normally
placed at the beginning of
the measure, but you can
also place a marker at a
position part way through
a measure. Take a look at
“Placing a Marker in the
Middle of a Measure” (p.
150).
NOTE
You cannot place both
marker A and marker B at
the same location. Also,
you cannot place marker B
at a position earlier than
marker A.


